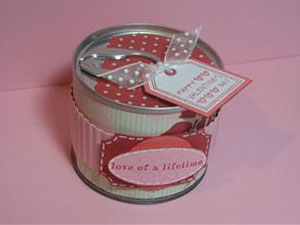
Altered Pop Top Can
by Julie Buhler
Alter a pop top can container and fill it with goodies. It makes a great gift container for small gifts or candy.
Supplies
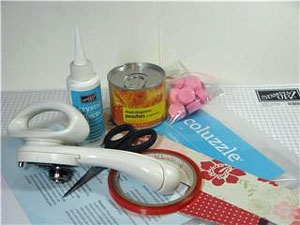
- Pop Top Can
- Safety Can Opener
- Coluzzle™
- Patterned Paper
- Scissors
- Sticky Strip™
- Candy or other filling
- Crystal Effects or other STRONG glue
Step-by-Step
-
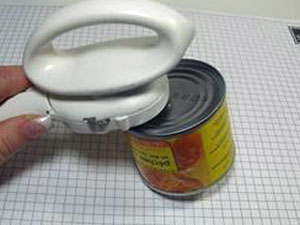
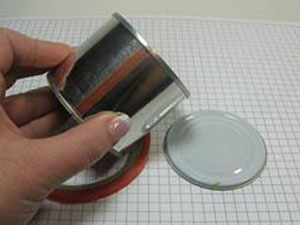
Step 1
Open the can AT THE BOTTOM with a safety can opener. Drain contents and wash container.
-
Step 2
Apply Sticky Strip™ at the seam of the can.
-
Step 3
Cut patterned paper tall enough to cover the area between the top and bottom of the tin, and long enough to wrap around the can, leaving a slight overlap.
Adhere over the Sticky Strip™ and add more Sticky Strip™ to the end of the paper. Remove the red liner, then wrap the paper around the and adhere.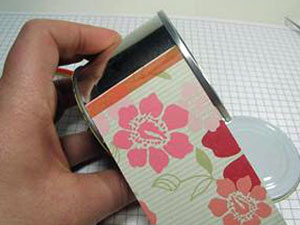
-
Step 4
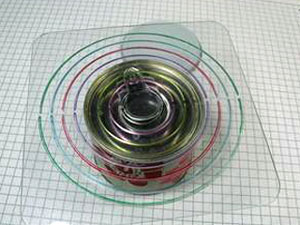
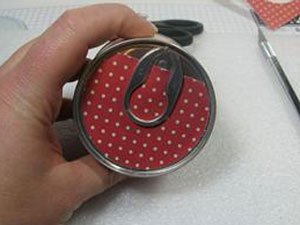
Measure the top of the can with a Coluzzle™ template. Only measure the metal area that is going to pop out when the can is opened.
-
Step 5
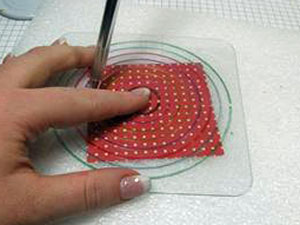
Cut circle to fit.
-
Step 6
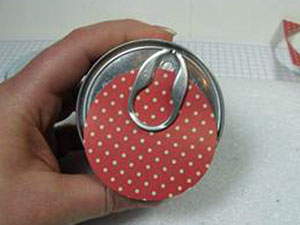
Slide paper under the tab to get an idea of how much will need to be cut off.
-
Step 7
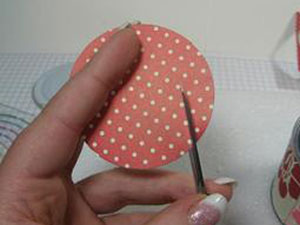
Use your scissor to cut off a side of the circle. There is no set amount, but start with a little and keep trimming until it fits.
-
Step 8
Using Sticky Strip™, adhere paper circle to the lid of the can.
-
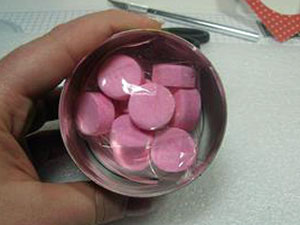
Step 9
Now, fill the can. Turn it upside down and add desired contents. If adding food items, put them in a baggie. This way, the glue used to close the container will not touch the food.
-
Step 10
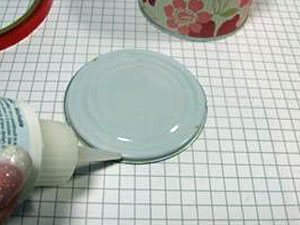
Apply a thin strip of Crystal Effects™ (or other STONG glue) all the way around the outer rim of the cut out bottom.
-
Step 11
Press the bottom back on, wiping away excess glue with a tissue.
Leave can upside down and weigh down a heavy object on top until the glue has dried for a few hours or overnight.
When dry, embellish as desired!!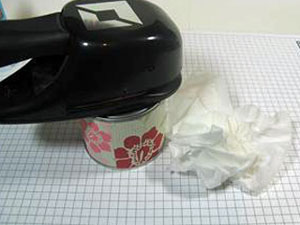
-
Step 12
Finish decorating your can.
Variations
Use a can without the pop top.
Your Turn
You've seen the tutorial, now you try it! We've got a section of the gallery set aside for Altered Pop Top Can. Try this technique, then upload your artwork to the gallery. Show us your creations!
***Please note - Internet Explorer/Edge is not a supported browser, and will not allow you to see the videos. Please use Chrome, Firefox or Safari to view our tutorial videos.

Questions and Comments
We'd love to get your feedback or questions. Leave your comment below.
I became interested in making cards about a year ago but had so little talent for the craft. I was thrilled when a friend introduced me to SCS and I found your blog. I have to tell you I visit your blog everyday, sometimes two or three times a day. You have taught me nearly everything I know about card making. Your tutorials are so easy to understand and your cards are beautiful. I am equally untalented when it comes to this computer, but I am learning. Even though I haven't learned to download my creations, I am receiving many compliments on my cards. Thank you so much for helping me learn a craft than can bring so much happiness to others as well as myself.
Page 2 of 5 pages < 1 2 3 4 > Last »