Alcohol Marker Marbling
by Audrie Magno-Gordon
Use alcohol markers to create a marbled background on glossy cardstock.
Supplies
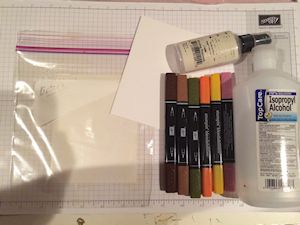
- Alcohol markers (Blendabilities Markers by Stampin' Up! used here)
- Rubbing alcohol or colorless blending ink intended for alcohol markers in a spray bottle (safety note: Ranger Blending Solution and alcohol inks contain resins and should not be sprayed)
- Glossy cardstock cut to 4 1/4" x 5 1/2"
- Quarter sheet of text weight paper for a template
- Ziploc-type plastic bag (empty and sealed closed) or other non-porous surface, such as a craft sheet or ceramic tile
Step-by-Step
-
Step 1
Using a tiny bit of removable tape, secure a quarter sheet of paper to your work surface. This will serve as a template. Cover the template with a Ziploc bag. Use removable tape to secure the bag so it doesn't move.
Begin coloring with alcohol markers directly onto the bag, covering a space equal to the size of the template.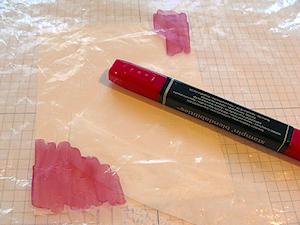
-
Step 2
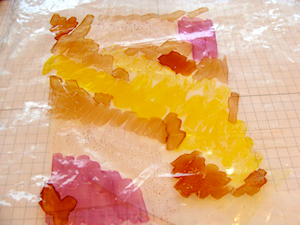
Use a variety of markers randomly on the bag. No need to blend them, just scribble them on side-by-side very randomly.
-
Step 3
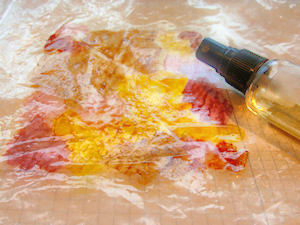
Spritz the bag with rubbing alcohol until the inks appears to be wet, and droplets of the liquid are visible on top. You will notice that the edges of the colors will start to blend.
-
Step 4
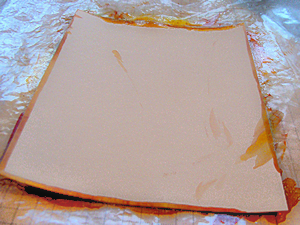
Place glossy cardstock glossy side down onto the wet ink. Press the cardstock onto the ink for a few seconds then lift it up to reveal your background.
-
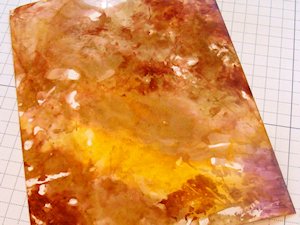
Use the print as is or repeat this step to add layers of color or fill in missed areas. Mist the inked work surface as needed to revive colors with alcohol.
-
Step 5
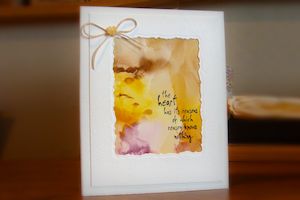
Use the background to complete a card front or scrapbook page.
Video!
Variations
-
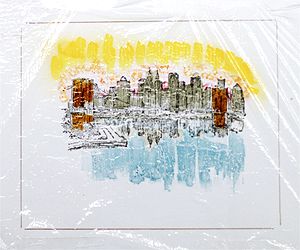
Plan your coloring to complete a scene. For an impressionistic look to any favorite landscape or nature image, stamp the image onto your work surface underneath the plastic, use that image as a guide for color placement.
-
Spritz a large stamp with rubbing alcohol and lay a completed background panel onto the stamp. An impression of the stamp will appear in your marbled background. Wash the stamp promptly to remove alcohol residue.
A similar look can be achieved by spritzing alcohol through a stencil over a completed background.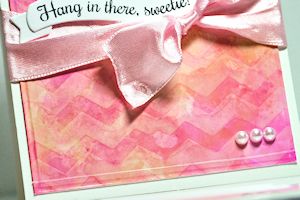
Your Turn
You've seen the tutorial, now you try it! We've got a section of the gallery set aside for Alcohol Marker Marbling. Try this technique, then upload your artwork to the gallery. Show us your creations!
***Please note - Internet Explorer/Edge is not a supported browser, and will not allow you to see the videos. Please use Chrome, Firefox or Safari to view our tutorial videos.

Questions and Comments
We'd love to get your feedback or questions. Leave your comment below.
Page 4 of 4 pages « First < 2 3 4