Triangle Box
by Beate Johns
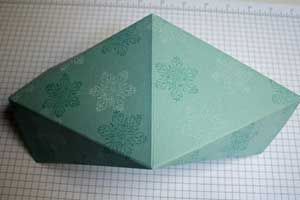
Create a triangle shaped box out of a cardstock rectangle.
Supplies
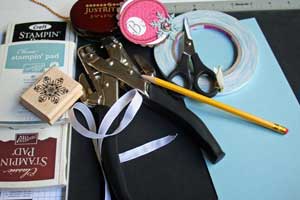
- 5" x 10" piece of Cardstock
- Scoring Tool
- Scor-Tape™ or other strong adhesive
- Crop-a-Dile™ or other hole punch
- Stamps
- Ink
- Ribbon
- Pencil
- Additional cardstock and embellishments
Step-by-Step
-
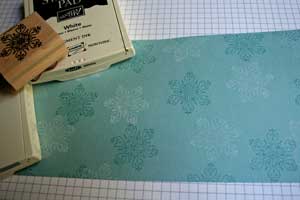
Step 1
Stamp your cardstock.
-
Step 2
Turn your cardstock around.
Mark the middle of both short sides of the cardstock with a pencil.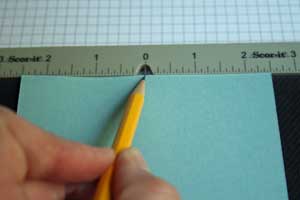
-
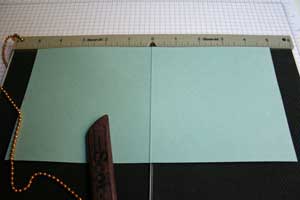
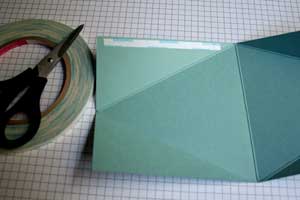
Step 3
Score your cardstock at 5" on the long side.
-
Step 4
Line up the mark you made on one of the short sides with the middle of long side.
Score to create a diagonal fold.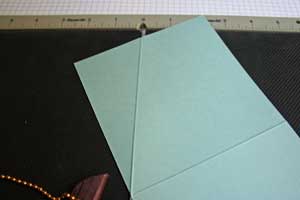
-
Step 5
Line up the mark with the other side of the middle fold and score.
You will now have a triangle of scored lines.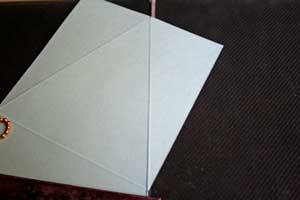
-
Step 6
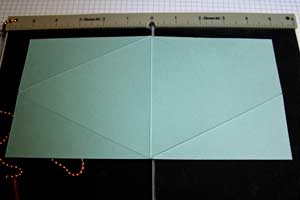
Repeat step four and five on the other side of the cardstock.
-
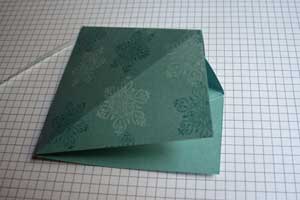
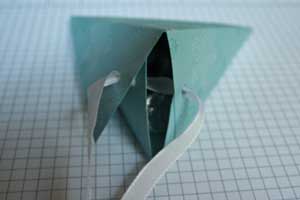
Step 7
Prefold all your score lines.
-
Step 8 (Optional)
Add strong adhesive to the edge of one of the long sides.
-
Step 9
Assemble the box by bringing the two ends together and securing with the adhesive just applied.
-
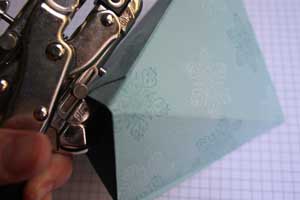
Step 10
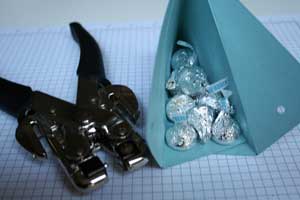
Use a Crop-a-Dile™ to punch through the taped sides.
-
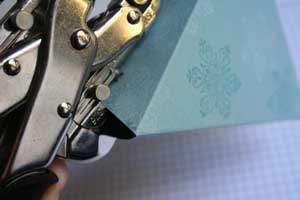
Bring both of the opposite sides together and punch a hole through them as well.
-
Step 11
Fill your box.
-
Step 12
Thread your ribbon through the punched holes. It will keep your box closed.
-
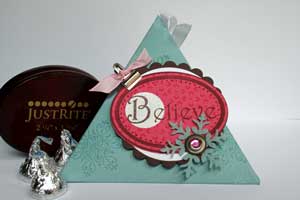
Step 13
Tie ribbon and decorate your box front.
Video!
Variations
-
Change the size
You can make this box in a lot of different sizes. Just keep the length of your cardstock two times the width (e.g.: 3" x 6", 4" x 8" and so on).
The picture here shows a box made out of a 2 1/2" x 5" piece of cardstock. It holds one Dove chocolate piece.
Your Turn
You've seen the tutorial, now you try it! We've got a section of the gallery set aside for Triangle Box. Try this technique, then upload your artwork to the gallery. Show us your creations!
***Please note - Internet Explorer/Edge is not a supported browser, and will not allow you to see the videos. Please use Chrome, Firefox or Safari to view our tutorial videos.
 *
*
Questions and Comments
We'd love to get your feedback or questions. Leave your comment below.
I've just made one
Kiss from France
Christine
There are many out there, so I want to be sure to get the one you use.
I love all of your videos on YouTube. I watch and save most of them. Thank you so much for your beautiful work and easy to follow instructions!
Angie
Thank you!!
Page 2 of 2 pages < 1 2