Tea Bag Holder
by Beate Johns
Create a little tea bag holder out of cardstock.
Supplies
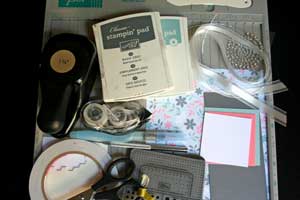
- One 3 1/2" x 7 3/4" piece of cardstock
- One 6 1/2" x 7" piece of patterned paper or printed vellum
- Scor-Pal™, or other scoring tool
- Scor-Tape™, or other strong adhesive
- Thin cord
- 25" piece of ribbon (optional)
- 1/16" hole punch, or paper piercing tools
- 1 1/4" circle punch
- Stamps
- Additional cardstock and embellishments to decorate the front
Step-by-Step
-
Step 1
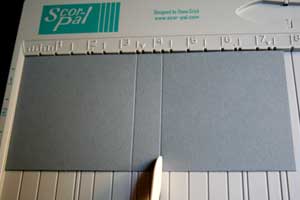
Place 3 1/2" x 7 3/4" piece of cardstock in your Scor-Pal™.
Score at 3 1/2".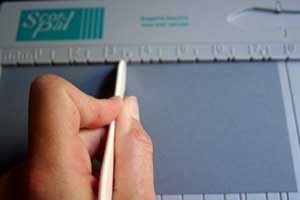
-
Score at 4 1/4".
-
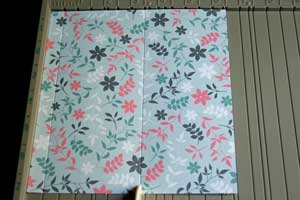
Step 2
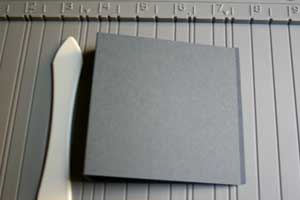
Prefold both score lines.
-
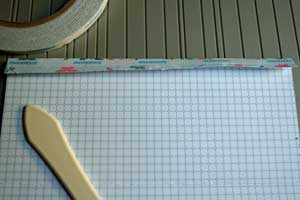
Step 3
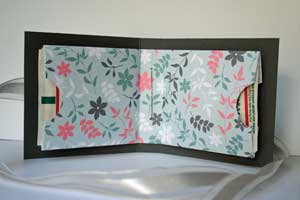
Line the 6 1/2" side of the patterned paper up with the top of the Scor-Pal™.
Score at 1/2".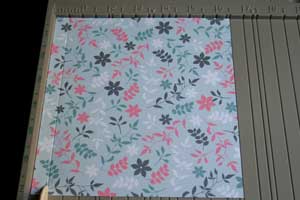
-
Score at 3 1/2".
-
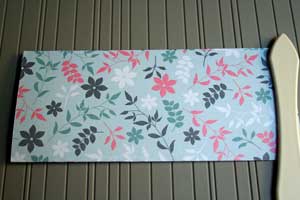
Step 4
Prefold your score lines. Apply Scor-Tape™ to the 1/2" section of the paper.
-
Remove tape liner, fold paper over and burnish (rub) to set adhesive.
-
Step 5
Align the paper sleeve with the 1/2" score line.
Score at 3 5/8".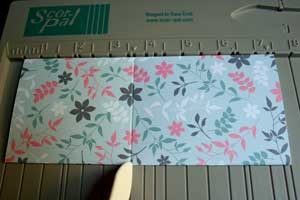
-
Turn paper 180 degrees, line other side up with 1/2" score line.
Score again at 3 5/8".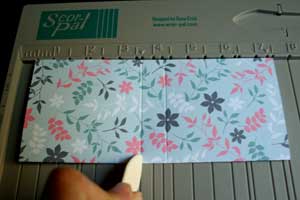
-
Step 6
Prefold both score lines.
-
Step 7
Slide your paper partially into 1 1/4" circle punch. Center and punch.
This will make it easier to take the tea bag out of the holder later.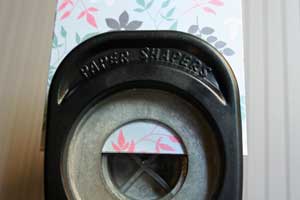
-
Line up the other end of the paper with the punched side.
Line up circle punch again and punch again.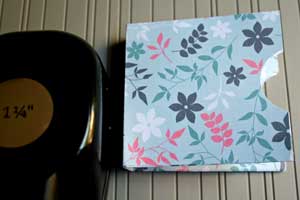
-
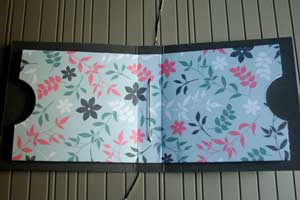
Step 8
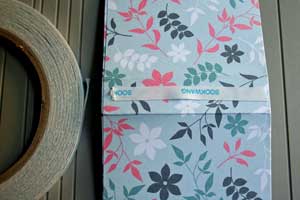
Add Scor-Tape™ over the back of the patterned paper spine.
-
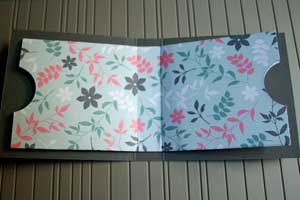
Peel off tape liner, center patterned paper over cardstock and tape down.
-
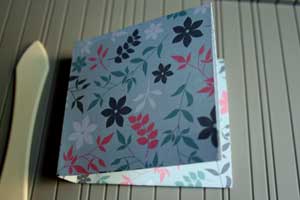
Step 9
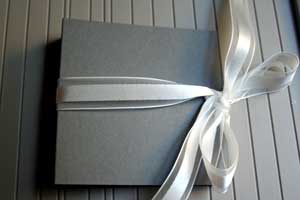
Tie ribbon around the cardstock base.
-
Decorate the front of the holder.
Hint:
I taped my front down with dimensionals so that it is still possible to reposition the ribbon.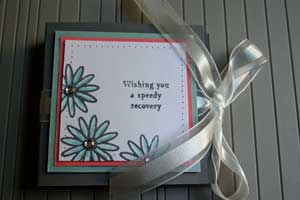
-
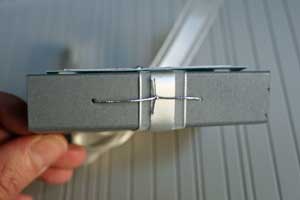
Step 10
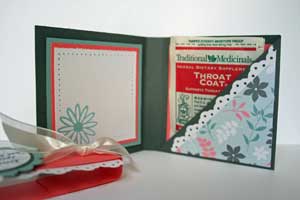
Open the tea bag holder and punch two small holes in the spine through both the patterned paper and cardstock.
You can use a 1/16" hole punch or your paper piercing tools for that.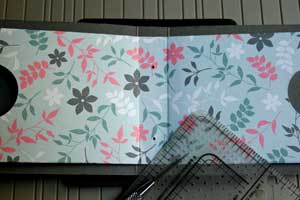
-
Step 11
Thread some thin cord through the holes so both ends of the cord are on the outside of the holder.
-
Tie the cord in a knot or bow on the outside of the spine.
-
Step 12
Add tea bags into your patterned paper sleeves.
-
Fold tea bag holder und and tie ribbon again. Your tea bag holder is done.
Variation:
Instead of filling the sleeves with tea bags, try chocolate squares instead.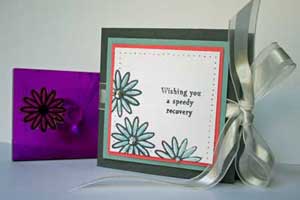
Video!
Variations
-
Sleeveless Holder:
Instead of having a paper sleeve holding your tea bag, add a diagonal pocket.
-Start with a 3 1/2" x 11" piece of cardstock. Score it at 3 1/2", 7" and 7 1/2".
-Cut the right outer scored square from the bottom edge to the top of the left hand corner.
-Add Scor-Tape™ to the bottom of the triangle and fold over.
-Slide your tea bag or chocolate into the pocket the triangle created.
-
Skip the ribbon
Exchange the ribbon closure for a belly band.
Take a 8 1/2" long strip of cardstock, fold around tea bag holder and adhere both ends together. Decorate.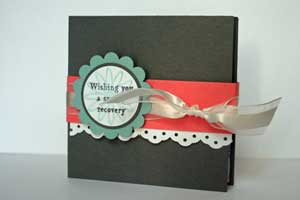
Your Turn
You've seen the tutorial, now you try it! We've got a section of the gallery set aside for Tea Bag Holder. Try this technique, then upload your artwork to the gallery. Show us your creations!
***Please note - Internet Explorer/Edge is not a supported browser, and will not allow you to see the videos. Please use Chrome, Firefox or Safari to view our tutorial videos.
 *
*
Questions and Comments
We'd love to get your feedback or questions. Leave your comment below.
Page 3 of 3 pages < 1 2 3