Tea Bag Holder
by Beate Johns
Create a little tea bag holder out of cardstock.
Supplies
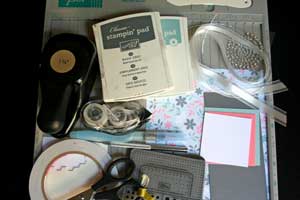
- One 3 1/2" x 7 3/4" piece of cardstock
- One 6 1/2" x 7" piece of patterned paper or printed vellum
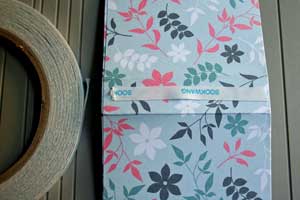
- Scor-Pal™, or other scoring tool
- Scor-Tape™, or other strong adhesive
- Thin cord
- 25" piece of ribbon (optional)
- 1/16" hole punch, or paper piercing tools
- 1 1/4" circle punch
- Stamps
- Additional cardstock and embellishments to decorate the front
Step-by-Step
-
Step 1
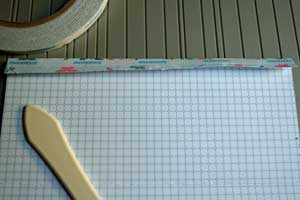
Place 3 1/2" x 7 3/4" piece of cardstock in your Scor-Pal™.
Score at 3 1/2".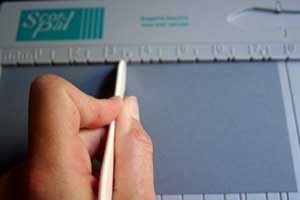
-
Score at 4 1/4".
-
Step 2
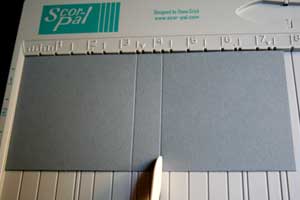
Prefold both score lines.
-
Step 3
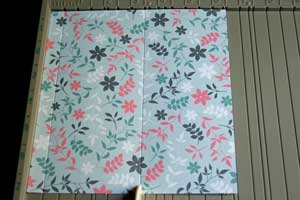
Line the 6 1/2" side of the patterned paper up with the top of the Scor-Pal™.
Score at 1/2".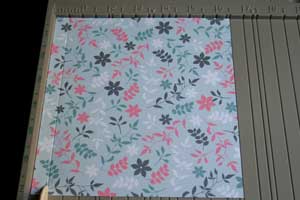
-
Score at 3 1/2".
-
Step 4
Prefold your score lines. Apply Scor-Tape™ to the 1/2" section of the paper.
-
Remove tape liner, fold paper over and burnish (rub) to set adhesive.
-
Step 5
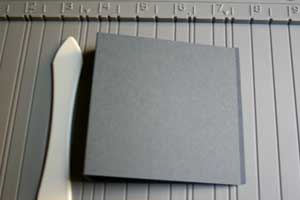
Align the paper sleeve with the 1/2" score line.
Score at 3 5/8".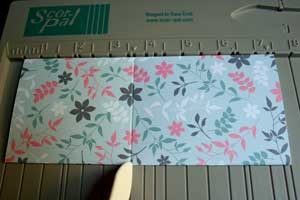
-
Turn paper 180 degrees, line other side up with 1/2" score line.
Score again at 3 5/8".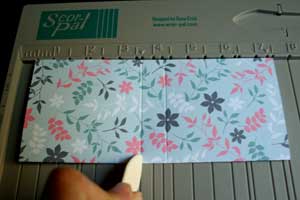
-
Step 6
Prefold both score lines.
-
Step 7
Slide your paper partially into 1 1/4" circle punch. Center and punch.
This will make it easier to take the tea bag out of the holder later.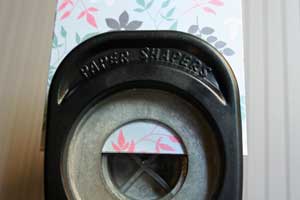
-
Line up the other end of the paper with the punched side.
Line up circle punch again and punch again.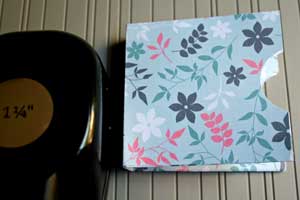
-
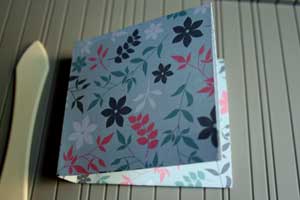
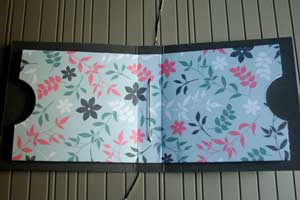
Step 8
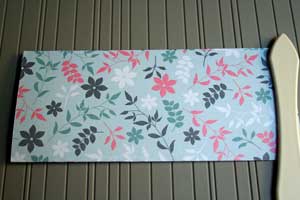
Add Scor-Tape™ over the back of the patterned paper spine.
-
Peel off tape liner, center patterned paper over cardstock and tape down.
-
Step 9
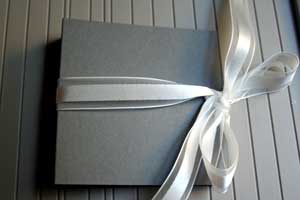
Tie ribbon around the cardstock base.
-
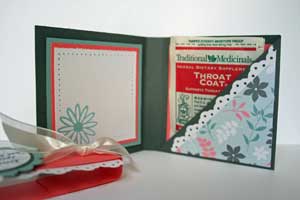
Decorate the front of the holder.
Hint:
I taped my front down with dimensionals so that it is still possible to reposition the ribbon.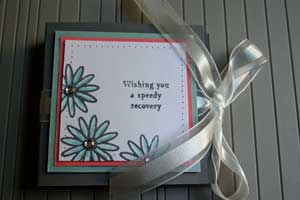
-
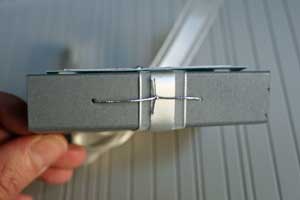
Step 10
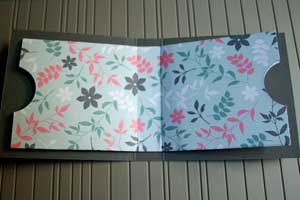
Open the tea bag holder and punch two small holes in the spine through both the patterned paper and cardstock.
You can use a 1/16" hole punch or your paper piercing tools for that.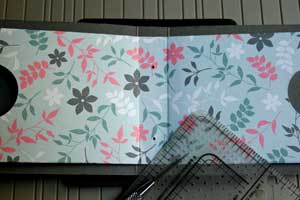
-
Step 11
Thread some thin cord through the holes so both ends of the cord are on the outside of the holder.
-
Tie the cord in a knot or bow on the outside of the spine.
-
Step 12
Add tea bags into your patterned paper sleeves.
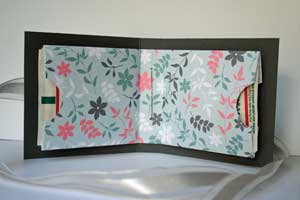
-
Fold tea bag holder und and tie ribbon again. Your tea bag holder is done.
Variation:
Instead of filling the sleeves with tea bags, try chocolate squares instead.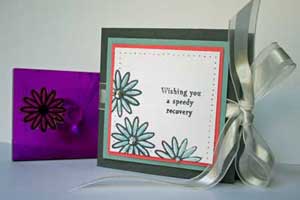
Video!
Variations
-
Sleeveless Holder:
Instead of having a paper sleeve holding your tea bag, add a diagonal pocket.
-Start with a 3 1/2" x 11" piece of cardstock. Score it at 3 1/2", 7" and 7 1/2".
-Cut the right outer scored square from the bottom edge to the top of the left hand corner.
-Add Scor-Tape™ to the bottom of the triangle and fold over.
-Slide your tea bag or chocolate into the pocket the triangle created.
-
Skip the ribbon
Exchange the ribbon closure for a belly band.
Take a 8 1/2" long strip of cardstock, fold around tea bag holder and adhere both ends together. Decorate.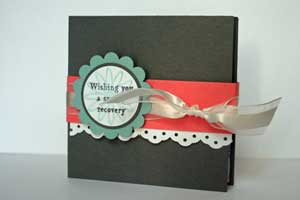
Your Turn
You've seen the tutorial, now you try it! We've got a section of the gallery set aside for Tea Bag Holder. Try this technique, then upload your artwork to the gallery. Show us your creations!
***Please note - Internet Explorer/Edge is not a supported browser, and will not allow you to see the videos. Please use Chrome, Firefox or Safari to view our tutorial videos.
 *
*
Questions and Comments
We'd love to get your feedback or questions. Leave your comment below.
thanks so much for this fun tutorial. I'm a big fan of your work for a long time. Love your always very inspirational and clear tutorials!
Greetings from over the ocean;-)
Check the first page of the comments and click on the highlighted Running sick in my comment there. It will take you directly to the
Our Craft Lounge website and you can order it there.
Gia,
The cord is there to reinforce the tape. Just an extra insurance that the paper sleeve doesn't come loose.
Jennifer,
You will love your Scor-Pal! Have fun playing with it when it arrives.
Hugs and smiles
Thank you,
You can buy it directly from the Scor-Pal website or other online stores.
Hugs and smiles
I'm now confused about CS and DP dimensions. The original dimensions are still there and seem to be working in the pictures...
"You are so right. I apologize. I meant to write 3 1/2" x 11". Thanks for pointing that out for me. I fixed it in the instructions."
Felicitaciones
Thanks,
Anna
Rebecca
I didn't see your post. Sorry. The 3 1/2" x 11" paper piece is used for the sleeveless holder under Variations.
Hugs and smiles
I really enjoy the SCS Weekly Inkling. Learning so much from you Tutorial . Thanks
Kind Regards,
Karen
Page 2 of 3 pages < 1 2 3 >