Smooch Spritz™ Resist
by Lydia Fiedler
Create shimmery background by spraying Smooch Spritz™ over embossed paper.
Supplies
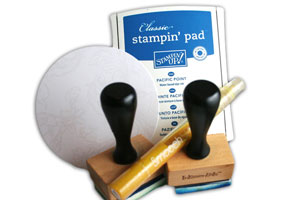
- Clear embossed white patterned paper (Stampin' Up!® Presto Patterns paper used here)
- Smooch Spritz™ (Gold Glow used here)
- Dye Ink (Stampin' Up! Pacific Point Blue used here)
- Blending tools
Step-by-Step
-
Step 1
Cut a piece of Presto Patterns designer paper with any die cutting machine.

-
Step 2
Apply dye ink to the paper to reveal the embossed pattern with a blending tool.
Make sure you leave some areas lighter and some darker to showcase the Smooch Spritz
-
Step 3
Gently shake your Smooch Spritz™ to make sure the pigment is evenly distributed.
Hint:
I don't actually shake mine - I gently flip it side to side to mix the pigment so that I don't get bubbles at the top of the solution. Check the bottom of the bottle to see if yours is thoroughly mixed.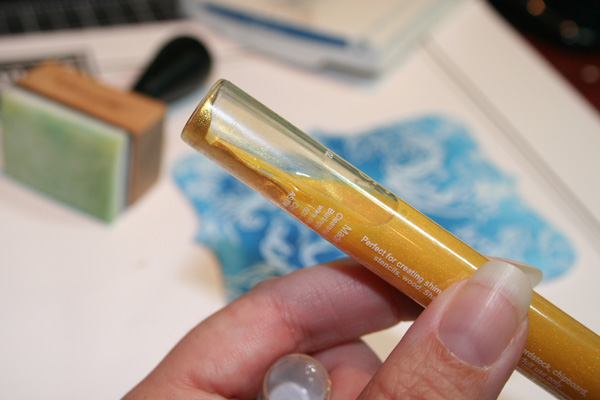
-
Step 4
Holding your Smooch Spritz™ just a few inches from your inked paper, spray and coat the paper with a layer of Smooch.
-
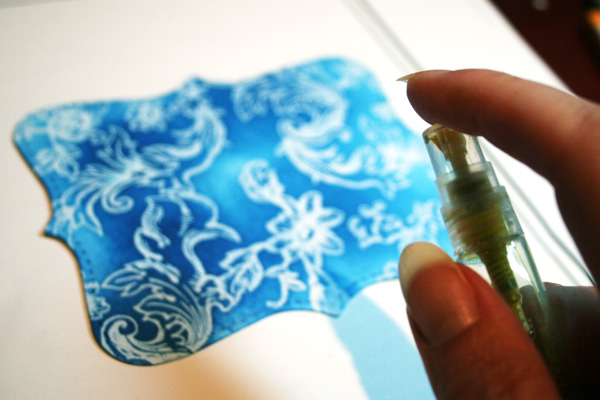
Step 5
Don't worry if you get droplets of the spray - you will be blending it in.
When not blending your Smooch Spritz™, be sure and spray your cardstock from 6 to 10 or more inches away to ensure even coverage.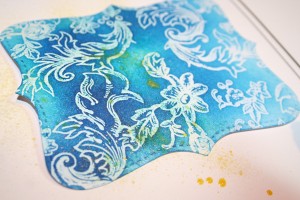
-
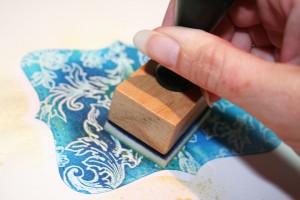
Step 6
Using a second blending tool, blend the Smooch Spritz™ into the paper.
-
Step 7
Finish the card as desired.

Video!
Variations
No embossed paper, no problem
Clear emboss images or backgrounds on white cardstock. Then either spray directly with a colored Smooch Spritz™, or blend ink over your embossed image, buff over it and then spray for extra sparkle.
Your Turn
You've seen the tutorial, now you try it! We've got a section of the gallery set aside for Smooch Spritz™ Resist. Try this technique, then upload your artwork to the gallery. Show us your creations!
***Please note - Internet Explorer/Edge is not a supported browser, and will not allow you to see the videos. Please use Chrome, Firefox or Safari to view our tutorial videos.

 *
*
Questions and Comments
We'd love to get your feedback or questions. Leave your comment below.
Thanks again,
Judy
He IS Able!
Traci S.
Page 3 of 3 pages < 1 2 3