Scherenschnitte (Scissor Cut) Stamping
by Melanie Schulenberg
Recreate the famous Scherenschnitte silhouette technique using rubberstamping supplies.
Supplies

- Stamps, Stampin' Up!'s Forest Friends used here
- Versamark™, or other embossing ink
- Clear Embossing Powder
- Heat Embossing Tool
- Black and light colored cardstock
- Scissors
- Adhesive
- Border Punch
- Die Cut Templates
Step-by-Step
-
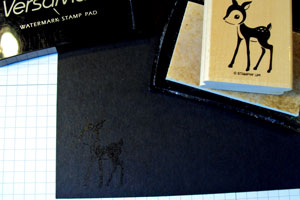
Step 1
Stamp your desired image with Versamark™ ink on to a scrap sheet of black cardstock.
-
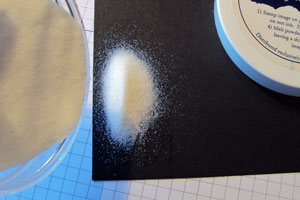
Step 2
Sprinkle clear embossing powder over image.
-
Step 3
Tap off excess embossing powder and heat set with your embossing tool.

-
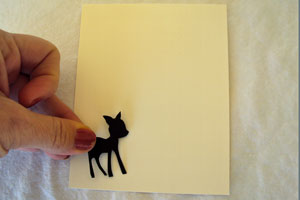
Step 4
Remove extra cardstock so you have only your embossed image. Cut out your image.
Hint:
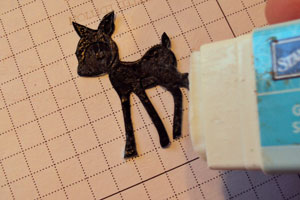
For detailed areas (like the legs of this fawn), trim the inner most cardstock first before removing the outer area. This will allow extra support for holding your image while trimming.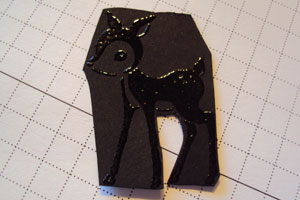
-
Step 5
Apply glue to the ‘glossy’ side of your heat-embossed image (the embossed side will be faced down on your card front).
-
Step 6
Adhere image to a neutral colored card front.
-
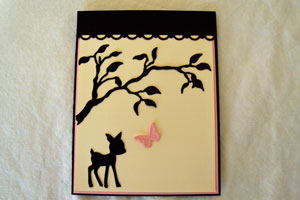
Step 7
Finish your card front by adding more stamped, punched or die cut images if neccessary.
Video!
Variations
-
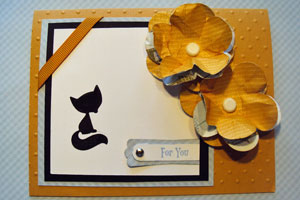
Scherenschnitte stamping on neutral cardstock
Stamp your image in black ink on neutral cardstock. Color in your image with black marker.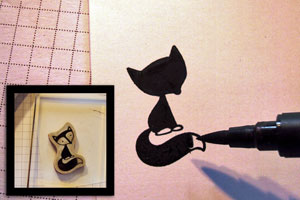
-
Finish your project.
Your Turn
You've seen the tutorial, now you try it! We've got a section of the gallery set aside for Scherenschnitte (Scissor Cut) Stamping. Try this technique, then upload your artwork to the gallery. Show us your creations!
***Please note - Internet Explorer/Edge is not a supported browser, and will not allow you to see the videos. Please use Chrome, Firefox or Safari to view our tutorial videos.

Questions and Comments
We'd love to get your feedback or questions. Leave your comment below.
Page 3 of 3 pages < 1 2 3