Scallop Squares with Scallop Edge Punch
by Mary Jo Albright
Create Scallop Rectangles and Squares with the Scallop Edge Punch.
Supplies

- Scallop Edge Punch
- Cardstock
- Paper Cutter
Step-by-Step
-
Step 1
Hold the Scallop Edge Punch upside-down.
Place your cardstock piece all the way into the punch until it stops and is in between two scallops. Punch.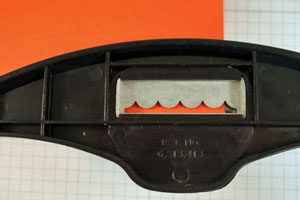
-
Step 2
Continue this process of punching until you have reached your desired length.
-
Step 3
Once you have determined your length, cut between two scallops using your paper cutter.
-
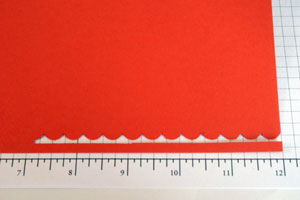
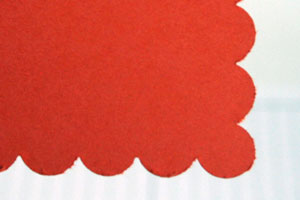
Picture of one finished punched side after cut in paper cutter

-
Step 4
Place your cardstock piece back into the Scallop Edge Punch but NOT the whole way in.
Just line it up with the bottom of the metal scallops. You want the end scallop to line up perfectly with one whole scallop.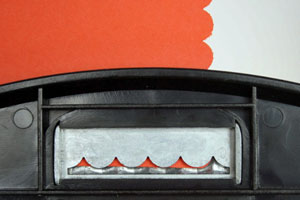
-
Close up of a perfectly punched corner.
-
Step 5
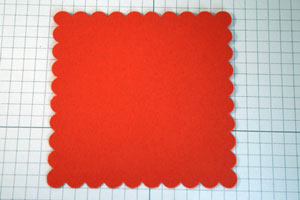
Continue this process till you have three sides done. At this point, you need to determine the width of your cardstock piece (how many scallops).
Sample shown is going to be a square scallop with 10 scallops to each side.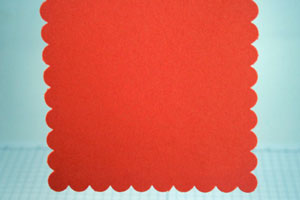
-
Step 6
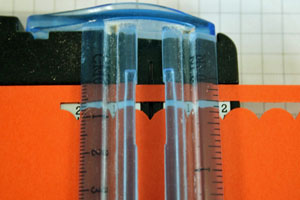
Place your cardstock piece back into your paper cutter. Line up and cut between scallops.
Here, it was cut between the 10th scallop of each side.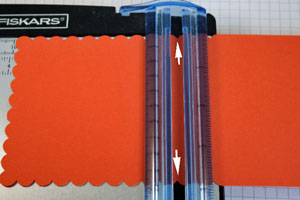
-
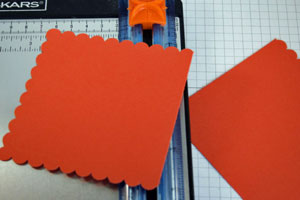
You have to make sure you cut the cardstock between the correct scallops or you will not have a straight line and your corners will not match up.
-
Step 7
Place the last side of your cardstock square back into your punch, lining up again with the cardstock along the base of the metal punch (not the whole way into the punch till the cardstock stops).
Make sure your corner scallop is lined up with a metal scallop punch.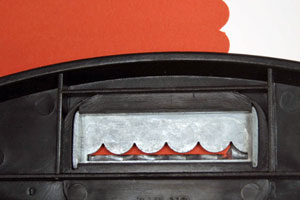
-
You now have a punched shape with perfectly rounded, matching up corners.
-
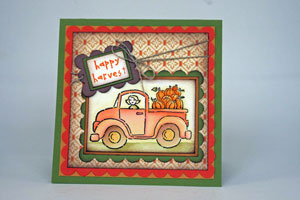
Step 8
Finish your project.
Video!
Variations
Different sizes:
With this tutorial, you can create any size square or rectangle you need for your project. Just change the number of scallops in your first row.
Clean it up:
You may need to use your paper snips to some punched scallops as I did have some areas that needed some cleaning up where it was punched (small paper fibers after cutting that hung from side of cardstock).

Questions and Comments
We'd love to get your feedback or questions. Leave your comment below.
Thanks!
Thanks for this tutorial
just love this, and I will try it:)
xx sonja
Page 4 of 4 pages « First < 2 3 4