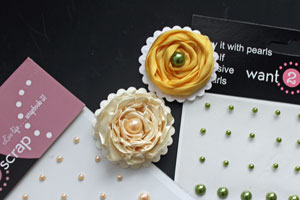
Rolled Ribbon Flower
by Beate Johns
Learn how to roll ribbon into a flower.
Supplies
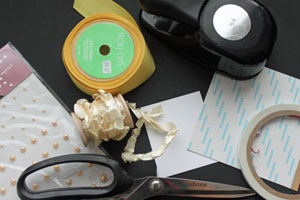
- Ribbon
- Scor-Tape™ sheet, or other strong adhesive sheet
- Scissors
- Cardstock
- Circle Punch
- Embellishments, Want2Scrap Pearls used here
Step-by-Step
-
Step 1
Punch out a circle out of cardstock as well as the adhesive sheet.
Hint:
Your finished flower will be the size of your circles.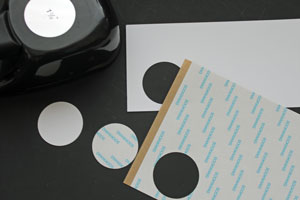
-
Step 2
Adhere the adhesive circle to the cardstock circle.
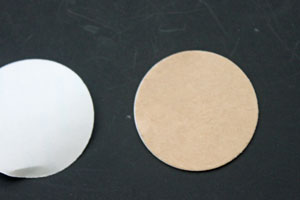
-
Peel off adhesive circle liner.
-
Step 3
Tie a knot in one end of your ribbon.
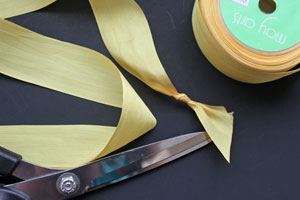
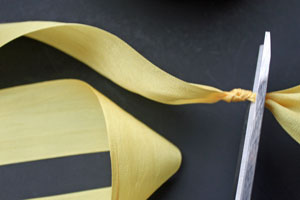
-
Cut off the short end of the ribbon close to your knot.
-
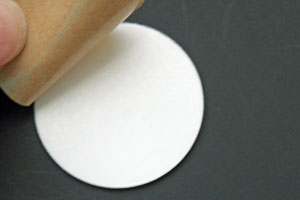
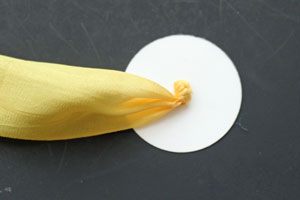
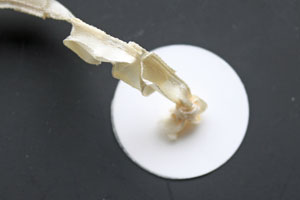
Step 4
Press the ribbon knot (with the short end down) into the center of your sticky cardstock circle. This will be your flower center.
-
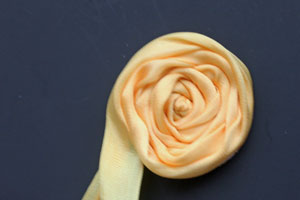
Step 5
Start twisting your ribbon and roll it around your flower center.
Hint:
With wide ribbon, like shown in the tutorial, it's easiest if you fold the ribbon in half before starting to twist and roll it.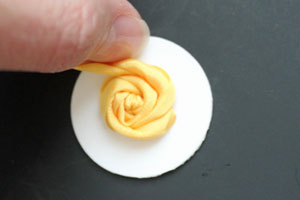
-
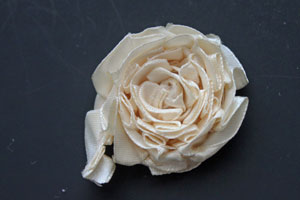
Continue to twist and adhere your ribbon until your cardstock circle is covered.
-
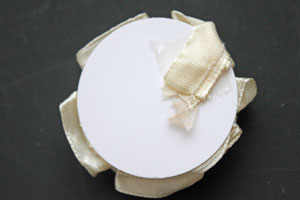
Step 6
Flip Flower around and add adhesive on the edge of your cardstock circle.

-
Step 7
Adhere the ribbon end and - if needed - the overhanging edges of the ribbon to the cardstock back.
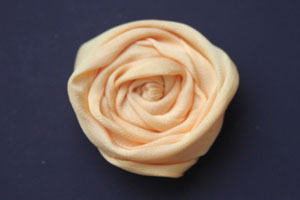
-
Your rolled ribbon flower is ready to be embellished and used.
-
Step 8
Try the same flower style with pleated or ruffled ribbon.
Tie a knot at the end of your ribbon piece and cut the short end off.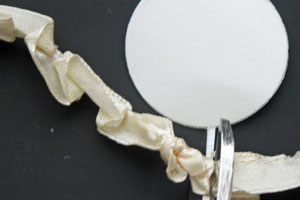
-
Adhere to the center of a sticky cardstock circle.
-
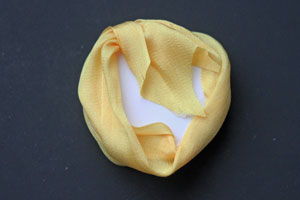
Step 9
Start adhering the stitched edge of your ribbon to your cardstock and wrap it around your knot.
Difference:
You won't twist the ribbon as you go. Just adhere the stitched edge down.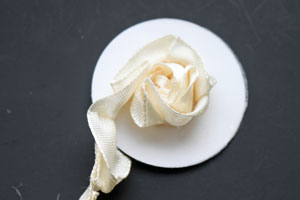
-
Continue to do so until your entire cardstock circle is covered.
-
Step 10
Add adhesive to the back of the cardstock and tape the end of the ribbon down.
-
Step 11
Add pearls, rhinestones or buttons to the center of your flower.
-
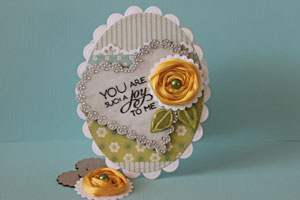
Step 12
Use flowers to decorate your project.
Video!
Variations
Alternative Adhesives:
-Try using Cosmo Crickets Glubers instead of making your own adhesive cardstock circles
-Use a glue gun to adhere ribbon down.
Fabric works too!
Cut fabric in strips and roll them up instead of ribbon.
Your Turn
You've seen the tutorial, now you try it! We've got a section of the gallery set aside for Rolled Ribbon Flower. Try this technique, then upload your artwork to the gallery. Show us your creations!
***Please note - Internet Explorer/Edge is not a supported browser, and will not allow you to see the videos. Please use Chrome, Firefox or Safari to view our tutorial videos.
 *
*
Questions and Comments
We'd love to get your feedback or questions. Leave your comment below.
I definitely think you can make pins out of those. Maybe also use stiffer ribbon, not the silk that I showed in the yellow flower.
You might also switch to stronger glue for that since pins will be handled more? Maybe a hot glue gun or fabric glue.
He IS Able!
Traci S.
Page 2 of 2 pages < 1 2