Creating Frames with Nestabilities™ dies
by Beate Johns
Create cardstock frames with Nestabilities dies.
Supplies

- Cardstock
- Wizard™, or other die cut machine
- Two Cutting Mats
- Magnetic Spacer Plate
- Tan Embossing Mat
- Two Nestabilities™ dies, that will create your frame, Label 13 Nestabilities dies used here
Step-by-Step
-
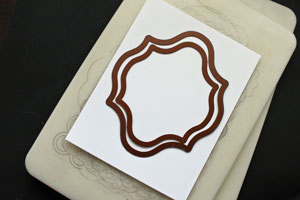
Step 1
Place a piece of cardstock on a Cutting Mat. Place your two Nestabilities™ dies on top of it, cutting lines facing down.

-
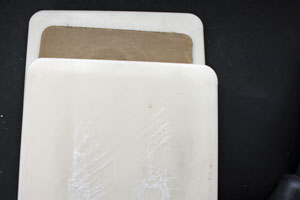
Step 2
Top dies first with magnetic spacer plate, then with second cutting mat.

-
Run sandwich through the Wizard™.
-
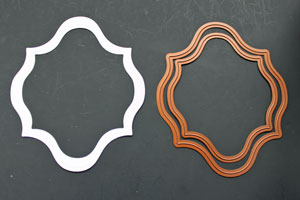
Step 3
Place dies cutting lines facing up with your cardstock frame between the dies.

-
Step 3
Top sandwich first with tan embossing mat, then with second cutting mat. Run sandwich through the Wizard™.
-
Step 4
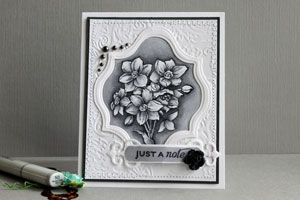
Your frame is ready to use on your project.
-
Video!
Variations
-
Using a different die-cutting system?
You can find a comprehensive download that provides sandwich recipes for most major die-cutting machines on the market here.
Mix and Match
You don't always have to use the same die shape. Try a regular oval, circle or square die inside a label die.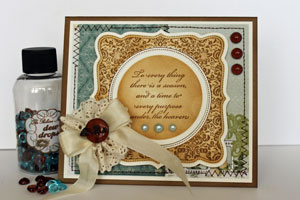
 *
*
Questions and Comments
We'd love to get your feedback or questions. Leave your comment below.
Page 2 of 2 pages < 1 2