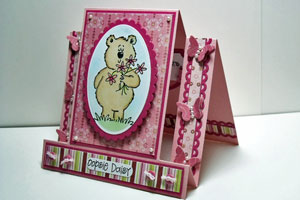
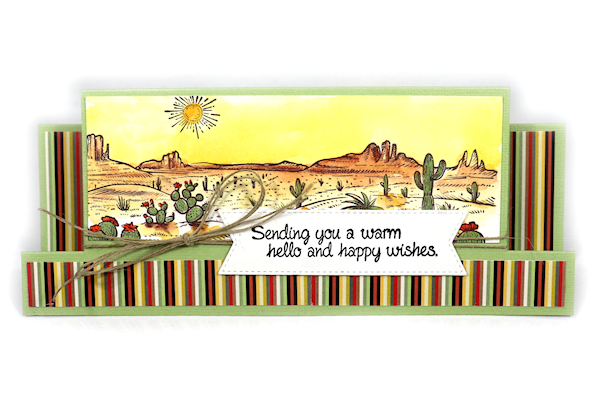
Center Step Card
by Frances Byrne
Create a unique card with a few cut and score lines.
Supplies
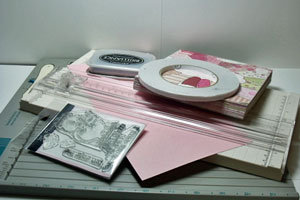
- One 5 1/2" x 11" piece of cardstock for card base
- Scor-Pal™, or other scoring tool
- Paper trimmer
- Adhesive
- Stamps
- Ink
- Additional cardstock, pattern paper and embellishments for decoration
Step-by-Step
-
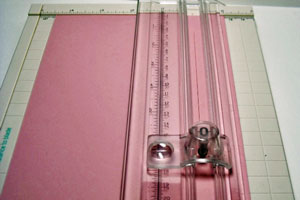
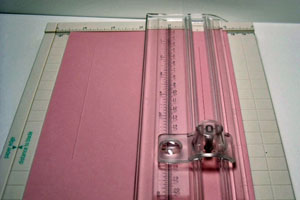
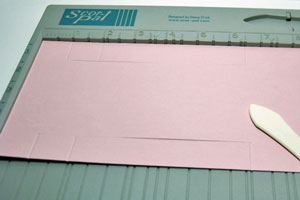
Step 1
Line cardstock up in paper trimmer so that the edge of the card is at the 1" mark. Position the cutting blade at 1" and cut from 1" to 6.5".
-
Flip card over and do the same on the other side.
-
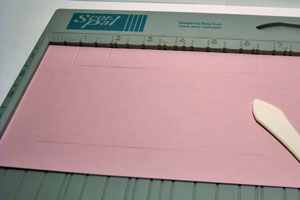
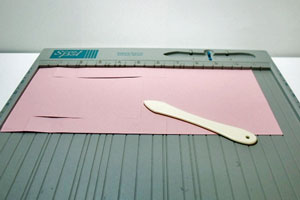
Step 2
Place cardstock onto scoring tool and score along the long side of the card from the edge to the cut line at 1", 2" and 6.5".
-
Step 3
Repeat step 3 on opposite edge of card.
-
Step 4
Score between cut lines at 5 1/2".
-
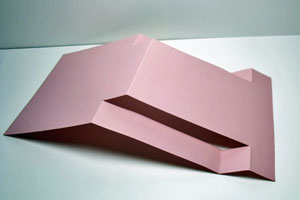
Step 5
Fold at the score lines. The first, third and center score lines are mountain folds. The second score line is a valley fold. Reinforce score lines to make folds crisp.
-

-
Step 6
Stamp and decorate your card as desired.
Video!
Variations
-
For a slimline version of the card, cut the card base to 8 1/2" x 7". From the 8 1/2" side, follow Step 1, and cut from 1" to 4 1/2", 1" from both sides. For Step 2-3, score at 1", 2", and 4 1/2". For Step 4, score at 3 1/2".
Your Turn
You've seen the tutorial, now you try it! We've got a section of the gallery set aside for Center Step Card. Try this technique, then upload your artwork to the gallery. Show us your creations!
***Please note - Internet Explorer/Edge is not a supported browser, and will not allow you to see the videos. Please use Chrome, Firefox or Safari to view our tutorial videos.

 *
*
Questions and Comments
We'd love to get your feedback or questions. Leave your comment below.
hugs:-)
the name of your paper cutter? I have tried
several, but not seen one like yours.
Thanks for the info.
Thanks for sharing.
MaryNell
Page 3 of 6 pages < 1 2 3 4 5 > Last »