Baby Wipe
by Beate Johns
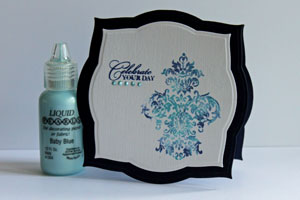
Add drops of re-inker onto a baby wipe and create multicolored images.
Supplies
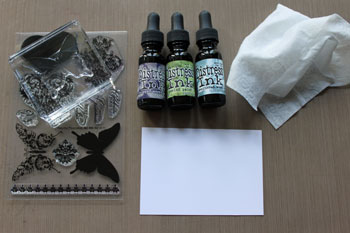
- Baby wipe
- Two or Three Dye Re-Inkers
- Craft sheet or paper plate
- Solid stamp, (Flourishes Fanciful Flourishes used here)
- Neutral cardstock
Step-by-Step
-
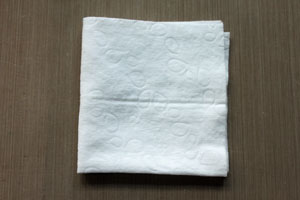
Step 1
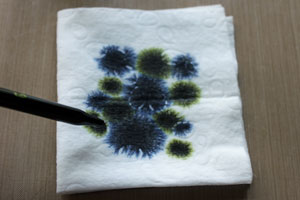
Fold the baby wipe in half, then fold in half again. Place on a craft sheet or paper plate.
-
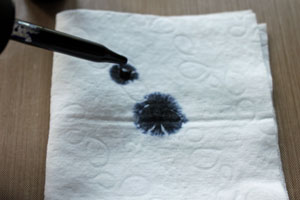
Step 2
Starting with the darkest color of re-inker, start adding drops of it on the baby wipe.
-
-
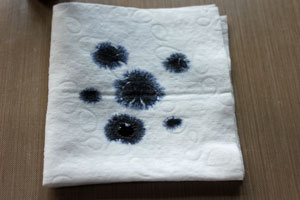
Step 3
With the second re-inker, add more drops to the wipe.
-
Step 4
With the lightest colored re-inker, fill in all the white spaces you have left on the baby wipe.

-
Step 5
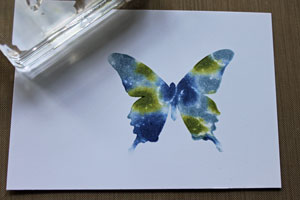
Ink up the stamp using this makeshift inkpad.

-
Stamp the image on cardstock.
-
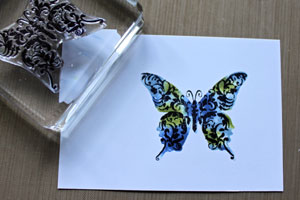
Step 6 (Optional)
If you have a two-step stamp set, stamp the second image over the solid one for a more detailed look.
-
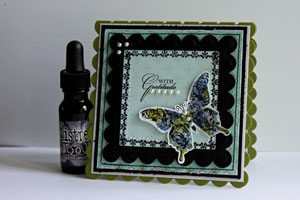
Step 7
Finish your project.
Video!
Variations
-
Try detailed stamps
When working with outline stamps, use ornamental ones and keep your color combinations monochromatic.
-
Striped Wipe
Try creating a striped background with baby wipes. Check out our Striped Wipe tutorial.
Your Turn
You've seen the tutorial, now you try it! We've got a section of the gallery set aside for Baby Wipe. Try this technique, then upload your artwork to the gallery. Show us your creations!
***Please note - Internet Explorer/Edge is not a supported browser, and will not allow you to see the videos. Please use Chrome, Firefox or Safari to view our tutorial videos.
Questions and Comments
We'd love to get your feedback or questions. Leave your comment below.
your tutorial have inspired me to get all of this wonderful stuff, but I have a few questions, firstly when you say baby wipes it looks like an embossed tissue.our referral to baby wipes is a wet one so I am a little confused as to weather the baby wipe is wet to start with. is it possible for you to clarify that for me as the idea is wonderful what you do with it. I am very keen to get started on all these ideas thanks for your wonderful talent. kind regards Sarina
The baby wipe I used is a regular baby wipe. It's wet, right out of the baby wipe box.
Can't wait to see your creation!
I will order all the stamp stuff now and start creating hopefully it wont take to long to get here.
Ciao Sarina
forgot to ask you the butterfly fanciful flourishes set are they all solid stamps or is it just a template, if so how do i get the solid stamps of the two part butterfly
thanks
& artistic way to use as your inkpad...Thanx for
sharing ...gonna try it
Page 2 of 2 pages < 1 2