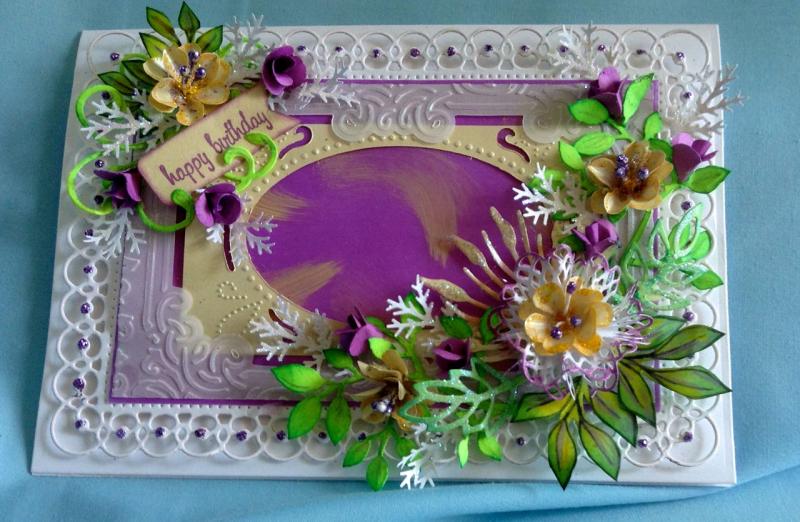
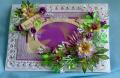
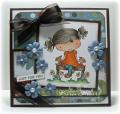
How I made my Hinge card.
The Card Base is made cutting an 8 ½” x 11” piece of cardstock in ½ so you have 2 - 8 ½” x 5 ½” pieces. Cut 1 piece using Spellbinders “5” x 7” Matting Basics A”. On the 2nd piece, score the 7 side at ½” and fold on the line. Lay the folded edge of the cardstock on the Die so it doesn't quite meet the cutting edge and cut out. This creates the hinge. Use “Red Line Tape” on the hinge. Adhere the 2 pieces together so the hinge is on the bottom, inside of the card. Now you can cover where the 2 pieces are joined when you add the layers.
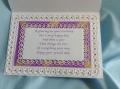
Emboss and Die Cut 2 of the 5” x 7” Detailed Scallops – Die #3 out of white cardstock (1 for the front and 1 for the inside). Place a small dot of Lavender Stickles on the embossed dot on each scallop as shown in completed picture.
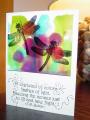
Cut Lavender Vellum 5 7/16” x 3 7/16”. Using “Thatched Straw Chalk Ink” make random swishes on the purple vellum to tie the yellow and purple together. Adhere the Vellum over the Detailed Scallops. Be sure it doesn’t cover the embossed holes. Use Dimensionals to adhere the “detailed scallops” layer to the card front.
Cut a piece of “Frost Metallic Vellum” 5 3/8” x 3 3/8”. Run through the “Cuttlebug Embossing Plus Brocade Window Folder”. Run a piece of “Autumn Hay Metallic Vellum” through the “Cuttlebug Embossing Plus Elegant Ellipse Folder”. Center and adhere the “Elegant Ellipse” to the back of the “Brocade Window” using Glue Dots. Center and adhere both pieces to the card front using glue dots on the corners.
Cutting a Spellbinders 7/8” circle out of white cardstock makes the base of the doily flower. Fold in ½, open. Fold in ½ the opposite way, open. Cut 2 doilies per flower using a “1 ¾” Die-namics Mini Doily Circle”. Sponge the edges in Purple Hydrangea Chalk Ink. Cut the doilies in ½. Fold the ½ in ½ so that the right side is folded in. Fold the top of the dolly over toward the crease. Turn over and fold the back of the doily toward the crease. Repeat on the rest of the doily pieces. Place glue on the center fold line of the doily and glue to one of the folds on the flower base. Be careful not to glue the sides of the doily. Repeat so you have 4 pieces no the base. Spread the folds of the doily out so your flower is round. The center of the flower is made from the Rose Creations die #1. I added 3 stamen to the center and 4 around the outside petals. Glue the center inside the doily pieces. I made 3 extra centers to add to the card front.
The tag is cut from Spellbinders “Charmed I Sure Dies. The rose buds were made using a Marvy 7/8” 6-Petal Flower Punch and Purple Cardstock. I also used Martha Stewart’s Branch Punch; Marianne Creatables Seed and Head Leaves; Marianne Creatables Anja Leaves 3; Digi Leaves.
Date: Saturday, January 18, 2014 GMT Views: 1191
Favorited:8
Registered: March 30, 2008 Location: Somewhere between the Shire & Mordor! Posts: 4643
Sat, Jan 18, 2014 @ 3:09 PM
This is SOOOO GORGEOUS!!!!!!!!! WHAT A LOT OF WORK you put into this!!! The recipient will TREASURE THIS!!!!!!!!! It's a DELIGHT to look at!!! THANK YOU FOR SHARING WITH US!!!!!!;)


 WHAT A LOT OF WORK you put into this!!! The recipient will TREASURE THIS!!!!!!!!!


