Grungeboard Bracelet
by Beate Johns
Create a bracelet out of Grungeboard™.
Supplies
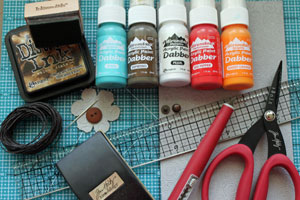
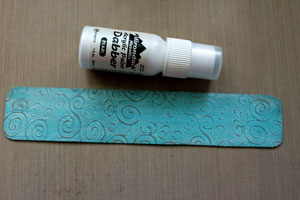
- One sheet of Grungeboard (5"x 7 7/8")
- Hobby blade
- Acrylic paint
- Hinge fastener
- Crop-a-Dile™
- Sanding tool
- Scissors
- Dark ink (Walnut Stain Distress ink used here)
- Blending tool
- Embellishments
Step-by-Step
-
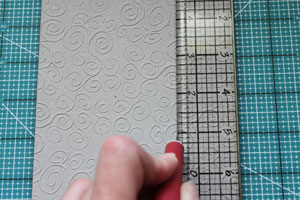
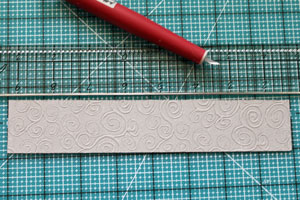
Step 1
Cut the Grungeboard to the desired width.
-
The sample measures 1 1/2" wide.
-
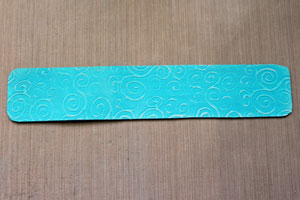
Step 2
Round the corners of the strip with scissors.
Hint:
The Crop-A-Dile™ Corner Chomper also works to round the corners of Grungeboard.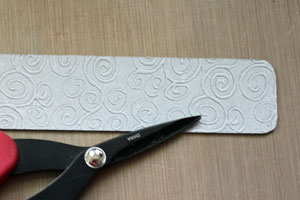
-
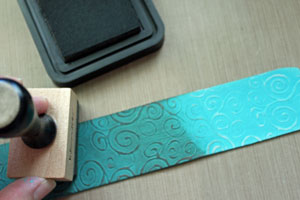
Step 3
Paint the front of your bracelet. Let dry.
Hint:
When using embossed Grungeboard, the front will be the side with the raised pattern.
If using plain Grungeboard, you can emboss it with an embossing folder before painting.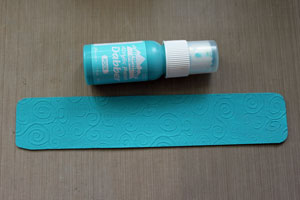
-
Flip the bracelet over and paint the back.
-
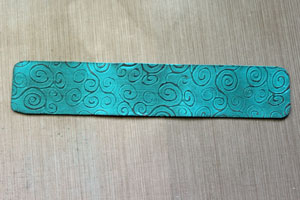
Step 4
Sand the front of the bracelet.
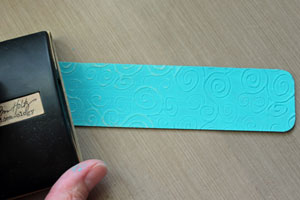
-
This will remove the acrylic paint from the raised pattern. Clean the dust off the bracelet with a cloth.
-
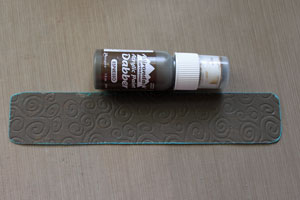
Step 5
Sponge dark ink onto the sanded Grungeboard.
-
-
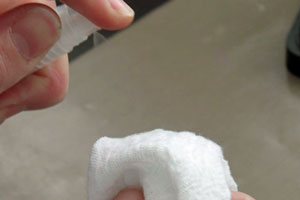
Step 6
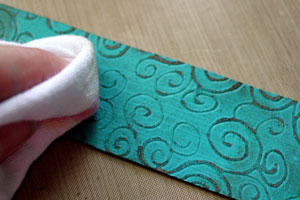
Spray a piece of cloth lightly with water.
-
Wipe the Grungeboard gently with the damp cloth. The dark ink will come off the painted areas, staining only the sanded areas.
-
Step 7 (Optional)
Paint the piece with Pearl acrylic paint for a soft shimmer.
-
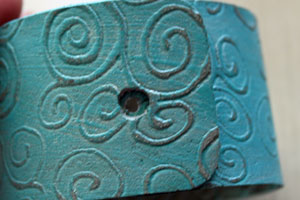
Step 8
Center a 3/16" hole punch on one end of your strip and punch a hole.

-
Hint:
Offset the hole punch just a tad and punch again for a slightly bigger hole. It will make it easier to close the bracelet.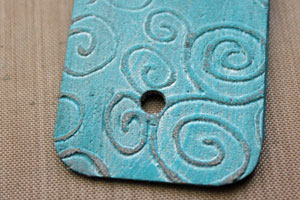
-
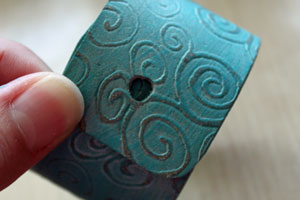
Step 9
Fold the other end of the strip behind the end with the punched hole.
-
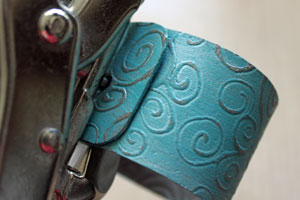
Step 10
Keeping the bracelet closed, punch a 1/8" hole through the bigger hole.
-
-
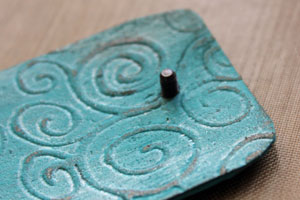
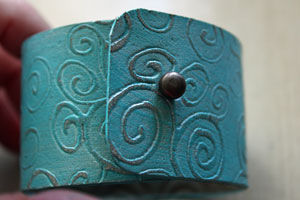
Step 11
Place the screw end of your hitch fastener through the 1/8" hole.
-
Screw on the top of the fastener.

-
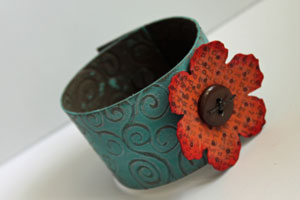
Step 12
Close your bracelet.
-
Add embellishments.
Video!
Your Turn
You've seen the tutorial, now you try it! We've got a section of the gallery set aside for Grungeboard Bracelet. Try this technique, then upload your artwork to the gallery. Show us your creations!
***Please note - Internet Explorer/Edge is not a supported browser, and will not allow you to see the videos. Please use Chrome, Firefox or Safari to view our tutorial videos.
Questions and Comments
We'd love to get your feedback or questions. Leave your comment below.
What is the actual lb. weight of "Grunge Board"? 70lb..80lb?
I would hate to purchase card stock I already have. As an art director I have many samples of varies weight paper and card stock.
so using my stash would be ideal. I have the other Tim Holtz products.
Thanks a bunch
T.
Thanks so much!!
Smita
shelia
Tim Holtz Idea-Ology Hitch Fasteners - 12PK/Antique Metallics # 2034841
reg. $3.99 sale $2.79
Tim Holtz Grungeboard Basics - 10PK/Plain
# 2082618 reg. $9.99 sale $6.99
Hope that helps!
Page 1 of 2 pages 1 2 >