Grungeboard Bracelet

by Beate Johns

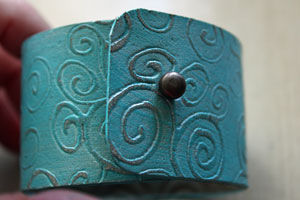
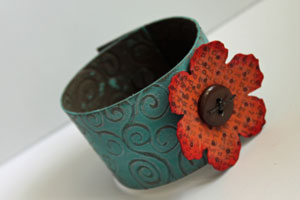
Create a bracelet out of Grungeboard™.

Supplies
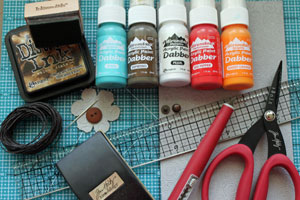
  • One sheet of Grungeboard (5"x 7 7/8")

  • Hobby blade

  • Acrylic paint

  • Hinge fastener

  • Crop-a-Dile™

  • Sanding tool

  • Scissors

  • Dark ink (Walnut Stain Distress ink used here)

  • Blending tool

  • Embellishments

Step-by-Step

  1. Step 1

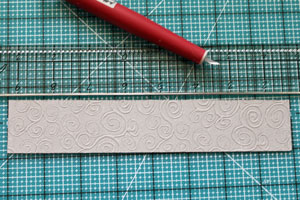
    Cut the Grungeboard to the desired width.
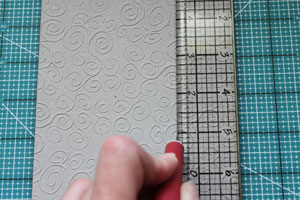
  2. The sample measures 1 1/2" wide.

  3. Step 2

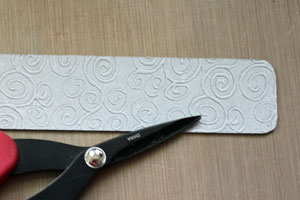
    Round the corners of the strip with scissors.

    Hint:
    The Crop-A-Dile™ Corner Chomper also works to round the corners of Grungeboard.
  4. Step 3

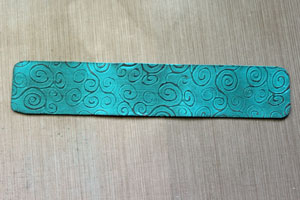
    Paint the front of your bracelet. Let dry.

    Hint:
    When using embossed Grungeboard, the front will be the side with the raised pattern.
    If using plain Grungeboard, you can emboss it with an embossing folder before painting.
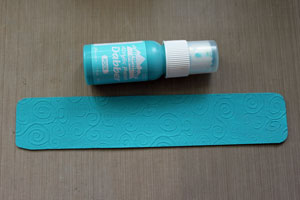
  5. Flip the bracelet over and paint the back.
  6. Step 4

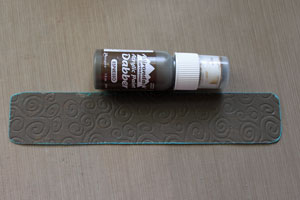
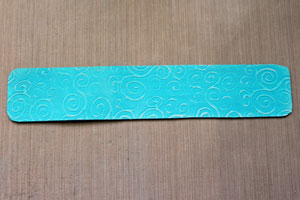
    Sand the front of the bracelet.
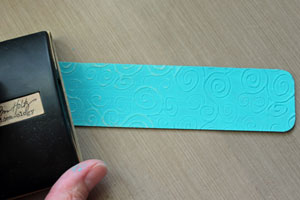
  7. This will remove the acrylic paint from the raised pattern. Clean the dust off the bracelet with a cloth.
  8. Step 5

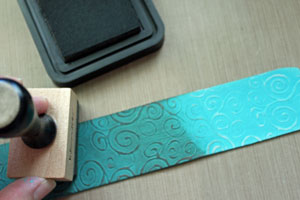
    Sponge dark ink onto the sanded Grungeboard.
  9. Step 6

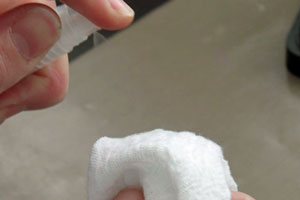
    Spray a piece of cloth lightly with water.
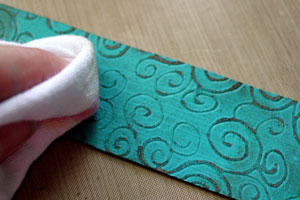
  10. Wipe the Grungeboard gently with the damp cloth. The dark ink will come off the painted areas, staining only the sanded areas.
  11. Step 7 (Optional)

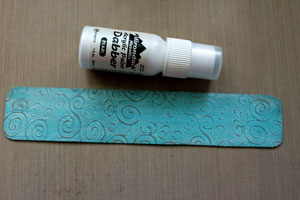
    Paint the piece with Pearl acrylic paint for a soft shimmer.
  12. Step 8

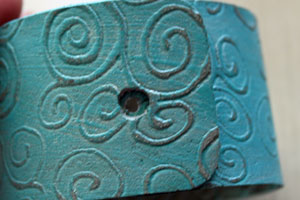
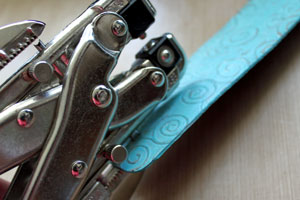
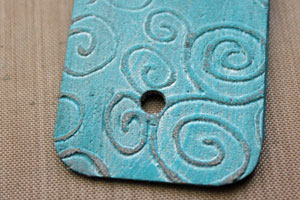
    Center a 3/16" hole punch on one end of your strip and punch a hole.
  13. Hint:
    Offset the hole punch just a tad and punch again for a slightly bigger hole. It will make it easier to close the bracelet.
  14. Step 9

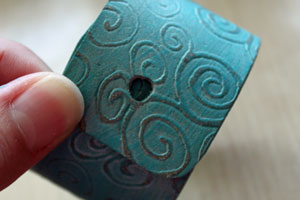
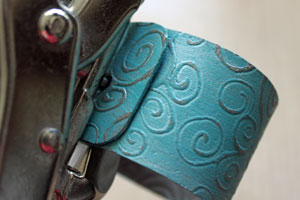
    Fold the other end of the strip behind the end with the punched hole.
  15. Step 10

    Keeping the bracelet closed, punch a 1/8" hole through the bigger hole.
  16. Step 11

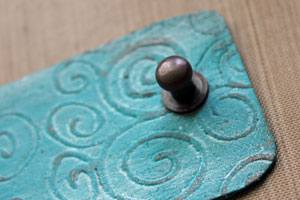
    Place the screw end of your hitch fastener through the 1/8" hole.
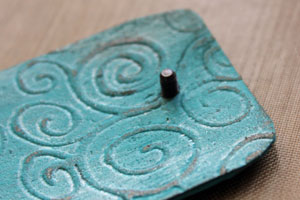
  17. Screw on the top of the fastener.

  18. Step 12

    Close your bracelet.

  19. Add embellishments.

Video!

Your Turn

You've seen the tutorial, now you try it! We've got a section of the gallery set aside for Grungeboard Bracelet. Try this technique, then upload your artwork to the gallery. Show us your creations!

***Please note - Internet Explorer/Edge is not a supported browser, and will not allow you to see the videos. Please use Chrome, Firefox or Safari to view our tutorial videos.

Questions and Comments

We'd love to get your feedback or questions. Leave your comment below.

oh beate , youve done it again ...your an awesome crafter ..love watching your tutorials ... thanks for all you do ... and i purchase the things you show me .love it ..from ink and paint to nesties die cutters ...now grunge board .keep up the great work you do ...anne marie
anne marie  |  Wed Jun 2, 2010 at 8:36 PM
I have become a Tim Holtz nut. Love my daubbers. I'm making my own decorated paper with the them.
Your braclets are grand! Did you just cut out the flower or use the Sissix?
Bonnie  |  Wed Jun 2, 2010 at 11:01 PM
Bonnie - The flower looks like one of the flowers from the Tim Holtz Tattered Florals Sizzix Bigz Die.

The bracelet is awesome! Will definitely be making some of these. Simple enough, but a lovely result.
Lisa  |  Thu Jun 3, 2010 at 12:19 AM
Lisa is right. The flower was cut with Tim's Tattered Floral Alteration die, inked with Orange and Red Paint Dabbers and stamped with one of his stamp sets.
It was sewn to the bracelet with wax linen and a button.
Hugs and smiles
Beate  |  Thu Jun 3, 2010 at 4:49 AM
Very cool and I have all the supplies to make one. That's the best tutorial to find smile
Sandi M  |  Thu Jun 3, 2010 at 5:00 AM
Really cute... and you used my favorite colors. Thank you for sharing!
Kathy  |  Thu Jun 3, 2010 at 11:09 AM
Beate: Thanks soooo much for this tutorial it's amazing!!! I loved it so much I played around with some grungeboard and It was sooo much fun I am thinking of making more and sending them to some young cousins of mine in Colorado. Hope you'll check out my blog and see how you inspired me!!!
Betty aka ZacksNana  |  Sat Jun 5, 2010 at 2:48 PM
I had a lot of fun showing Beate how I made the grunge bracelet that I was wearing at Ranger U. I am glad she showed you all how to do it. Beate did a great job with the tutorial, as usual.

Allie Gower  |  Mon Jun 7, 2010 at 3:23 PM
I have a question. I want to put the piece through my Big Shot with an embossing folder, however the bracelet is too long for the folder, so it doesn't go through properly. Or I have to put one end through and then turn the bracelet around and run the other end through
in order to get a pattern on it. I can run the grunge PAPER through this way, but I can't with the grunge BOARD as it is too long and too thick. Any suggestions on what to do??
Diana
chocolate rose  |  Tue Jun 8, 2010 at 11:11 PM
Hi Diana,
You will have to first emboss on part of the grungeboard, then emboss the other. Why wouldn't that work with grungeboard?
beate  |  Wed Jun 9, 2010 at 8:23 AM
There is nothing wrong with using grungepaper for your bracelet. That's what mine is made of and I have been wearing it off and on for about a year.

Allie
Allie Gower  |  Wed Jun 9, 2010 at 9:25 AM
I have made a few with grunge paper and they are really nice. The problem with the grunge BOARD is the piece is longer than the folder- therefore it sticks out over the edge of the folder and THAT part is too thick to go through the machine. I have tried it several times. The folder would need to be longer so that the g'board stays flat! I hope I have explained what I mean...
chocolate rose  |  Wed Jun 9, 2010 at 10:11 AM
Each to his/her own taste. But there are so many variations that one can make. Everyone loves the ones I have made, none of which are like the one here. This technique is meant to show what CAN be done with the grunge board/paper.
chocolate rose  |  Wed Jul 7, 2010 at 11:26 AM
I just love grundge board! Thanks for an excellent idea on using it in a different way. I've been working with metal clay, so I have an excellent idea for using the grundge board for a bracelet with a metal name plate. I'll try it and see how it goes.
Tiffany  |  Tue Aug 3, 2010 at 1:31 AM
Just wondering how you made the flower and attached it to the bracelet. I'm going to make these with 6th graders for a craft club. I think they will get a kick out of it. Thanks
Susan Scully  |  Fri Oct 29, 2010 at 6:14 AM
Is there some way to block these people, who are selling their products, from posting on this website? It's annoying to keep getting this stuff. Perhaps they have nothing better to do...
chocolate rose  |  Thu Jun 2, 2011 at 11:53 AM

Page 2 of 2 pages  <  1 2

Commenting is not available in this weblog entry.

GET OUR NEWSLETTER


Splitcoaststampers's privacy policy