Embossed Embossing
by Beverly Gerard
Learn how to heat emboss dry embossed layers for a unique background.
Supplies
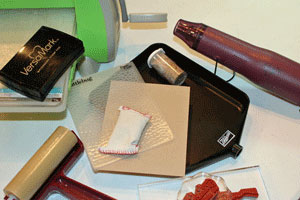
- Cardstock
- Die cutting machine
- Embossing folder
- Versamark™, or other embossing ink
- Embossing powder
- Anti-static puff
- Powder tray, or paper to retrieve embossing powder
- Brayer
- Heat gun
- Stamps, cardstock, embellishments to complete your project
Step-by-Step
-
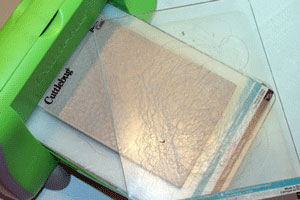
Step 1
Place cardstock inside the embossing folder and emboss with a die cutting machine per manufacturer instructions.
-
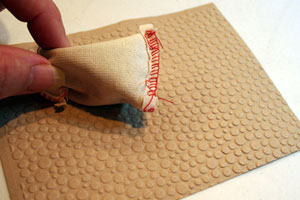
Step 2
Apply the anti-static powder over the entire dry embossed cardstock. This step makes a significant difference in the finished product.
-
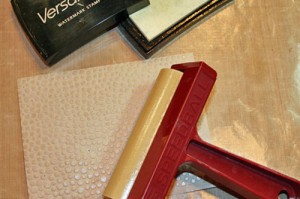
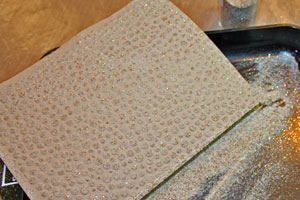
Step 3
Ink up the brayer with clear embossing ink. Using gentle pressure, carefully roll the ink onto the raised surfaces of the cardstock. Your goal is to apply ink only to these raised areas. Reink the brayer as necessary during ink application.
-
Step 4
Sprinkle embossing powder onto the entire inked surface - clear embossing powder used here. Tap off all excess powder before applying heat.
-
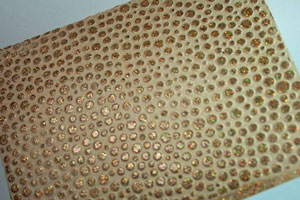
Step 5
Gently heat the embossing powder, being sure to keep the heat tool moving during this process. Do not overheat the powder.

-
Step 6
Trim or die cut the embossed piece to the size needed for your creation.
-
Complete your project.

Video!
Your Turn
You've seen the tutorial, now you try it! We've got a section of the gallery set aside for Embossed Embossing. Try this technique, then upload your artwork to the gallery. Show us your creations!
***Please note - Internet Explorer/Edge is not a supported browser, and will not allow you to see the videos. Please use Chrome, Firefox or Safari to view our tutorial videos.

Questions and Comments
We'd love to get your feedback or questions. Leave your comment below.
Thank you so much for doing this tutorial. Just today, I was looking through an old magazine that showed a card that must have had this technique on it...and I couldn't figure it out. Thank you for opening up yet another stamping horizon for me!
Awesome tutorial!
He IS Able,
Traci S.
thanks!
Page 4 of 4 pages « First < 2 3 4