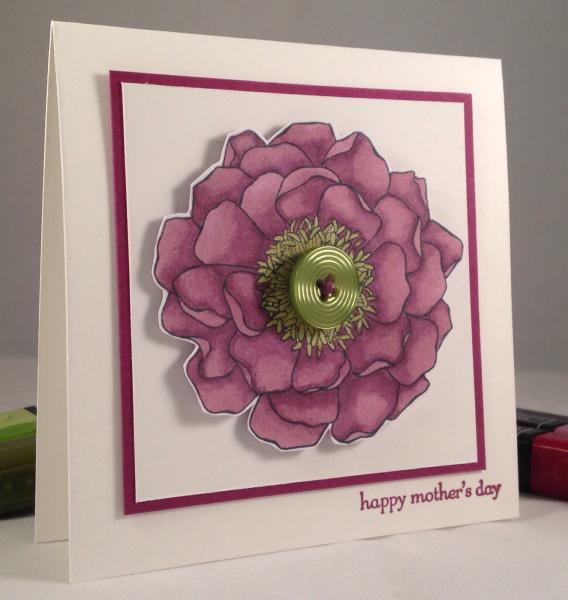
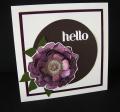
I love this stamp! Loving the markers too! So easy to make a clean card without the mess of watercoloring. No more guessing which Copics match my paper and ink. Can't wait to do more of them! It's been nice being off the couch today!
Date: Wednesday, May 7, 2014 GMT Views: 3868
Favorited:36
Registered: January 27, 2005 Location: near Santa's Village Posts: 279
Thu, May 08, 2014 @ 4:51 AM
Just lovely! Can't wait to get my markers! Hope my coloring turns out half as good as yours.
------------------------------ How far you go in life depends on your being tender with the young, compassssionate with the aged, sympathetic with the striving, and tolerant of the weak and the strong because someday you will have been all of these.--George Washington Carver
Registered: September 4, 2013 Location: Roy, WA Posts: 81
Thu, May 08, 2014 @ 7:50 AM
Thanks. I didn't follow the directions given during the catalog premiere. I worked one petal at a time when shading as well, just as I would with Copics. I still worked from darkest to lightest. I used the fine tip, as the brush tip lays down too much color for my liking. I'm also afraid of breaking it. Without being able to replace the brush end I plan on using it sparingly. I will work on a color map one of these days. Just try one petal at a time if you're working with flowers so the ink doesn't dry before you can blend it.
Splitcoast Dirty Dozen Alumni Creative Crew SU Design Team Alumni
Registered: October 29, 2004 Location: Coos Bay, Oregon Posts: 24007
Fri, May 09, 2014 @ 5:03 PM
Wow...LOVE how you colored and fussy cut your flower. Your button looks perfect as well as your simple framing. One petal would be my advice too. I am learning that you need to keep your ink wet as you go from dark to light so you can blend the lines better.
I don't think you have to worry about the brush tip. Being nylon it should be very durable. TFS, Nancy