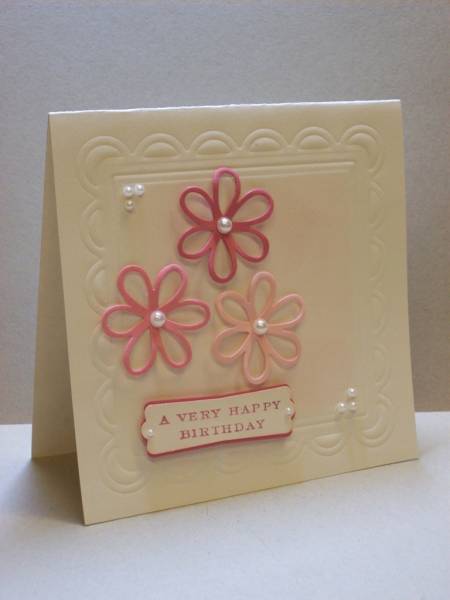
This card was inspired by hobbydujour's wonderful creation, A Daisy Hello - * IC265 A Daisy Hello by hobbydujour at Splitcoaststampers
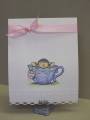
I soon discovered that I didn't have a steady enough hand to make the beautiful score lines she used create the frame. Instead I chose to dry emboss the largest Lacey Square nestie onto the card front, as well as a slightly smaller square nestie. Before removing the square nestie from the cardfront, I sponged a soft pink ink onto the open space (can't remember if it was SU Pink Pir. or Memento Angel Pink#. The flowers are die cut from 3 different shades of pink using a old Cuttlebug 2 X 6 die called Flowers. The sentiment panel was created by layering the off white punched piece over a rose colored punched piece that had been cut in half lenghwise and taped from the back to show the rose edging slightly above and below the off white piece. It was then pop-dotted onto the card front.
And in case you need to know how to dry emboss #rather than cut# a Nestie onto CS, here's how I did it: Place the Nestie on your card front, with the cutting edge facing DOWN - secure this in place with a post-a-note or repositionable tape. Now place this face down onto your cutting plate, which in a Cuttlebug is a B Plate #you will not be able to see your Nestie, it's laying against the B Plate. Top this with the tan embossing mat and a cs shim and the remaining B Plate. Crank 'er through and see what comes out on the other side! If all goes well, you should have a beautifully embossed frame on your card front.
Thanks for looking!
Date: Saturday, March 5, 2011 GMT Views: 1166
Favorited:23
Registered: November 20, 2007 Location: Gresham, OR Posts: 64
Sat, Mar 05, 2011 @ 8:57 PM
Beautiful! Thank you so much for sharing your directions for the embossing. So helpful! I wish more posters would do that! Again, very beautiful that you for sharing! ;)