Yo-Yo Spinner Card
by Deb Valder
Pull a string to make an element on this card spin.
Supplies
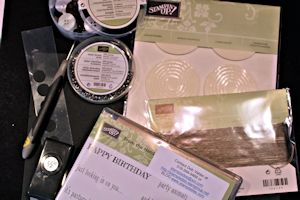
- Stamps or a die cut image (Stampin’ Up! From the Herd set used here)
- Cardstock (Whisper White and Basic Black used here)
- Heavy acetate
- Adhesive foam circle (Stampin’ Up! Shaker Frame used here)
- Mini brad
- Narrow ribbon or twine , about 7" (linen thread used here)
- Piercing tool and mat
- Glue dots
- 2 buttons
- Other supplies as needed to complete the project (Blendabilities markers, Memento Tuxedo Black ink)
Step-by-Step
-
Step 1
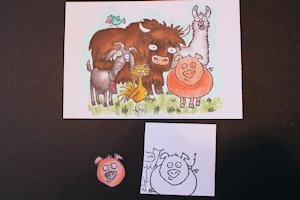
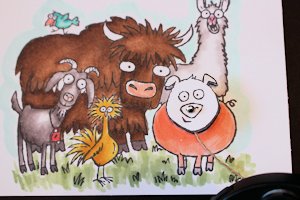
Stamp and color a focal image on a white cardstock panel (this panel is 3 1/4" x 4 3/4", sized for layering on a card front).
Choose the element that will spin, and stamp it 2 more times on scraps of white cardstock. Color one of the images that will spin and leave one uncolored. Cut out the two spinner images. -
Step 2
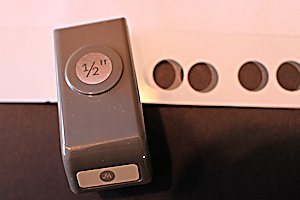
Punch two 1/2" circles from the acetate.
TIP:
Layer a piece of scrap paper behind the acetate when punching for a clean cut. -
Step 3
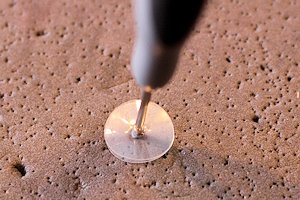
Using a piercing tool, punch a hole in the center of the two acetate circles, and the center of an adhesive foam circle (the center piece of the shaker frames is used here).
-
Line up the uncolored spinner image onto the complete image, and pierce a hole in the center of both pieces.
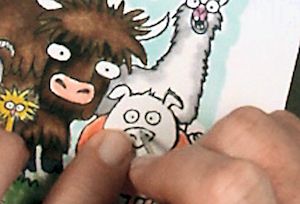
-
Step 4
Starting from the front to the back, insert a mini brad into the uncolored spinner image.
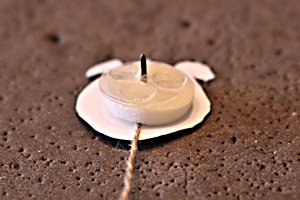
Next, adhere the foam circle to the back of the uncolored spinner image, tucking the end of the ribbon or twine in between.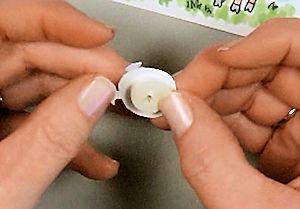
-
Take off the backing from the foam circle, and layer one of the acetate circles on it. Add the other acetate circle. Put a few glue dots on the outside of the last acetate circle (be sure the glue dots are up – do not glue the two acetate circles together).
-
Step 5
Take the pieces that are attached by the brad, and insert the brad end into the hole pierced in the full image. Open up the brad so the layers are now secure.
-
Step 6
Glue the colored spinner image over the uncolored one to cover the brad.
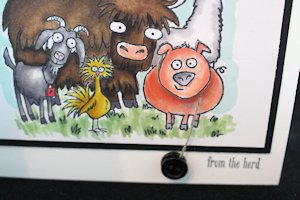
Put a glue dot on each of the buttons and sandwich them onto the end of the pull string. Wrap the pull string around the spinner piece, and you are ready to pull! -
Step 7
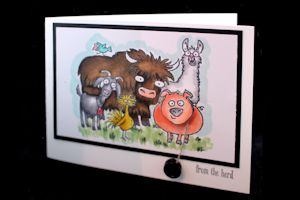
Assemble and complete the card.
Video!
Variations
-
Instead of a stamped image, use a die cut or dimensional embellishment as the spinner.
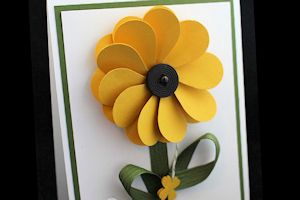
Your Turn
You've seen the tutorial, now you try it! We've got a section of the gallery set aside for Yo-Yo Spinner Card. Try this technique, then upload your artwork to the gallery. Show us your creations!
***Please note - Internet Explorer/Edge is not a supported browser, and will not allow you to see the videos. Please use Chrome, Firefox or Safari to view our tutorial videos.

Questions and Comments
We'd love to get your feedback or questions. Leave your comment below.
The foam is like the spindle on the inside of the yo-yo and should be smaller than the image you want to spin.
Sandwich the foam between 2 slightly larger circles of card stock. This keeps the string in place when you wind it up. Put the image on the front. Attach one acetate circle to the back (adhesive side down), and the other acetate circle on top of that (adhesive side
up). Then you can insert the brad through the card front and attach that to the card base.
So much fun!
Page 2 of 2 pages < 1 2