Word Card
by Dina Kowal
Create a card shaped like a word.
Supplies
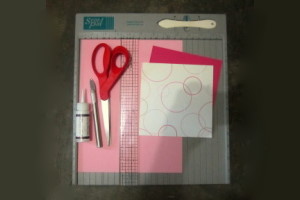
- One 3 1/2" x 10 1/2" piece of cardstock for card base
- Patterned paper or coordinating cardstock to decorate letters
- Printable word card template
- Scor-Pal, or other scoring tool
- Scissors/craft knife
- Ruler
- Adhesive
Step-by-Step
-
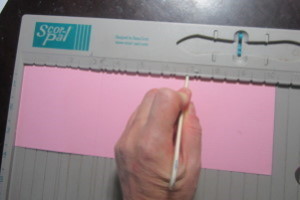
Step 1
Score the card base at 3 1/2" and 7".
-
Step 2
Print the letter template on cardstock and cut out the pieces.
Word Card Template
(Hint - If you have trouble downloading the template, update your Acrobat Reader at http://www.adobe.com)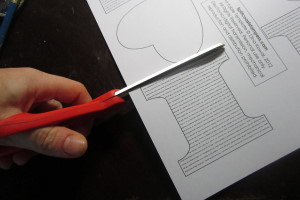
-
Step 3
You can use the printed pieces directly on your card, or use them as tracing templates on other cardstock.
These pieces are symmetrical, so you can flip them over if you don’t want to see the printed side.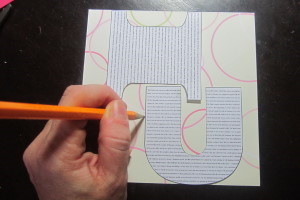
-
Step 4
Adhere the pieces to your card base, centering one in each section. There should be an 1/8" border around each piece.
-
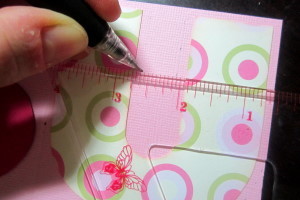
Step 5
Using a ruler, mark points around the edges of the pieces at 1/8" from the edge to give you a guide for cutting.
-
Step 6
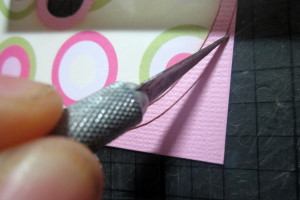
You may not want to cut every edge, so your card has more stability.

-
Use scissors or craft knife to cut at your drawn border.
-
Step 7
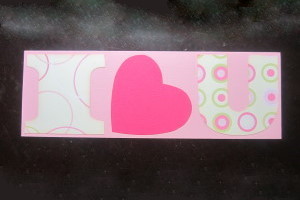
Your finished card base should look like this.

-
Step 8
Decorate your card.

Video!
Variations
1. Choose a word 3 or 4 letters long.
2. Find a font that is bulky with relatively straight sides.
3. In your photo editing program, create a new image for each letter, sizing the letters to the width you will need for your card. For a 3 letter word like the one in this tutorial, size the letters to a 3.25” square to fit a 3.5" panel width. For a 4 letter word, you would need 12” cardstock for your base, and the letters would be 2.75” wide to fit a 3" panel.
Paste the letters into a printable document, and follow the steps above.
Your Turn
You've seen the tutorial, now you try it! We've got a section of the gallery set aside for Word Card. Try this technique, then upload your artwork to the gallery. Show us your creations!
***Please note - Internet Explorer/Edge is not a supported browser, and will not allow you to see the videos. Please use Chrome, Firefox or Safari to view our tutorial videos.

 *
*
Questions and Comments
We'd love to get your feedback or questions. Leave your comment below.
Congratulations, i like this card tutorial much. Thank you for this great idea
Die Word Card ist einfach toll. Sch�ne Idee.
He IS Able!
Traci S.
Look at the words Step 2, in the picture tutorial there is a click-able link there for the template.
Page 3 of 4 pages < 1 2 3 4 >