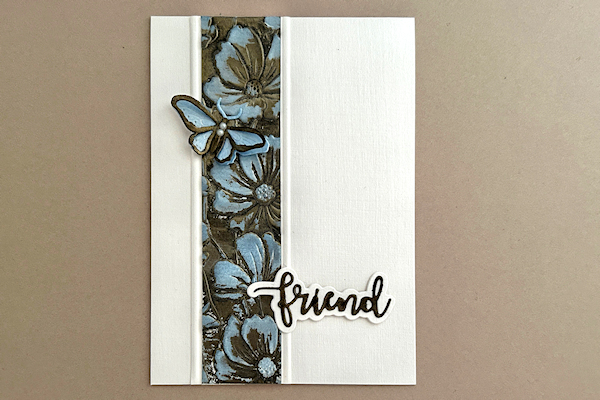
Two Tone Interference
by Chrissie Stokes
Show off the colors of an interference medium by applying it to a black and white base.
Supplies
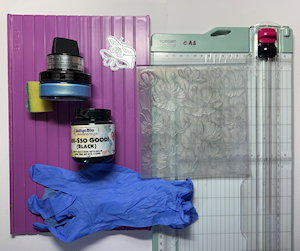
- Cardstock (Silkweave Linen by Syntego used here)
- Embossing folder (3D Embossing folder Poppies by Presscut used here)
- Interference paint or other interference medium (Creative Expressions Cosmic Shimmer Opal Polish - Summer Sky used here)
- Black paint or gesso (IndigoBlu Black GEE-SSO GOOD! used here)
- Gloves (optional)
- Piece of sponge or other applicator
- Other supplies as needed to complete the project (used here: The Greetery Curio: Summer Findings, Crafter's Companion Trimmer & Scoring Board, Optional sentiment dies
Step-by-Step
-
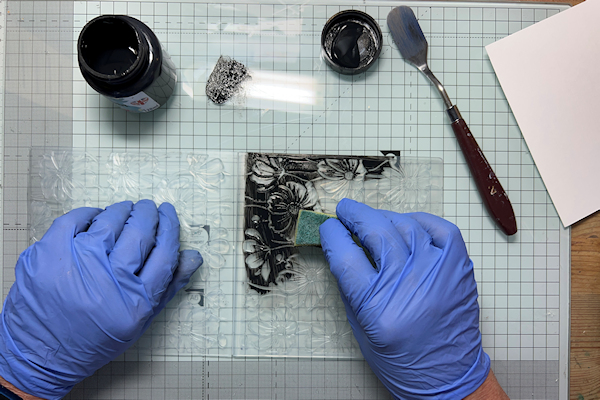
Step 1
Using a piece of sponge and with an extremely light touch, apply black gesso to the inside (flat side with debossed images). Try to avoid getting too much gesso in the depressions.
-
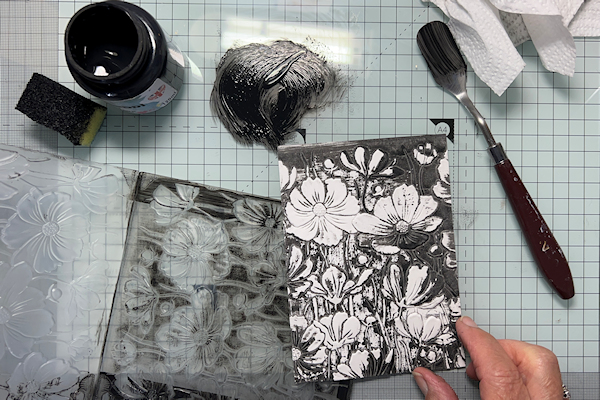
Step 2
Add a piece of card, right side facing the gesso, and run through your die cutting machine.
-
Step 3
Clean the embossing folder with a wipe and then ensure the embossed card is very dry.
-
Step 4
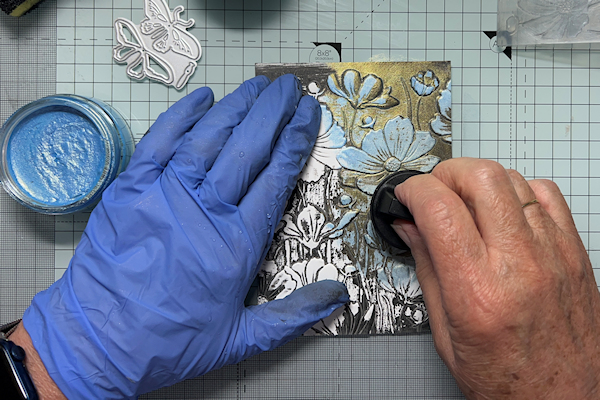
Apply Opal Polish or another interference medium evenly over the whole surface of the card.
-
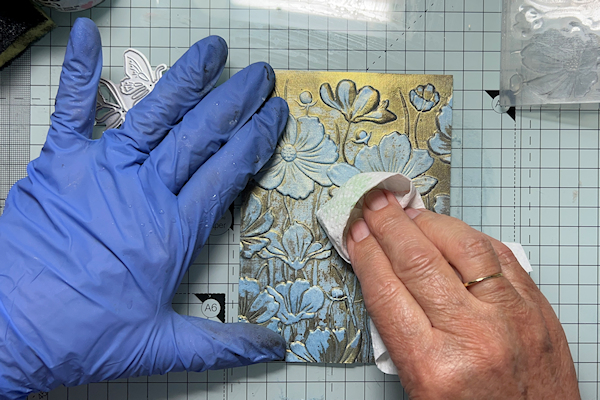
Step 5
Buff with a piece of paper towel.
-
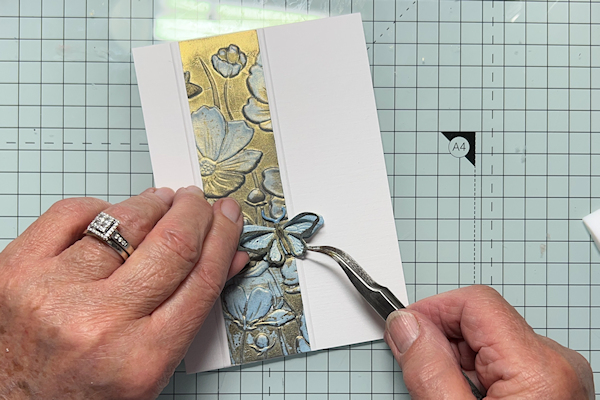
Step 6
Use the finished panel on a card or other project. Embellish as desired. The butterfly in the sample is cut with one white layer and one black layer, and the same medium was applied to both before assembling.
-
Step 7
Complete the project.

Video!
Your Turn
You've seen the tutorial, now you try it! We've got a section of the gallery set aside for Two Tone Interference. Try this technique, then upload your artwork to the gallery. Show us your creations!
***Please note - Internet Explorer/Edge is not a supported browser, and will not allow you to see the videos. Please use Chrome, Firefox or Safari to view our tutorial videos.

Questions and Comments
We'd love to get your feedback or questions. Leave your comment below.
Oooo...this is pretty!
At first I was thinking about blk CS but then I realized you want the white for the two tones.
She did two things I have not seen before..the scoring on the sides to have the raised frame for the panel and the bit about using the ball end to round the narrow cut edges. Nice finishing touches. Thank you!
Page 1 of 1 pages