Twisted Circular Easel Card
by Beate Johns
Create a circular Easel card with a twist.
Supplies
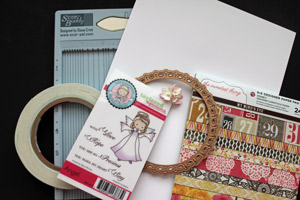
- Circle Die, Smallest Spellbinders™ Grand Decorative Circle Die used here
- Cardstock
- Scor-Tape™, or other strong adhesive
- Stamps, Taylored Expressions Angel used here
- Ink
- Cardstock, Patterned Paper and Embellishments to decorate card front and inside
Step-by-Step
-
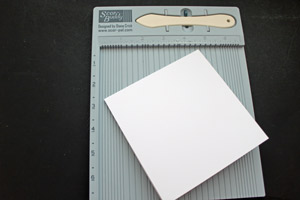
Step 1
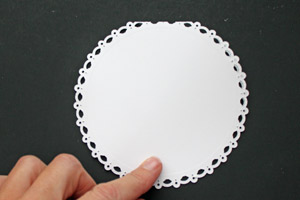
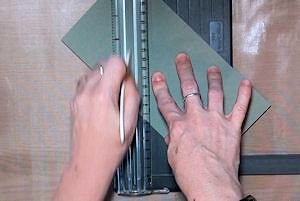
Fold cardstock in half to create card base. Cut and emboss with your circular die.
-
Make sure the fold of the card base is not cut with the die, leaving you a card "hinge".
Hint:
For this sample the smallest of the Grand Decorative Circles Nestabilities dies was used.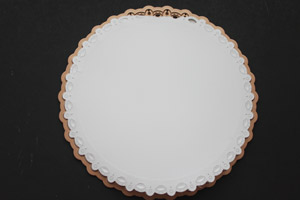
-
Step 2
Cut another piece of cardstock with the same circular die. This will be your card front.
-
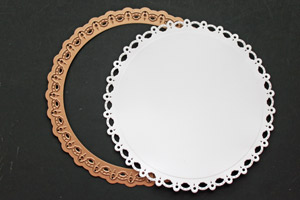
Step 3
Place your card base in front of you with the "card hinge" on top.
-
Step 4
Take the left side of the upper part of the card base and fold it over diagonally.
Hint:
If you are using a die with a decorative edge, make sure it lines up when you fold the base over.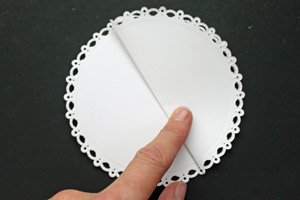
-
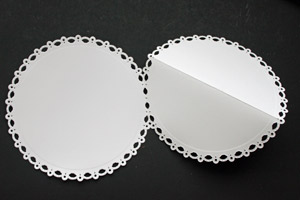
If you unfold your card base, it should look like this.
-
Step 5
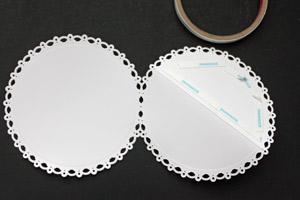
Add Scor-Tape™ to the 1/2 of the card front that was folded over and is pointing up.
-
Step 6
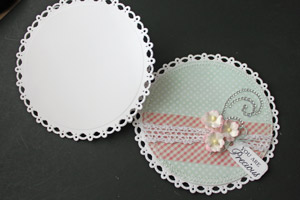
Adhere the card front to the part of the card front you just added adhesive to.
This is your twisted circular easel card base.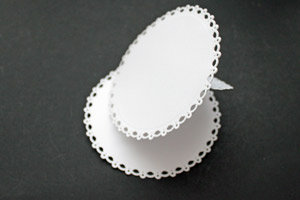
-
Step 7
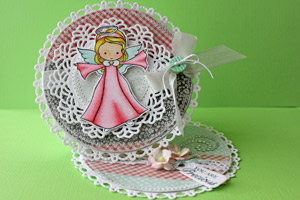
Create a layer to adhere to the inside of card. Make sure you have some embellishment on there that will stop your card front, when you pop it up.
-
Step 8
Adhere your layer to inside of card. Before you do, open the card to make sure the layer is adhered just the way you like it in relation to the card front.
-
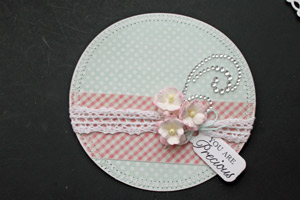
Step 9
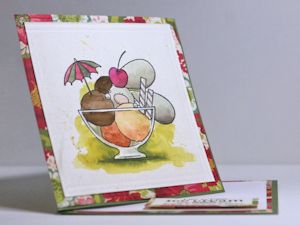
Create a your card front layer and adhere. Your Twisted Circular Easel card is finished.

Video!
Variations
-
Make it a square
Start with a 4 1/4" x 8 1/2" card base, scored at the center. Score diagonally from the upper left corner to the bottom of the center score line. Create a front panel for the card, 4 1/4 wide and 4 1/4 to 5 1/2 high. Adhere the panel to the lower triangular section of the front panel; do not put adhesive on the upper triangular portion. On the inside of the card, add a raised element toward the center of the panel that will hold the easel element open and in place when the card is open.
Your Turn
You've seen the tutorial, now you try it! We've got a section of the gallery set aside for Twisted Circular Easel Card. Try this technique, then upload your artwork to the gallery. Show us your creations!
***Please note - Internet Explorer/Edge is not a supported browser, and will not allow you to see the videos. Please use Chrome, Firefox or Safari to view our tutorial videos.
 *
*
Questions and Comments
We'd love to get your feedback or questions. Leave your comment below.
I used the smallest of the Decorative Grand Nestabilities Circles.
Thanks so much!
i have so many spellbinders..but do not have the
Grand Decorative Circle
i have a ton of the pendent/border sets..about 8 of those..and all the "regular" sets..large circle, etc.
and hardly use them...
maybe if you told me the size of the circle, i could substitute one i have?
thank you,
cheryl
It doesn't matter what my circle size is (it is bigger then the pendants, I started with a 5 1/2" x 11" piece of cardstock, folded in half), you can use your pendant to create a twisted easel card. It will just be a little smaller.
It sounds like your cardstock is too thick. Try a bit thinner cardstock. Neenah and Bazzill carsdtock (80 lbs) both worked for me before.
Page 2 of 2 pages < 1 2