Twill Flower
by Sherrie Siemens
Create a flower out of twill tape.
Supplies
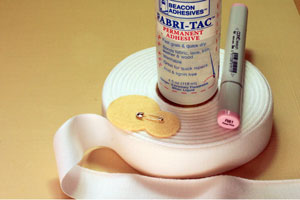
- White twill tape, (1" width used here)
- Fabric adhesive
- Alcohol-based marker
- Two felt circles, one 1" in diameter and one 1.5" in diameter
- Safety pin
- Crop-A-Dile™, or other sturdy hole punch
- Scissors
Step-by-Step
-
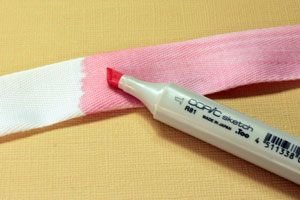
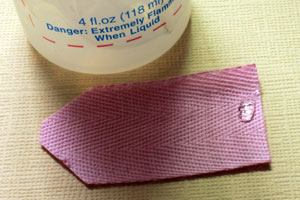
Step 1
Color your twill tape with an alcohol-based marker in any color.
-
Step 2
Cut eight 2" long strips.
Cut eight 1 1/4" long strips.
Cut one 9" long strip for the rosette.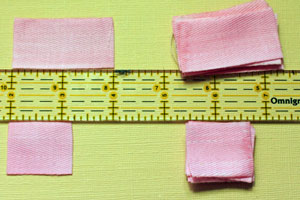
-
Step 3
Trim the corners off of one end of each strip with scissors.
Alternative:
For a more finished look on the edge, turn under the edges and glue them in place.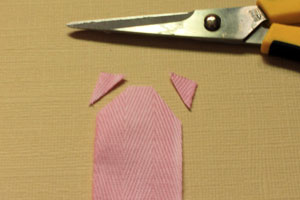
-
Step 4
On the untrimmed end, place a dot of glue in the center of the strip.
-
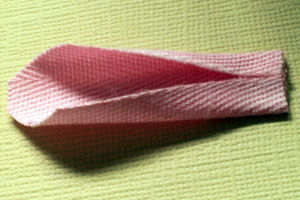
Step 5
Fold edges of twill tape to meet in the middle. Hold for a few seconds to secure with the glue.
-
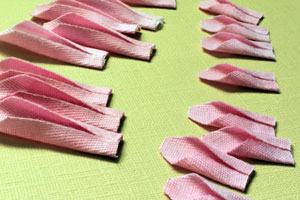
Step 6
Repeat step five with all of the flower petals - there are 16 petals.
-
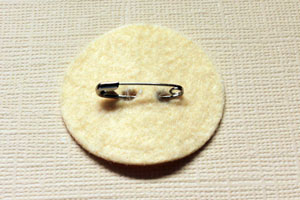
Step 7
Punch two holes in the larger felt circle and attach the safety pin.
-
Step 8
Place the eight longer flower petals on the large felt circle and glue into place.
Alternative:
You can run the felt circles through a Xyron® machine to attach an adhesive if you prefer that to glue.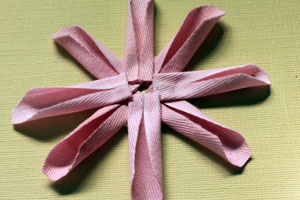
-
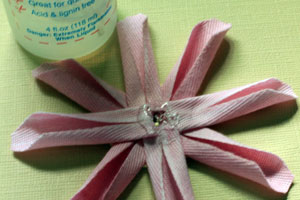
Step 9
Add glue to the center of the bottom layer and place the smaller felt circle on top, holding for a few seconds to secure.
-
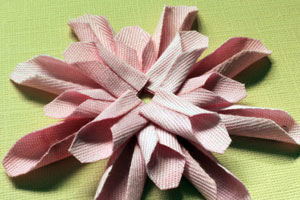
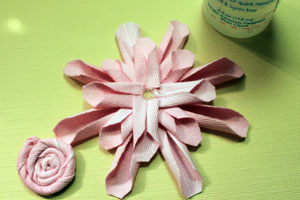
Step 10
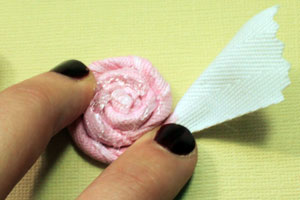
Add the second layer of petals, making sure to add them so they fill the spaces created in the first layer. The petals should not be laying directly on top of one another, but evenly spaced in a flower shape.
-
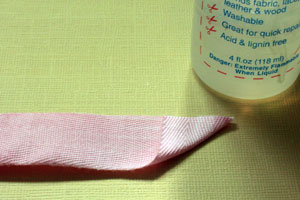
Step 11
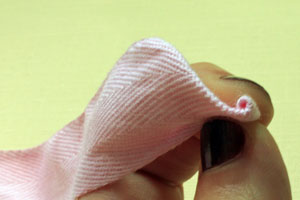
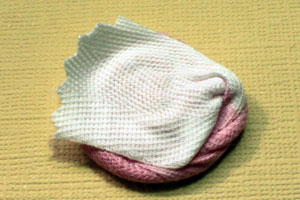
To prepare the rosette for the flower's center, fold down the corner of the twill tape at one end and secure with glue.
-
Step 12
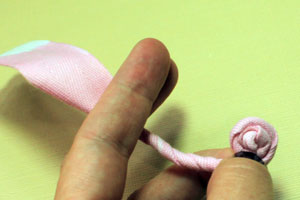
To create the center of the rosette roll the folded end in a circle.
-
Step 13
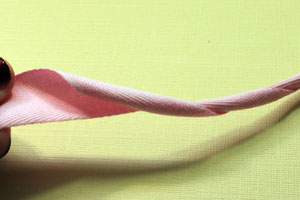
While holding the rosette center, twist the remaining amount of twill tape.
-
Step 14
Keep rolling the rosette while keeping the twill tape twisted.
-
Step 15
Lay rosette on a flat surface and add glue all over the back side.
-
Step 16
Secure rosette by pressing the tail of the twill onto the glue. Hold for a few seconds to secure.
-
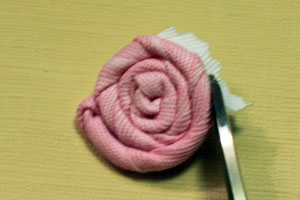
Step 17
Turn over to the right side and trim any of the excess which may be showing.
-
Step 18
Add a large dot of glue to the flower center to hold the rosette.
-
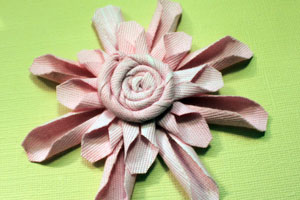
Step 19
Finished Flower.
-
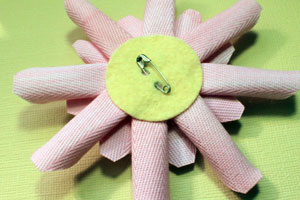
Step 20
This is how the back of the flower looks - you can pin this onto your card. The recipient is now able to detach this beautiful flower from the card and use it wherever they would like - on a canvas bag, a headband, etc.
-
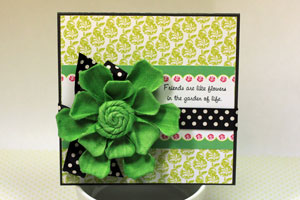
Step 21
Finished card made with a twill flower.

-
Twill flower in a different color.
Video!
Your Turn
You've seen the tutorial, now you try it! We've got a section of the gallery set aside for Twill Flower. Try this technique, then upload your artwork to the gallery. Show us your creations!
***Please note - Internet Explorer/Edge is not a supported browser, and will not allow you to see the videos. Please use Chrome, Firefox or Safari to view our tutorial videos.

Questions and Comments
We'd love to get your feedback or questions. Leave your comment below.
Page 2 of 2 pages < 1 2