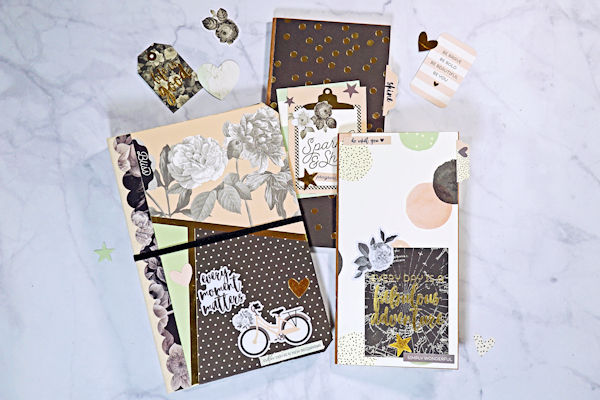
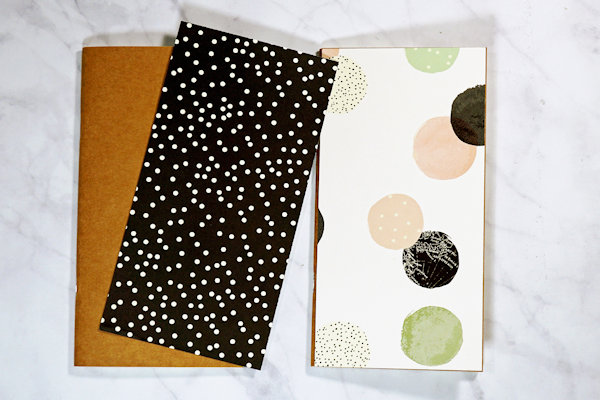
Traveler’s Notebook
by Tara Chaussee
Use a paper collection to create a travel keepsake journal.
Supplies
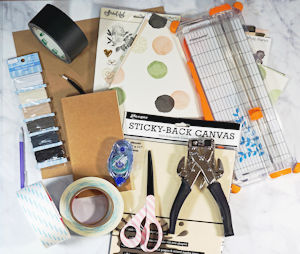
- Sturdy chipboard (Grafix medium weight used here)
- 12" x12" patterned paper of your choice (Simple Stories 'Beautiful' collection used here)
- Strong adhesives (various sizes of Scor-tape and Tombow Glue Tape used here)
- Sticky back canvas (Ranger 8 1/2" x 11" natural used here)
- Paper trimmer
- Scissors
- Pencil and ruler
- Corner rounder (We R Memory Keepers Corner Chomper used here)
- 2" book binding tape
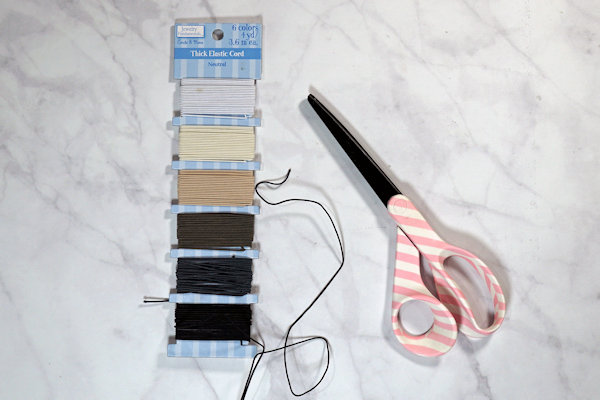
- Elastic cord (Jewelry Fundamentals from Joann used here)
- Small and large hole punch (We R Memory Keepers Crop-o-dile used here)
- Elastic closure (Tim Holtz elastic loop used here)
- Blank traveler's notebook refills/inserts
Step-by-Step
-
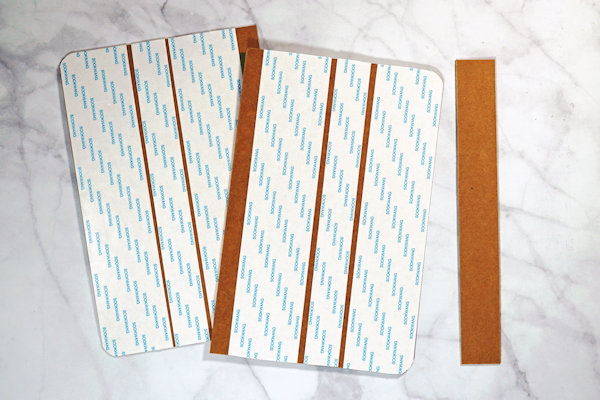
Step 1
Using a paper trimmer cut three (3) pieces of chipboard – two at 5 7/8" x 9" and one at 1 1/8" x 9". Round the two outside corners of the large pieces (this is optional but makes it easier to fold up the patterned paper without tearing). Apply strong adhesive to the front sides of the large pieces of chipboard (no need to apply adhesive to the small thin piece of chipboard).
-
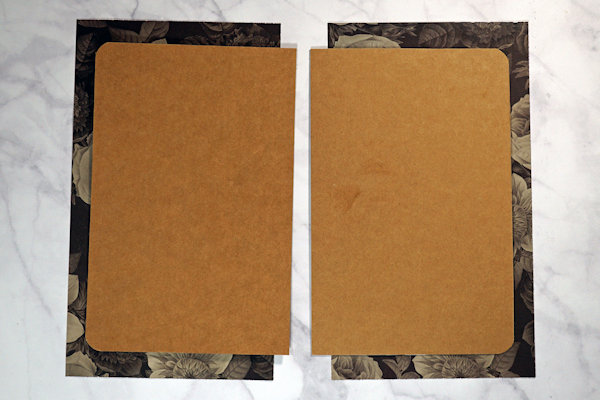
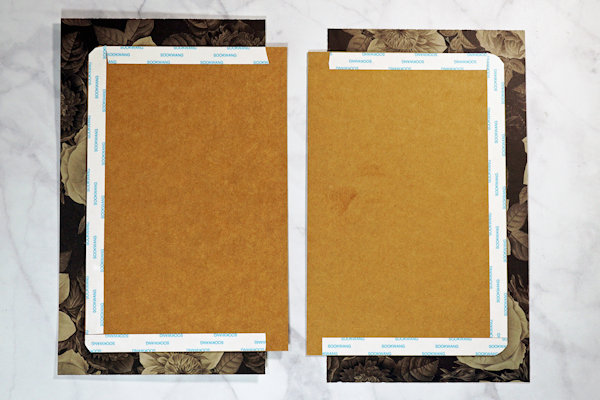
Step 2
Using a paper trimmer, cut a 12” x 12” sheet of patterned paper into two pieces that are 6" x 10 1/2". These pieces of paper will cover all but 3/4" of the chipboard, but you only use one sheet of paper and your covers will match. The uncovered portion will be covered in a later step.
Lay the patterned paper wrong side up on your work surface and place the adhesive-covered sides of the chipboard on top of those. Place the chipboard so there is 3/4" of paper around three sides. This includes the rounded corner side if you did that step. If you rounded the corners of your chipboard make sure they are facing in opposite directions. Press the chipboard firmly into place. -
Step 3
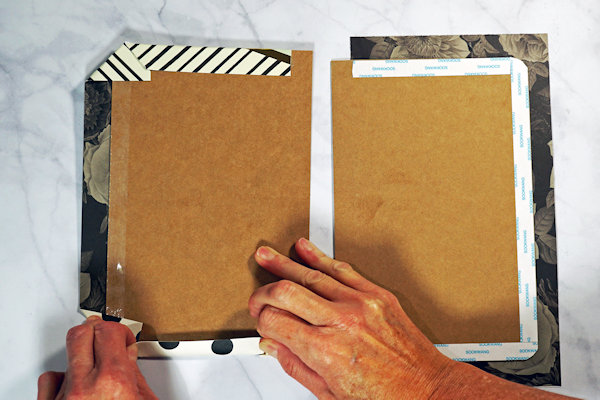
Apply adhesive to all outside edges of the chipboard where paper will be folded over onto them.
-
Beginning with the outside corners, firmly fold the patterned paper over the chipboard and press it into the adhesive. Do the same with the top and bottom edges and finish with the outside edge. Repeat for both covers.
-
Step 4
Using scissors or a paper trimmer, cut a piece of sticky back canvas to 3" x 11". Remove the adhesive covering and lay the canvas sticky side up on your work surface. Place the small piece of chipboard directly in the center of the canvas and press firmly.
-
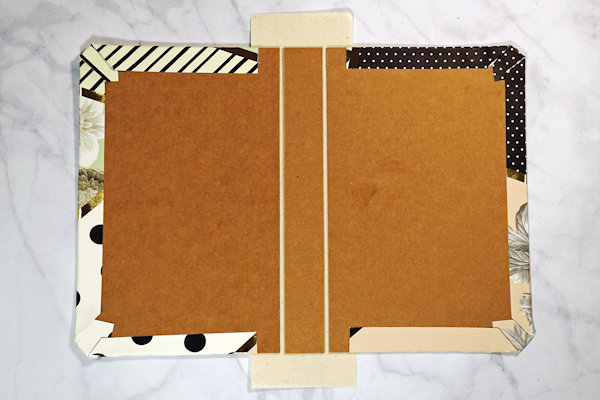
Step 5
Place the two covers with the patterned paper side down next to the center spine, making sure the top and bottom edges are even. * Important *- leave a 1/8" to 1/4" gap between the covers and the spine! This allows the book to open and close easily. Press firmly.
Fold the top and bottom edges of the sticky back canvas onto the chipboard and use your thumb to press the canvas into the gaps. -
Step 6
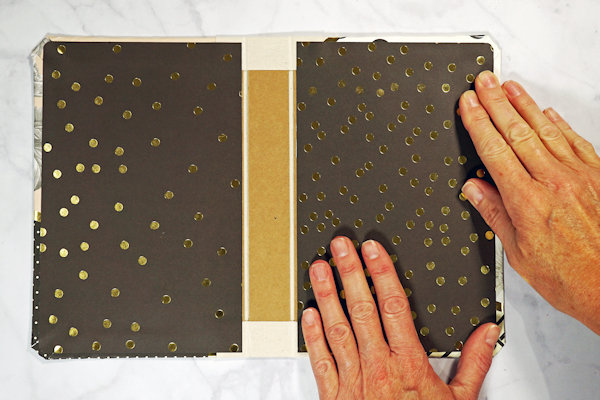
Using a paper trimmer, cut two pieces of patterned paper to 5 5/8" x 8 3/4" for the inside covers of the traveler’s notebook. Round the outside edges if you choose.
Apply adhesive to the wrong side of the papers and adhere to the inside covers making sure to avoid the gaps near the spine. -
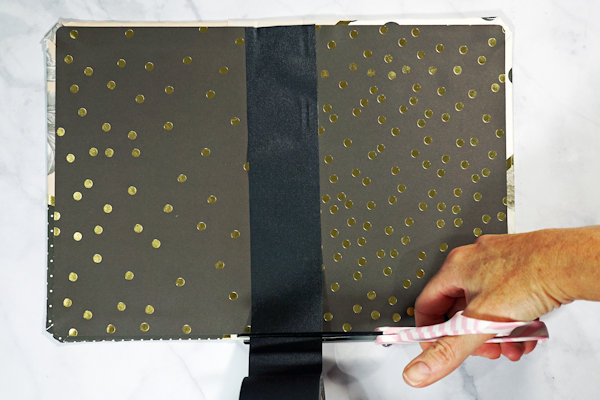
Step 7
Using scissors, cut a piece of 2" bookbinding tape to 8 3/4" long. Adhere it to the inside center of the travelers notebook, covering the spine, the gaps and the edges of the inside patterned paper. Press firmly.
-
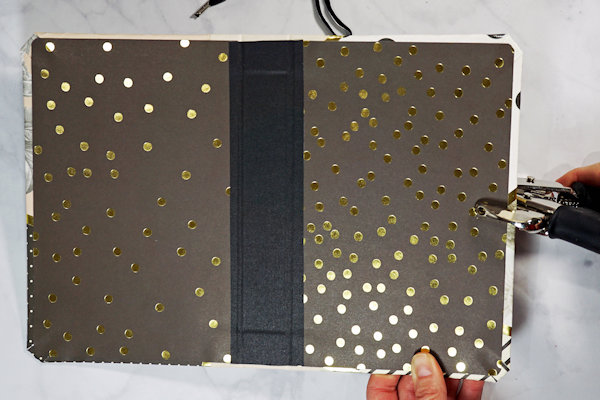
Step 8
Add the elastic loop closure. With a pencil, make a mark on the inside back cover in the center about 1 inch away from the outside edge. With a hole punch, make a hole in the cover at the mark.
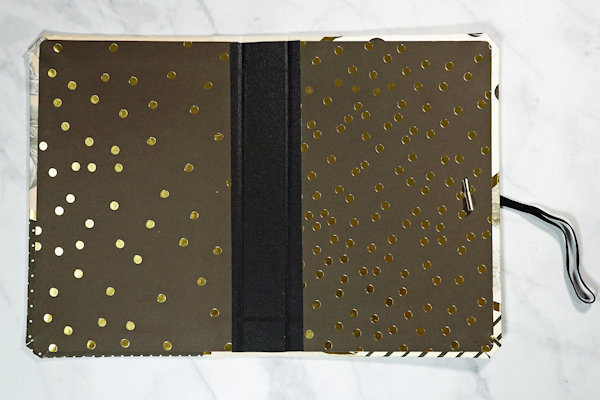
-
Insert the metal end of the elastic loop through the hole from the outside of the back cover and pull tightly so the metal edge rests snugly against the back inside cover.
-
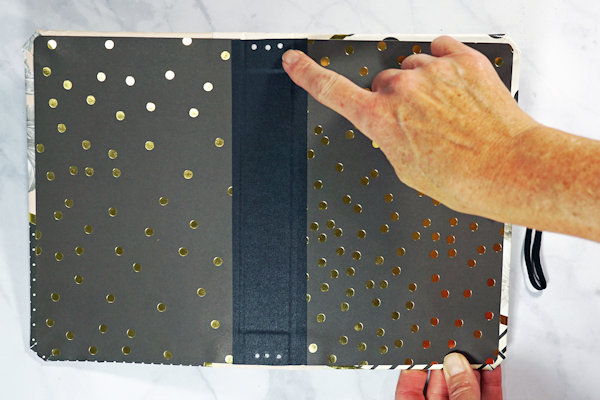
Step 9
Using your insert as a guide, make a mark at the top and bottom center of the spine. Make two additional marks on either side of the center mark, leaving 1/4" between them. You will have a total of 6 marks on the spine - 3 on top and 3 on the bottom.
-
Step 10
Using a small hole punch, punch all 6 holes in the spine, making sure they are even at the top and bottom.
-
Step 11
Using scissors, cut a piece of elastic cord to approximately 36". You will have extra at the end of this step but this gives you enough to work with.
As we are threading this elastic cord, it is easiest to think of the holes punched in the last step as left to right, on the inside of the spine as #1, #2 and #3 on the top and #4, #5 and #6 on the bottom. All of the elastic cord will be vertical on the inside of the traveler's notebook and horizontal on the outside. -
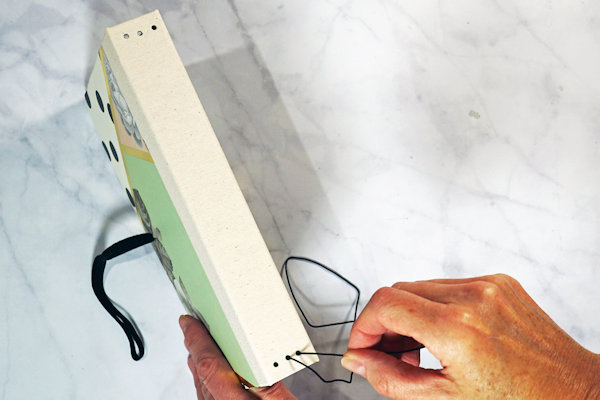
Start at the outside of #5 and insert one end of the elastic cord through the hole to the inside of the book and leave a small tail on the inside.
Take the other end of the cord and from the outside insert it into hole #6. Pull cord up to #3, go out and over to #2, in and down to #5, out and over to #4, in and up to #1, out and over to #2 in and down to the tail left at #5. -
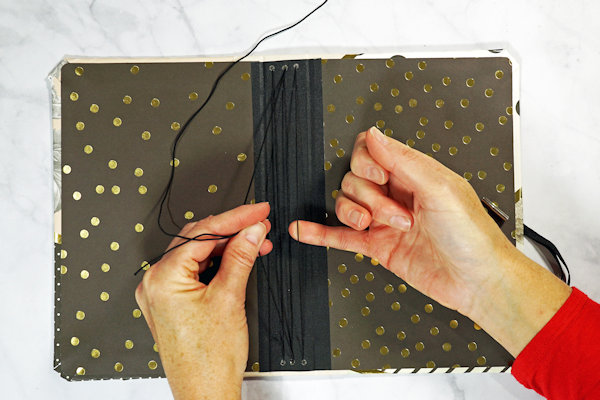
Step 12
Holding the two ends of the elastic cord firmly, pull all sections on the inside and the outside tight and taut, moving the cord and gathering the excess as you go. The elastic cord should snap snugly against the spine of the traveler's notebook.
Once all of the cord is tight, tie the two ends together in a knot and trim the ends with scissors. -
Step 13
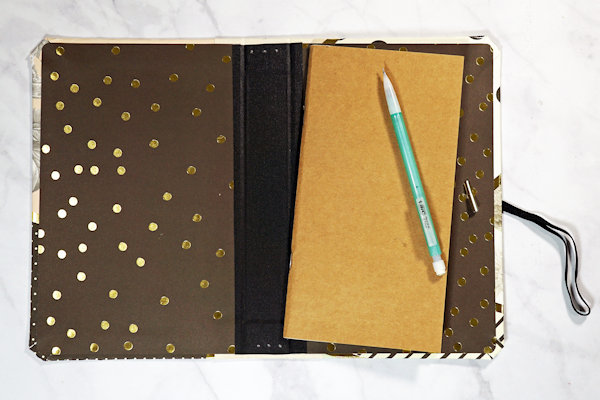
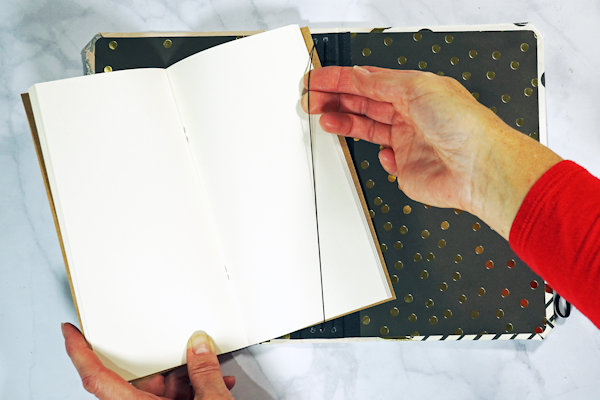
Using a paper trimmer, cut two pieces of patterned paper to slightly smaller than the fronts of your blank inserts. The ones used here are 4 1/4" x 8 1/4". Apply adhesive to the back sides of the patterned papers and adhere to the front covers of your inserts. Your traveler's notebook will hold up to four inserts.
-
Step 14
Using your favorite embellishments, decorate the covers of your traveler’s notebook and inserts.
-
Step 15
Complete the project.

Video!
Your Turn
You've seen the tutorial, now you try it! We've got a section of the gallery set aside for Traveler’s Notebook. Try this technique, then upload your artwork to the gallery. Show us your creations!
***Please note - Internet Explorer/Edge is not a supported browser, and will not allow you to see the videos. Please use Chrome, Firefox or Safari to view our tutorial videos.

Questions and Comments
We'd love to get your feedback or questions. Leave your comment below.
I would make one for traveling but must say I forget to use it. For me it could be a gift journal to someone with photos.
Thank you.
Is there a recommended diameter for the elastic cord?
Page 1 of 1 pages