Trapped Crystal
by Rebecca Ednie
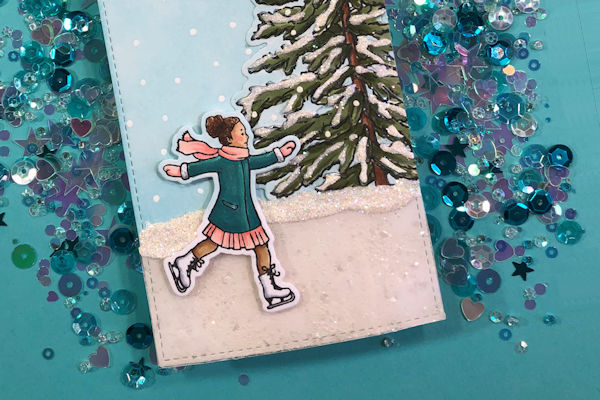
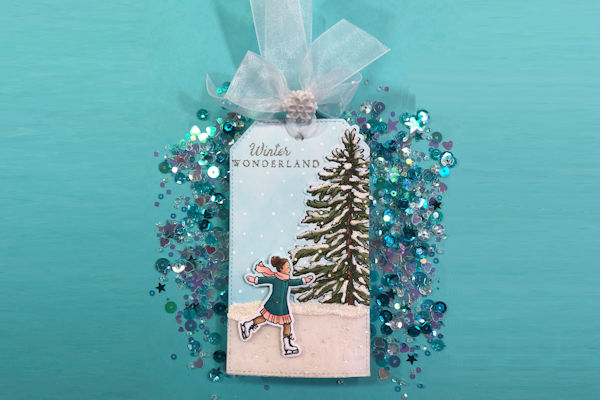
Create an icy or sparkly background using acetate, glitter and clear glaze.
Supplies
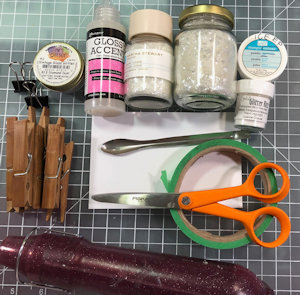
- Heavy weight cardstock
- Acetate (heat resistant is preferred)
- Glitter of choice (mylar flakes used here)
- Clear drying gloss adhesive (Glossy Accents used here)
- Heat tool
- Small spoon
- Clamps (bamboo clothespins used here)
- Painters or removable tape
- Hardboard like clipboard
- Pencil
- Scissors
Step-by-Step
-
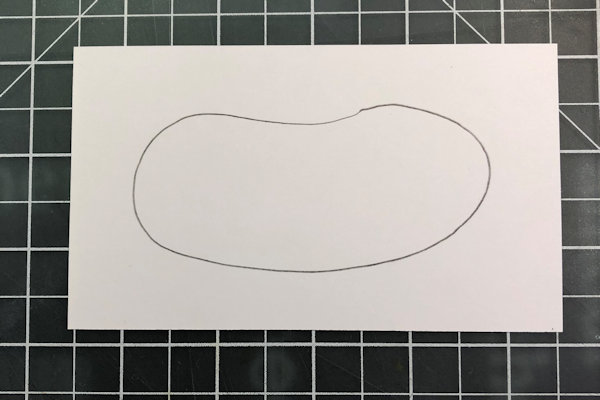
Step 1
Draw your desired shape on a piece of cardstock with at least 1/2" border. Cut a piece of acetate to the same size.
-
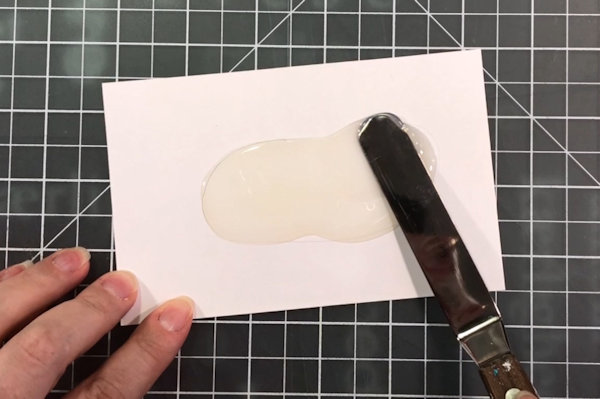
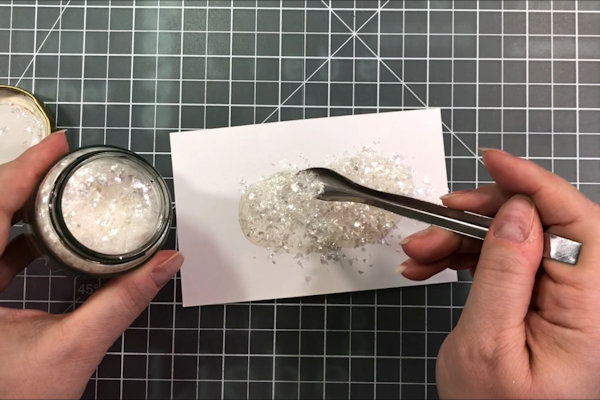
Step 2
Fill the shape with the glossy adhesive.
-
Sprinkle on glitter.
-
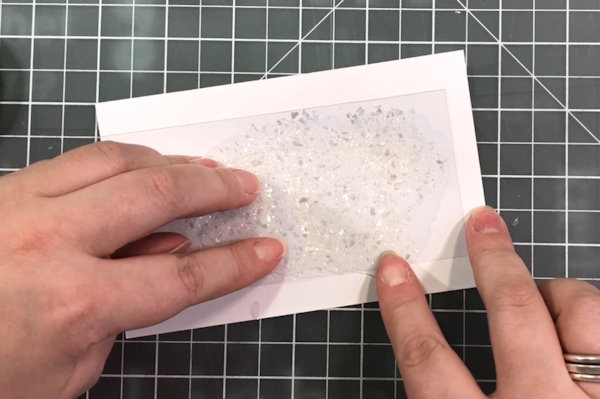
Step 3
Press the acetate onto the shape until it comes into contact with the adhesive. You may have to squish it around a bit and the adhesive will overlap your shape.
-
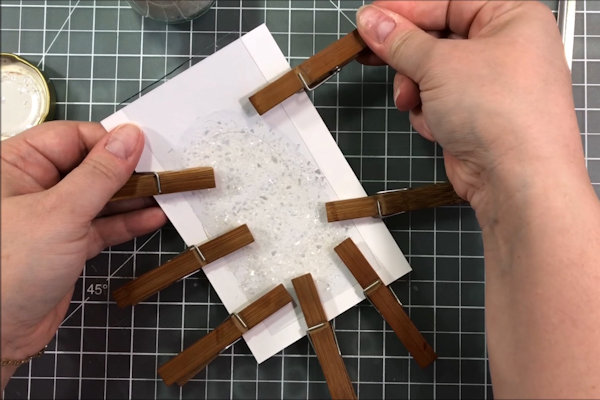
Step 4
Clamp the acetate to the paper. The paper will want to warp and pull away from the acetate. The clamps will prevent this.
-
Step 5
Allow to dry for 10 minutes. Press out any bubbles under the acetate.
-
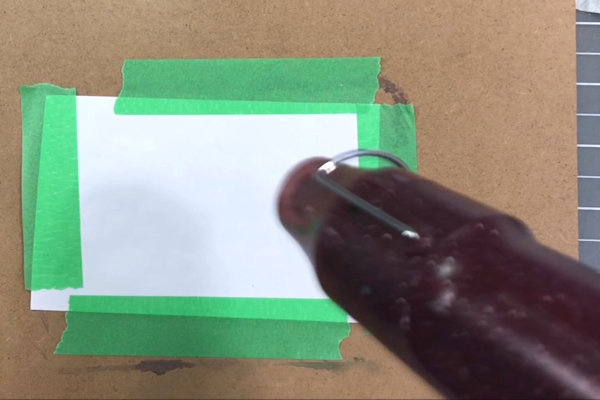
Step 6
If you wish, you can use a heat tool to dry the paper. If you choose to do so, use heat resistant acetate to prevent melting. Tape the paper upside-down to a hardboard or clipboard using removable tape. Heat the back of the paper stopping every 60 seconds or so to smooth out any warps. This will also remove any bubbles forming on the other side.
-
Step 7
When dry, cut out your shape and use it on your project.
-

Video!
Your Turn
You've seen the tutorial, now you try it! We've got a section of the gallery set aside for Trapped Crystal. Try this technique, then upload your artwork to the gallery. Show us your creations!
***Please note - Internet Explorer/Edge is not a supported browser, and will not allow you to see the videos. Please use Chrome, Firefox or Safari to view our tutorial videos.

Questions and Comments
We'd love to get your feedback or questions. Leave your comment below.
Page 1 of 1 pages