Tissue Flowers
by Mona Pendleton
Create gorgeous dimensional flowers out of tissue paper and flower dies.
Supplies
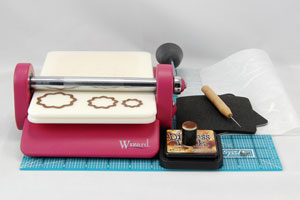
- One 8 1/2" x 11" sheet of tissue paper or Mulberry paper
- Die cutting machine
- Flower dies
- Paper piercing tool
- Brad
- Dye ink
- Sponge dauber
Step-by-Step
-
Step 1
Fold 8 1/2" x 11" tissue paper in quarters.
Position various sized flower dies on folded tissue and run through die cutting machine.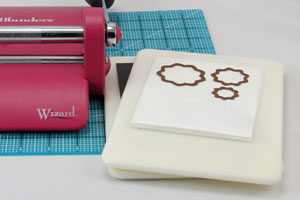
-
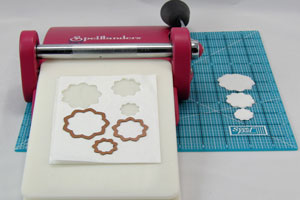
Step 2
Set cut flowers aside and repeat step one, cutting a second set of flowers.
-
Step 3
Stack the flower layers, with largest on the bottom.
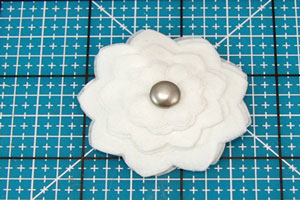
Pierce through center of all layers and fasten them together with a brad.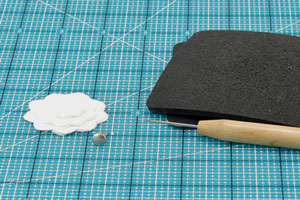
-
Completed flower before distressing.
-
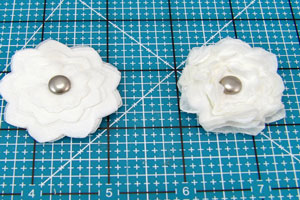
Step 4
Using fingertips, gently crinkle the tissue paper around the brad, carefully separating the layers.
-
Step 5
Ink up a sponge dauber with dye ink of your choice and apply ink around the edges of the flower for a distressed look.
Variation
Using a brayer, roll ink onto the tissue paper to create a custom colored tissue paper for your flowers.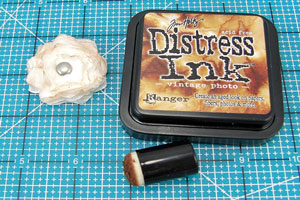
-
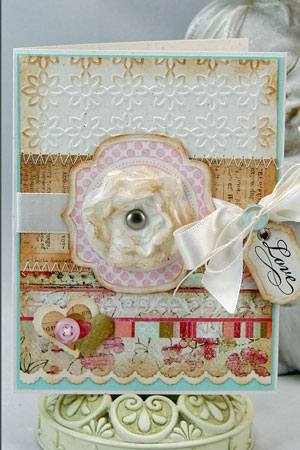
Step 6
Finish your project.
Video!
Your Turn
You've seen the tutorial, now you try it! We've got a section of the gallery set aside for Tissue Flowers. Try this technique, then upload your artwork to the gallery. Show us your creations!
***Please note - Internet Explorer/Edge is not a supported browser, and will not allow you to see the videos. Please use Chrome, Firefox or Safari to view our tutorial videos.

Questions and Comments
We'd love to get your feedback or questions. Leave your comment below.
She is one of our senior designers over at The Play Date Cafe and we SO appreciate her talent : )
HUGs
BROOKE
Which company makes it and is available?
Thanks,
Donna
This also works with punches (not just dies and die cut machines). I got the new SU! flower punch and it works great on the Mulberry paper. Hope it works on tissue paper too, have not tried.
You guys always bring new life to my stampin'! Thanks Mona and Beate!
Page 1 of 2 pages 1 2 >