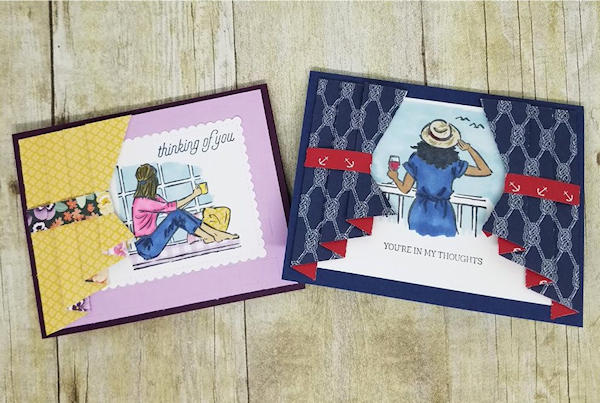
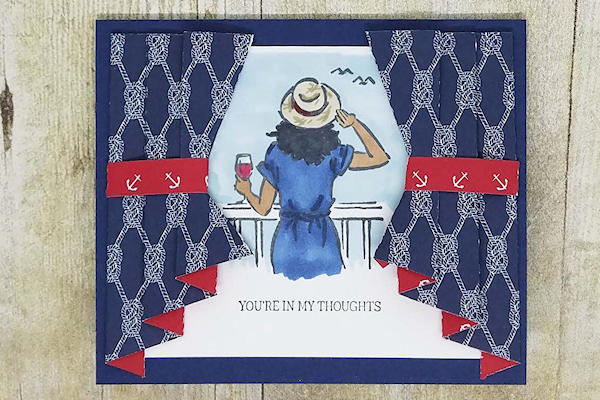
Tie-Back Curtain
by Beth Rush
Fold a pleated curtain embellishment.
Supplies
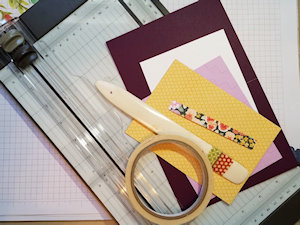
- Cardstock
- Double-sided paper
- Bone folder
- Scissors
- Scoring tool
- Other supplies as needed to complete the project (Stampin' Up!® products used here: ln the Moment Stamp set, Stampin' Blends Markers, Memento Tuxedo Black ink pad)
Step-by-Step
-
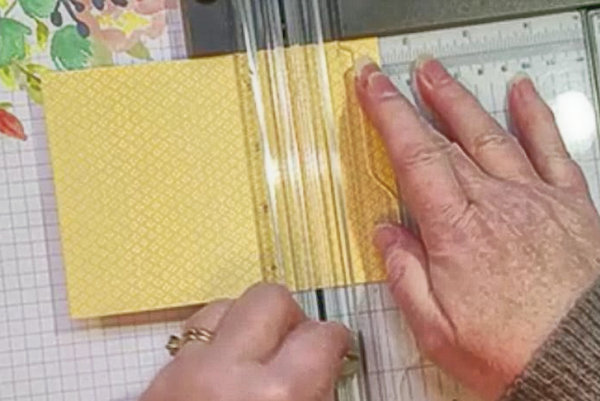
Step 1
Cut patterned paper. You can adjust this to work with as long and wide as you like. Size used here: 4" by 5 1 /2". Score along the length 1 inch, then 1/2 inch, then 1 inch, then 1/2 inch till you get to the end.
-
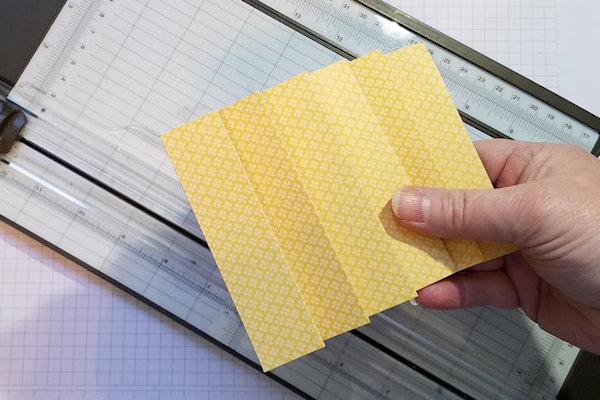
Step 2
Fold along the score lines accordion style, with the 1/2 inch flaps going behind the 1 inch flaps.
-
Unfold the panel. Line up the lower left corner of the panel with the cutting line of your trimmer, with the lower right corner at 1 1/2" as shown. Make an angled cut to the panel. This allows the back of the patterned paper to show at the bottom of each fold.
-
Step 3
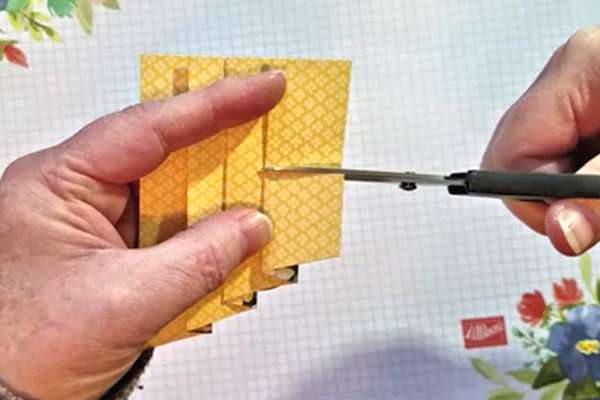
Cut a slit in the center of the folded paper through the top 1 inch flap. You will be cutting through the flaps behind the front flap as well.
-
Step 4
Fold back the paper at the cut slit as shown. Use a Bone Folder to flatten down the paper so that it lays flat.
-
Step 5
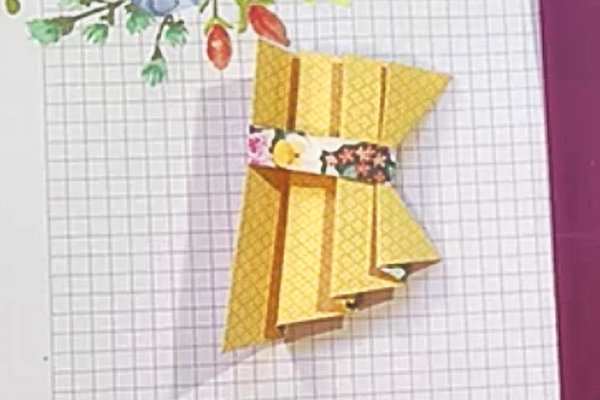
Use ribbon or a strip of paper to act as a tieback for your curtain.
-
Step 6
Add adhesive to the back, along the top and sides, and behind the tie back, but leaving the bottom lose so that it feels more flowing like a curtain.
-
Step 7
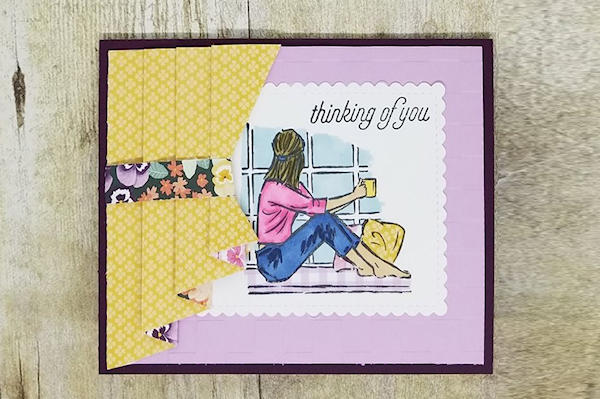
Decorate your card and add the curtain to the top. Add some adhesive behind the pleats along the top of the curtain if they are not laying flat.


Video!
Variations
-
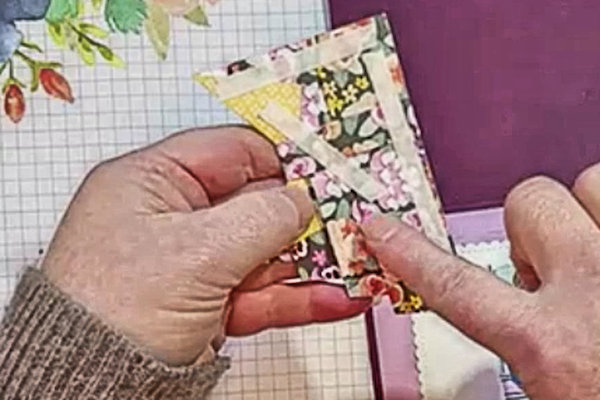
Add a curtain to both sides. Omit one of the pleats to give more room for the image if needed.
Your Turn
You've seen the tutorial, now you try it! We've got a section of the gallery set aside for Tie-Back Curtain. Try this technique, then upload your artwork to the gallery. Show us your creations!
***Please note - Internet Explorer/Edge is not a supported browser, and will not allow you to see the videos. Please use Chrome, Firefox or Safari to view our tutorial videos.

Questions and Comments
We'd love to get your feedback or questions. Leave your comment below.
Blessings,
C
Page 1 of 1 pages