Texture with Alcohol Markers
by Beate Johns
Create a textured look with alcohol-based markers, a blender pen and an old rag.
Supplies
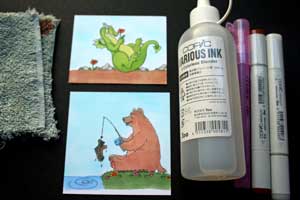
- Image colored with Copic markers (Our Craft Lounge Drake the Dragon and Bearly Fishin' used here). Images were stamped on Neenah Cardstock with Tuxedo Black Memento Ink
- Copic® or other alcohol-based markers
- Colorless Blender Pen, Copic #0
- Blending Solution, (Refill for Blending Pen)
- Misting Bottle
- Old Rag
Step-by-Step
-
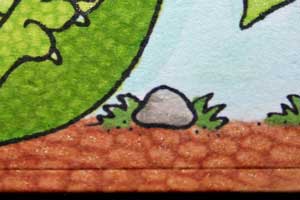
Step 1
Hold the blender pen straight down for a second over the colored image.
Hint:
For basic tips on how to color with Copic® Markers, check our Coloring Tutorial.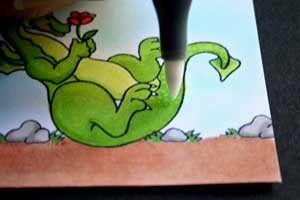
-
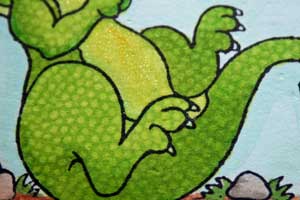
The blending solution from your pen will push the ink that lay already over your cardstock away and create a white dot. Continue to lay down more dots to make images look scaly.
-
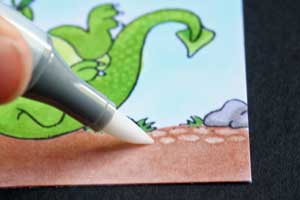
Step 2
Place the brush tip of your blender pen down on its side over a colored image.
-
Continue to add elongated dots with your brush side, to create the look of a pebbled walkway.
-
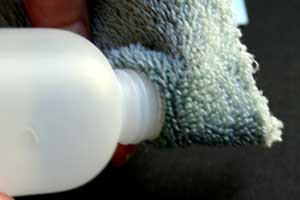
Step 3
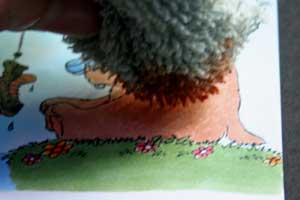
Add blending solution to an old rag or piece of fabric. The more texture, the better.
-
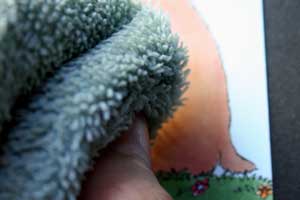
Step 4
Tap the rag over the colored image.
-
It will give your image "highlights" with the same texture that is on your rag.
-
Step 5
Add a darker shade (than that of the image) of Copic marker to a dry space on the rag.

-
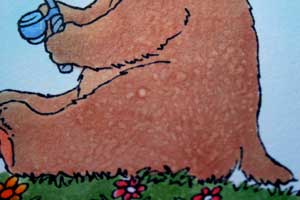
Step 6
Tap your rag over your image.
-
This will give your image "lowlights".
Hint:
Try different textured fabrics for a different look. Try sponges, try burlap....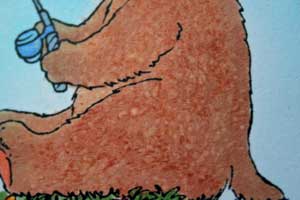
-
Step 7
Fill your water misting bottle with blending Solution and spray over image.

-
You will create small lighter dots.
The darker the image is that you spray, the more you will see the dots.
Questions and Comments
We'd love to get your feedback or questions. Leave your comment below.
Love the detailing on both cards. This is something I'm going to have to try.
Thanks so much.
I'm concerned about the misting of the blending solution. Most blending solutions also have a binder or additional materials that make it unsfae to breathe in the mist of such product. Is that not the case with the Copic marker blending solution?
Carol
Thanks for all you do!
Page 3 of 4 pages < 1 2 3 4 >