Tailored Envelope
by Cindy Lawrence
Dress up envelopes to match your cards.
Supplies
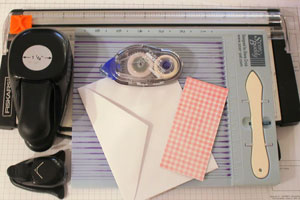
- Paper trimmer
- Scor-Buddy™, or other scoring tool
- Circle punch or oval punch
- Corner punch
- Invitation size Envelope
- One 2" x 4 5/16" piece of patterned paper
- Adhesive
Step-by-Step
-
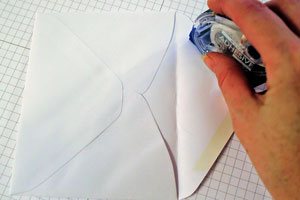
Step 1
Apply Adhesive to the flap of your envelope and seal shut.
-
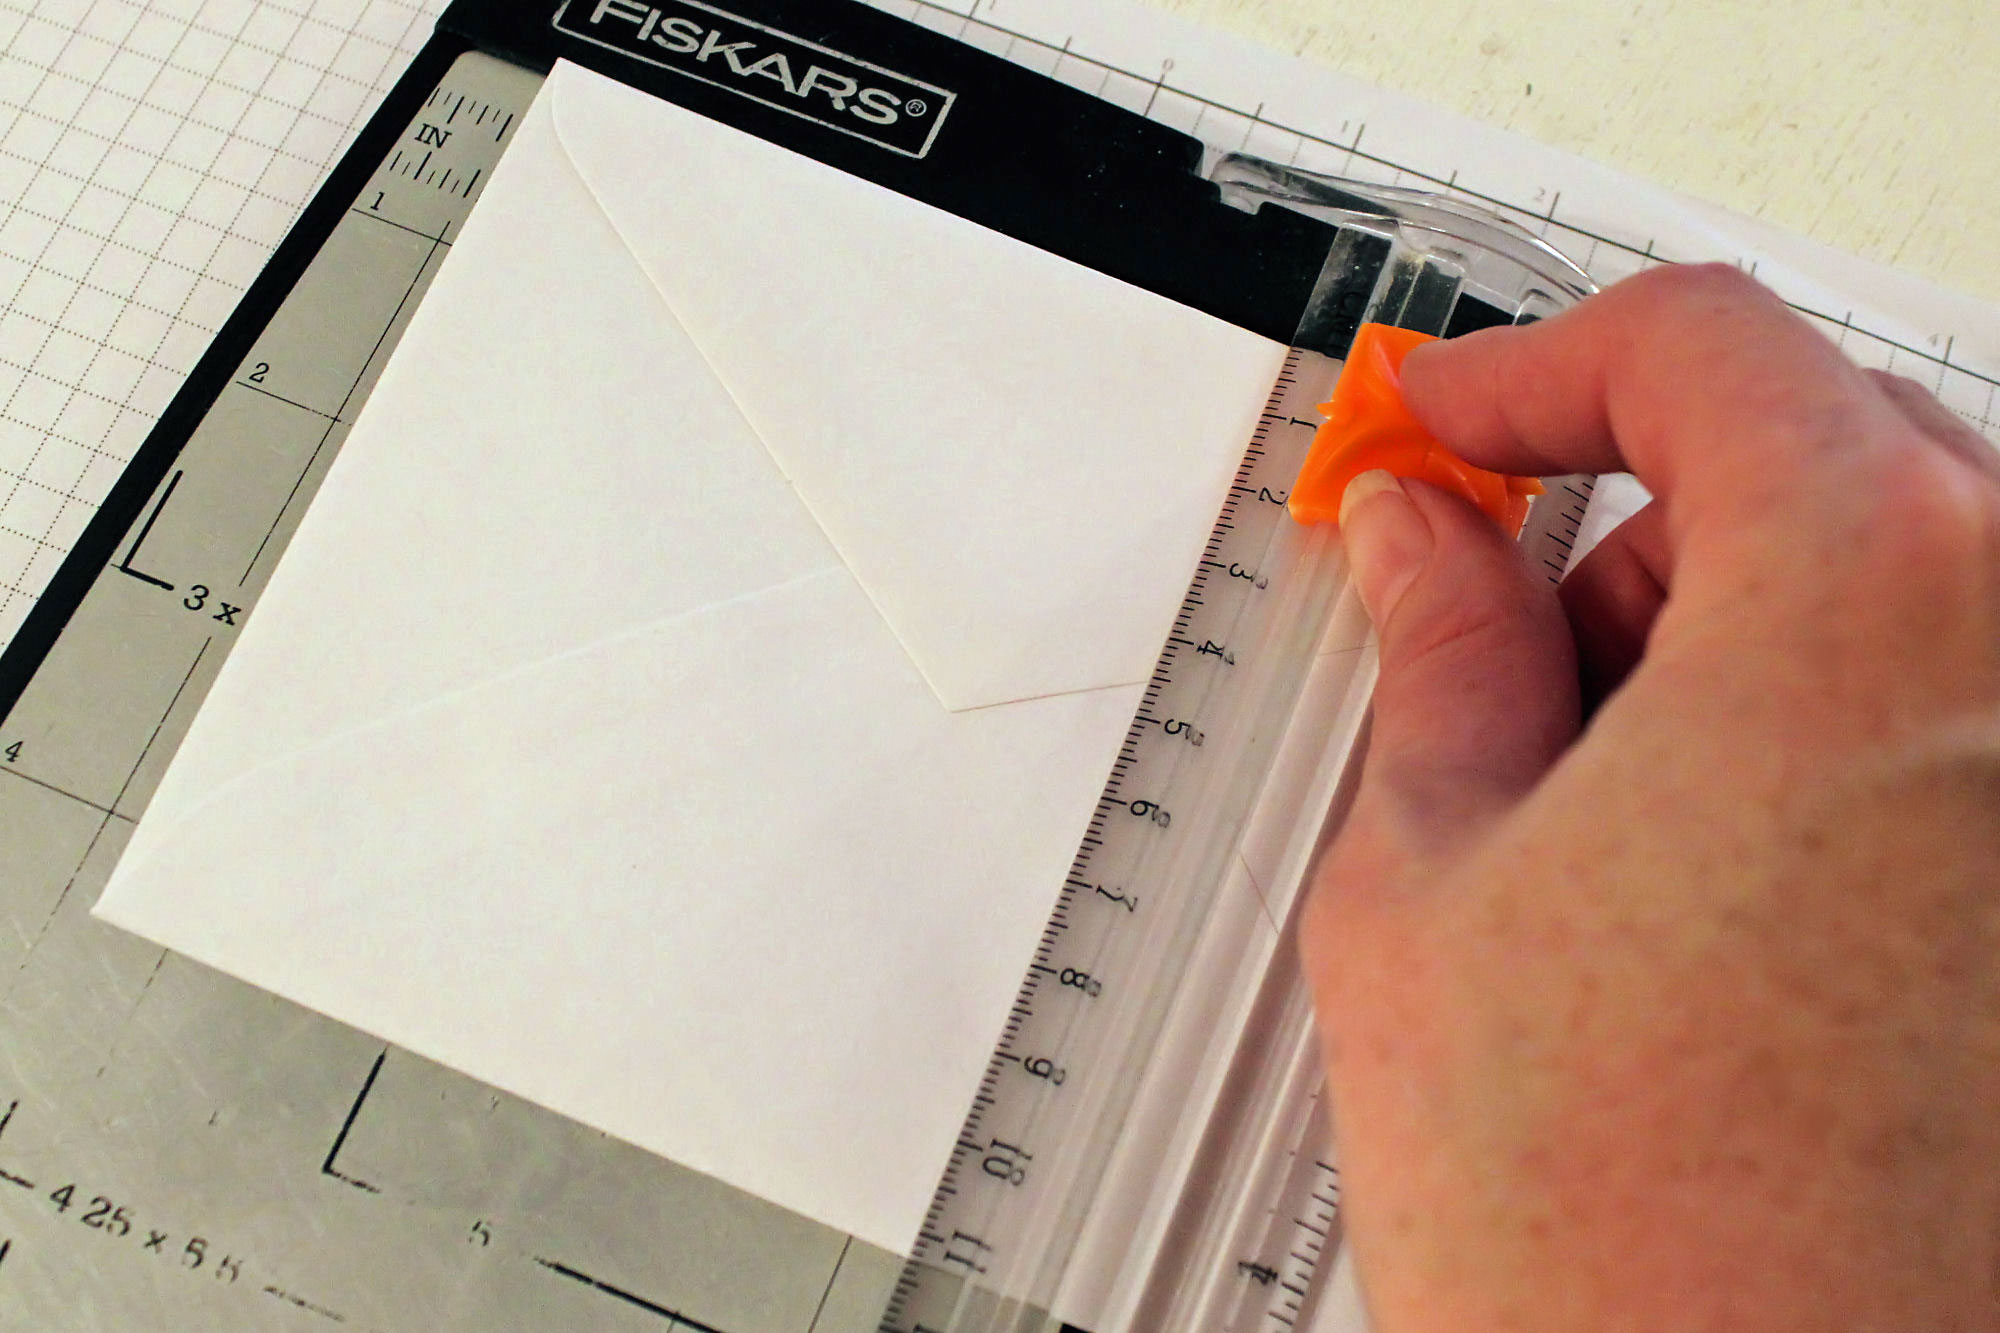
Step 2
Trim the long side of envelope at 4 5/16", making a square.
-
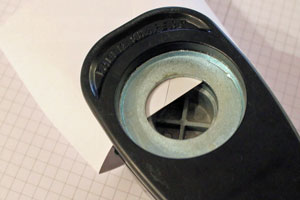
Step 3
Turn envelope over, and punch half-way in on top edge.
-
Step 4
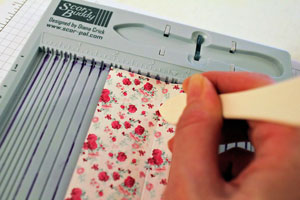
Score patterned paper piece at 1/2" on short side.
-
Step 5
Adhere flap to envelope, and round corners.

-

-
Step 6
Finish your card, and slide it into your beautifully coordinating envie.

Video!
Your Turn
You've seen the tutorial, now you try it! We've got a section of the gallery set aside for Tailored Envelope. Try this technique, then upload your artwork to the gallery. Show us your creations!
***Please note - Internet Explorer/Edge is not a supported browser, and will not allow you to see the videos. Please use Chrome, Firefox or Safari to view our tutorial videos.

 *
*
Questions and Comments
We'd love to get your feedback or questions. Leave your comment below.
Lindsay
Lori Brown
I think these instructions could easily be adapted to using an A2 card instead.
Patti
Page 1 of 4 pages 1 2 3 > Last »