Sweet Bunny Bag
by Susan Campfield
Use ovals to transform a treat bag into a cute bunny.
Supplies
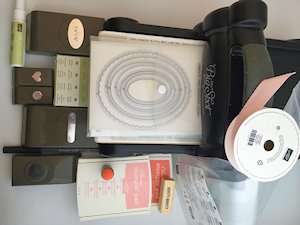
- Cardstock (Stampin’ Up! Blushing Bride and Whisper White used here)
- Gusseted cellophane bag (4" x 10" used here)
- Oval dies in the following approximate sizes: 2 1/8" x 3 1/16" and 1 1/4" x 2 3/16" (Stampin’ Up! Oval Collection #1 and #3 oval used here)
- Die cutting machine
- Various punches: small heart, 1/2" circle, oval 1 3/4" x 7/8", small oval 3/4" x 15/16" (Stampin’ Up! Small and Large Oval Punch used here)
- Ribbon 3/4" wide, 10-12" (Stampin’ Up! Blushing Bride Chevron Ribbon used here)
- Fine point black marker (Project Life Journaling Pen #O5 used here)
- Sponge dauber
- Various adhesives of choice (liquid glue, 2-way glue pen, glue dots, and Dimensionals used here)
- Cotton ball
- Treats (Kraft pastel marshmallows used here)
Step-by-Step
-
Step 1
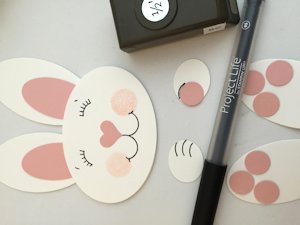
Die cut or punch the following shapes (sizes are approximate):
2 1/8" x 3 1/16" oval – cut 4 white, two for the head, two for the ears.
1 1/4" x 2 3/16" oval – cut 2 white for the feet, 1 patterned for the egg.
Small heart – punch 1 pink for the nose
1/2" circle – punch six pink for the toes
1 3/4" x 7/8" oval – punch two pink for the inner ears
3/4" x 15/16" oval – punch two white for the paws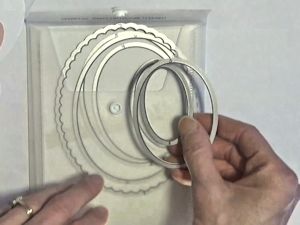
-
Step 2
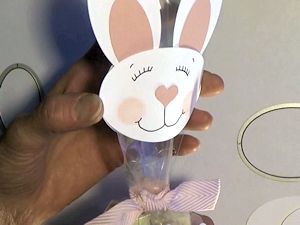
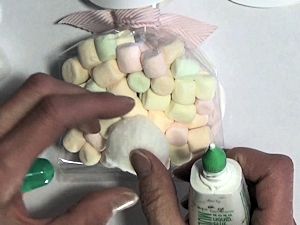
Fill the bag with treats and tie it closed with the ribbon.
HINT:
Make sure the ribbon is as far down and as close to the treats as possible so your bunny doesn’t have a long neck.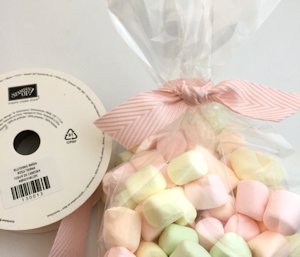
-
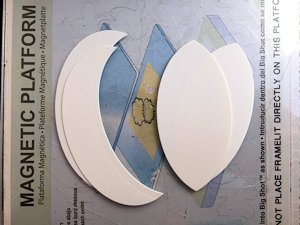
Step 3
To cut the ears, stack two white ovals on top of one another. Place the #3 oval die partially over the ovals as shown below.
-
Send it through the die cutting machine and you will have two perfect ears like this.
-
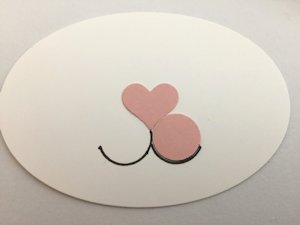
Step 4
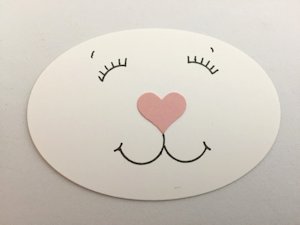
To make the face, start by adhering the small heart (nose) to the center of one of the large ovals.

-
Step 5
Draw the mouth using the fine tip black marker.
-
HINT:
For a more uniform mouth, use a 1/2" circle as a template. Make sure to let the marker dry for a few seconds before pulling away the template so it doesn’t smear.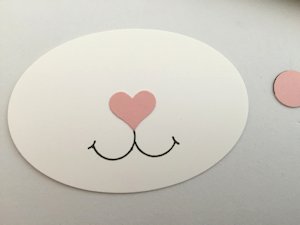
-
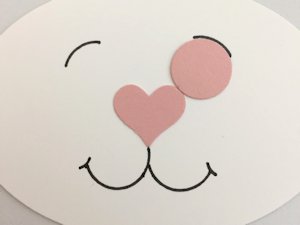
Step 6
Then draw the eyes. Again, for a more uniform look, you can use a 1/2" circle as a template.
-
Don’t forget the eyebrows and eyelashes!
-
Step 7
Add the blushing cheeks using a sponge dauber.

-
Step 8
Adhere the two pink punched ovals as inner ears, and then attach the ears to the back side of the face with glue dots.

-
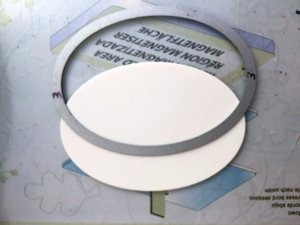
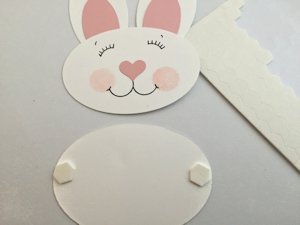
Step 9
Use the remaining large white oval for the back of the head. Place a dimensional on each outside edge and attach it to the face, leaving a space between the two.
-
This way, you can slide the head on to the bag, and the recipient can easily remove it without destroying it by just sliding it up and off the bag.
-
Step 10
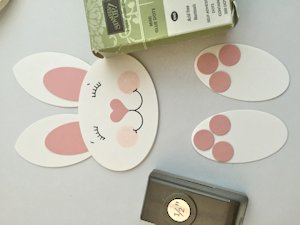
To make the feet, adhere three pink 1/2" circle punches to each of the medium white ovals.
-
Step 11
Using the remaining two small white oval punch outs, draw the paws with the fine point black marker. Again, you can use the 1/2" circle as a template for uniform paws.
-
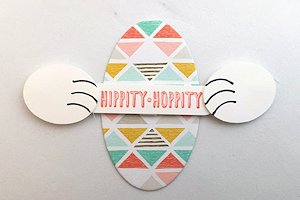
Step 12
Stamp a greeting and adhere it to the patterned oval egg or pop it up with a dimensional. Adhere the paws, egg, and feet to the bag using glue dots.
-
Step 13
Glue a cotton ball on to the back of the bag for the tail.
-
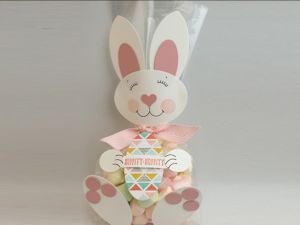
Step 14
Complete the project.
Video!
Your Turn
You've seen the tutorial, now you try it! We've got a section of the gallery set aside for Sweet Bunny Bag. Try this technique, then upload your artwork to the gallery. Show us your creations!
***Please note - Internet Explorer/Edge is not a supported browser, and will not allow you to see the videos. Please use Chrome, Firefox or Safari to view our tutorial videos.

Questions and Comments
We'd love to get your feedback or questions. Leave your comment below.
The bunny indeed is adorable.
Easy to follow tutorial.
What a clever idea to use punches for a uniform look with drawing the face and paws.
TFS
Danke f�r die Anleitung!
Lieb Gr��e Beate
es ist so s��. Ich habe es in die Gallerie geladen. (Ich hoffe, es ist so richtig)
Hier kannst Du es auf meinem Blog ansehen.
http://bastelnamspelunkenturm.blogspot.de/2015/03/haschentute.html
Es ist so s��!
Liebe Gr��e Beate
Page 1 of 1 pages