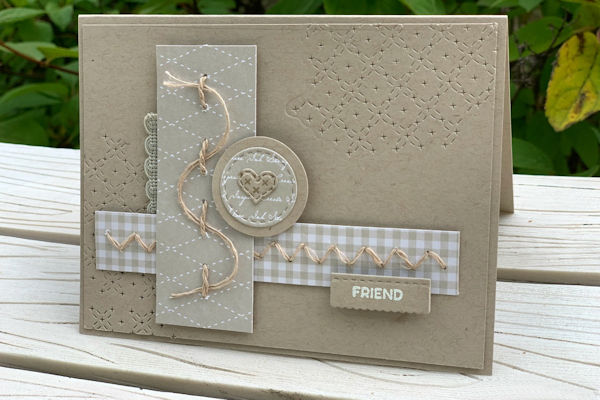
Stitching on Patterned Paper
by Betty Traciak
Use a repeating pattern as a guide for hand stitched paper.
Supplies
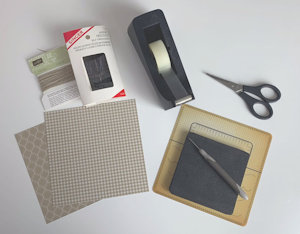
- Scrapbook paper with regular geometric design (Stampin' Up!® Neutrals 6x6 Designer Series Paper used here)
- Paper piercer and mat
- Embroidery floss or linen thread
- Needle (self-threading is helpful if thread has a rough surface
- Tape
- Scissors
- Optional: piercing grid (if using scrapbook paper without a regular pattern)
- Other supplies as needed to complete the project (SU products used here: Stitched All Around stamp set, Crumb Cake cardstock, Versamark Ink, White Embossing Powder, Stampin' Dimensionals, Stitched Labels die set, 58" Woven Thread Trim, Nature's Twine)
Step-by-Step
-
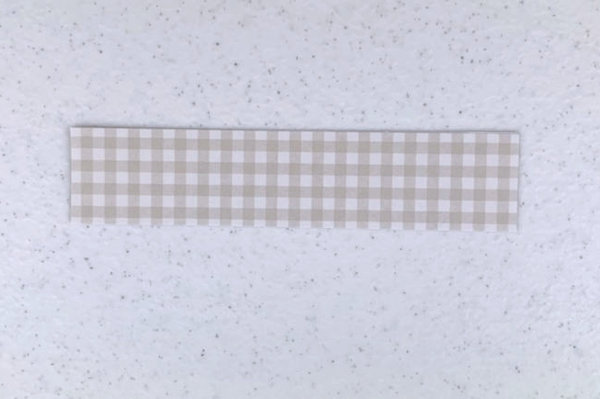
Step 1
Determine where stitches will be on the patterned paper. Center and cut paper accordingly.
-
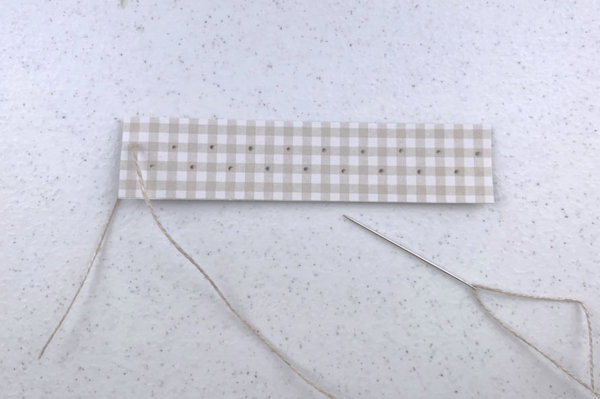
Step 2
Place paper on piercing mat. Pierce holes at regular intervals using the pattern on the paper as a guide.
-
Step 3
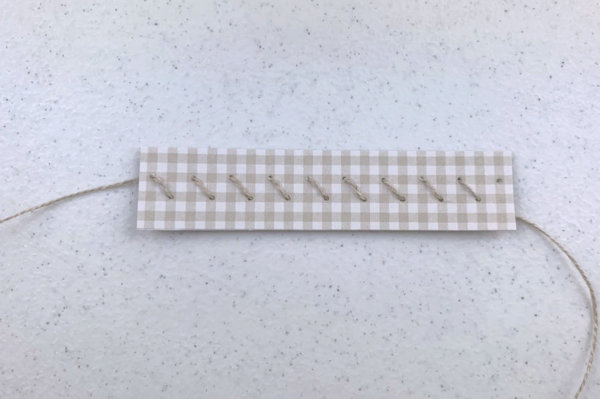
Thread needle. Starting on the back come up through a hole leaving a tail of thread.
-
Step 4
Stitch up and down across the length of the paper.
-
Step 5
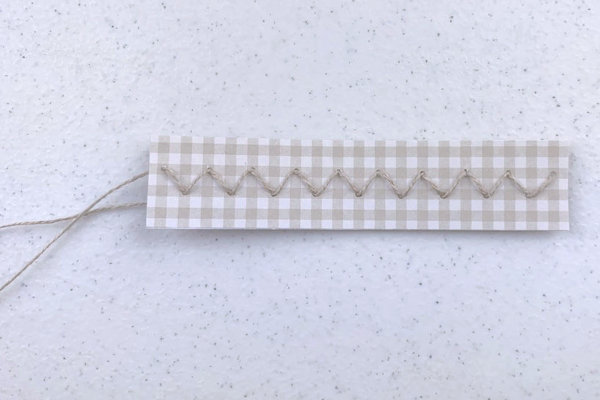
Repeat stitching in the opposite direction filling in the gaps.
-
Step 6
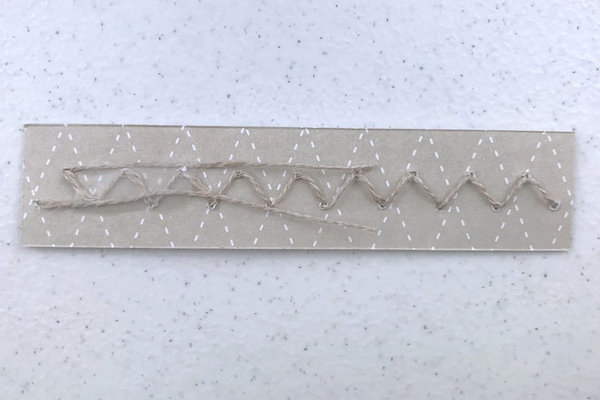
Secure thread ends on the back with tape and trim close to the tape.
-
Step 7
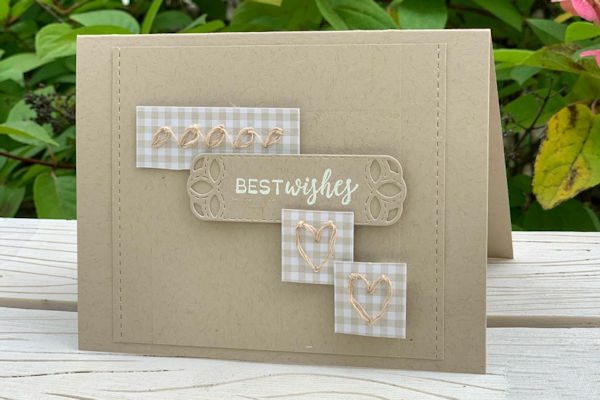
Use the embroidered papers to complete a card or other project.
-

Video!
Variations
-
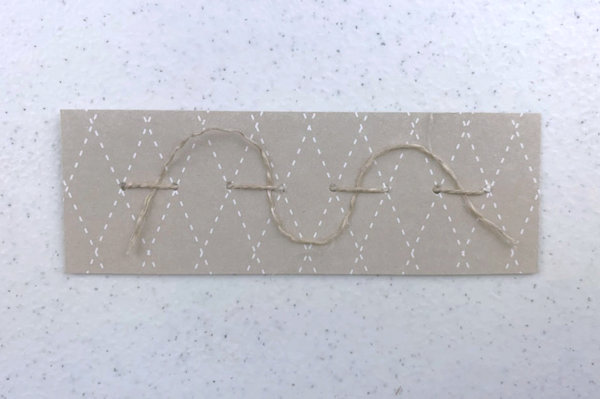
Argyle Variation:
Pierce holes on X's. Stitch with up and down stitches across the paper. Secure with tape on back. Weave a second piece of thread through the stitches to form wave.
Your Turn
You've seen the tutorial, now you try it! We've got a section of the gallery set aside for Stitching on Patterned Paper. Try this technique, then upload your artwork to the gallery. Show us your creations!
***Please note - Internet Explorer/Edge is not a supported browser, and will not allow you to see the videos. Please use Chrome, Firefox or Safari to view our tutorial videos.

Questions and Comments
We'd love to get your feedback or questions. Leave your comment below.
Paper Hugs,
Jan
Page 1 of 1 pages