Star Gift Box
by Joann Jamieson
Use a die cut for the front and back of this shaped gift box.
Supplies
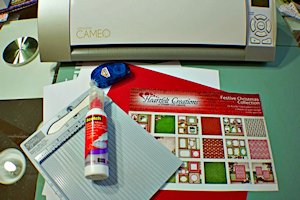
- Star shaped die or cutting file
- Die cutting machine (Cameo used here)
- Cardstock for box base
- Designer paper for layering (Heartfelt Creations Festive Christmas Collection used here)
- Tape
- Glue
- Scoring tool
- Other supplies as needed to complete the project (dies: Spellbinders Resplendent Rectangles and Layered Poinsettia; stamps: Heartfelt Creations Petite Poinsettia PreCut Set, Dove of Peace PreCut Set, Cut Mat Create 1B Die, and Arianna Lace Die used here)
Step-by-Step
-
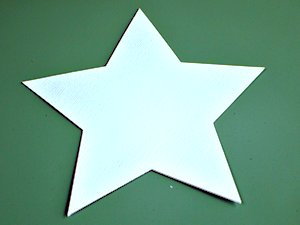
Step 1
Die cut three 6" stars out of white cardstock.
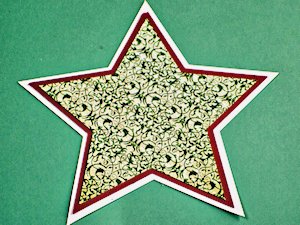
Cut additional smaller stars from designer paper for layering.
-
Step 2
Cut another piece of white cardstock to 4" x 12".
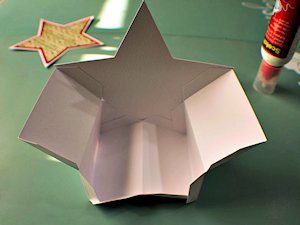
Score 1/2" in from both long sides, and also score at the 2", 4", 6" and 8" marks along the long side. Once you have scored all the lines, cut a notch at each score line. Mountain and valley fold the piece. This will be the center of your box.
NOTE:
If your star is smaller than 6", measure the sides of the star and adjust the scoring and center piece to intervals of that length.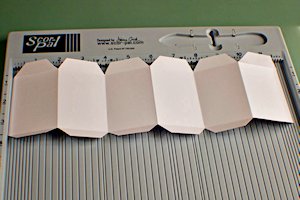
-
Step 3
Glue together 2 of the white stars for the back of the box. Using double layers on the back makes the box more sturdy.
-
Step 4
Layer the 3 remaining stars together to form the front of the box.
-
Step 5
Starting at one end, glue one side of the center piece to the back of the box. Work with one tab at a time, lining up score lines and points together.
-
Step 6
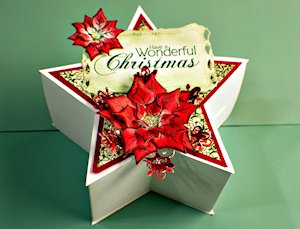
Attach the front to the center piece and then decorate as desired to complete the project.
Video!
Variations
-
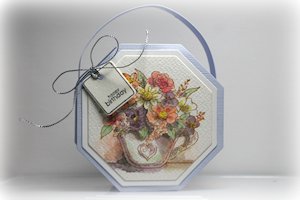
To create this box using a different shape or die, measure along the edge of the die to determine how long you need the strip of paper to be. Adjust the scoring to intervals of the length of each side so that the paper matches the shape of your die.
-
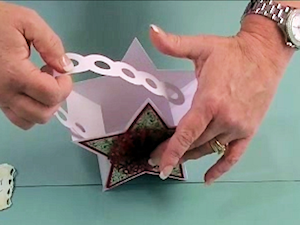
Add a handle from side to side or front to back.
Your Turn
You've seen the tutorial, now you try it! We've got a section of the gallery set aside for Star Gift Box. Try this technique, then upload your artwork to the gallery. Show us your creations!
***Please note - Internet Explorer/Edge is not a supported browser, and will not allow you to see the videos. Please use Chrome, Firefox or Safari to view our tutorial videos.

Questions and Comments
We'd love to get your feedback or questions. Leave your comment below.
Only suggestion I might have would be to demonstrate the use of the score pal in this as well as the tab folds. For me it was fine, but some might need a little review of the score pal.
Thanks so much!!
http://www.splitcoaststampers.com/gallery/photo/2587153?&cat=500&ppuser=241587
Merry Christmas
1 1/2" and 1/2" on the long sides. I didn't have a cricut to cut the 6" stars and my stars were 5" to start. Everything else I followed to Joann's perfect tutorial!
Page 1 of 1 pages