Squash Book
by Beate Johns
These little books are easy and adorable gifts.
Supplies
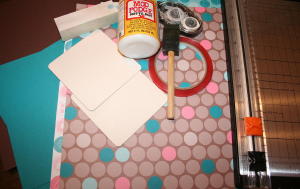
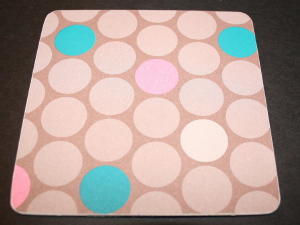
- Two 4" x 4" square coasters
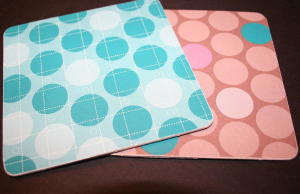
- Four 4" x 4" pieces of patterned paper
- Three 7 1/2" x 7 1/2" pieces of cardstock
- Coordinating cardstock and patterned paper for embellishing
- Mod Podge™ [ buy it ]
- Foam brush
- Scissors
- Sticky tape
- Adhesive
- Sanding block
Step-by-Step
-
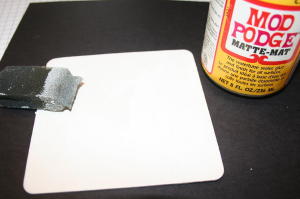
Step 1
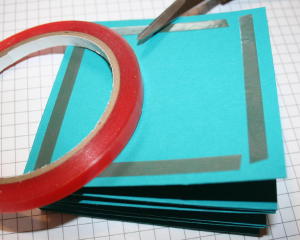
Brush Mod Podge™ on coaster.
-
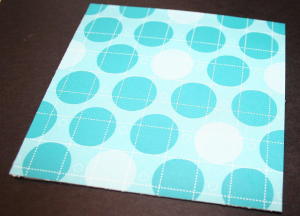
Step 2
Adhere patterned paper to the coaster.
-
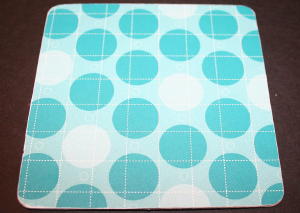
Step 3
Trim paper around the corners and sand edges if neccessary.
-
Step 4
Repeat steps one though three on the other side of the coaster.
-
Step 4
Repeat steps one though three on the other side of the coaster.
-
Step 5
Repeat steps one through four for the second coaster.
-
Step 6
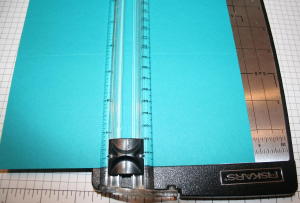
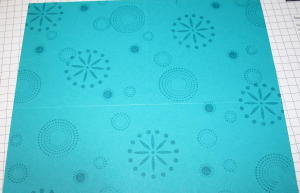
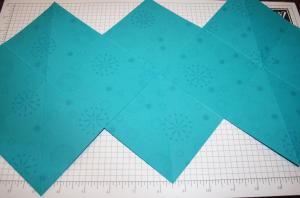
Score each of the 7 1/2" cardstock squares in half at the 3 3/4" mark both vertically and horizontally.
-
Step 7
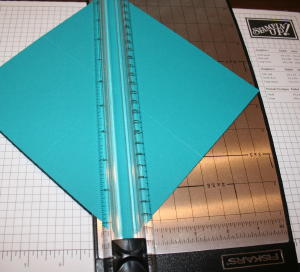
Score each cardstock in half once on the diagonal (from corner to corner).
-
Step 8 (Optional)
Stamp cardstock squares. Stamp one of the squares on the front and back of the cardstock for the middle piece.
-
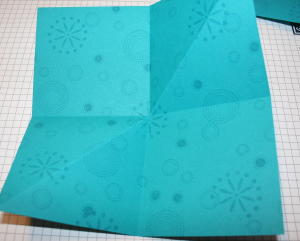
Step 9
Fold on all scored lines.
-
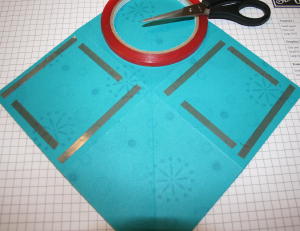
Step 10
Take the middle piece and place it with the diagonal fold pointing down. Add Sticky Strip™ on unscored quarters of the cardstock.
-
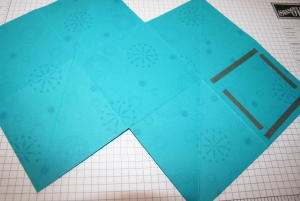
Step 11
Take the second piece of cardstock. The diagonal fold should point up. Adhere one square of that cardstock to one of the squares of the middle piece.
-
Step 12
Adhere the third piece of cardstock to the other side of the middle piece.
-
Step 13
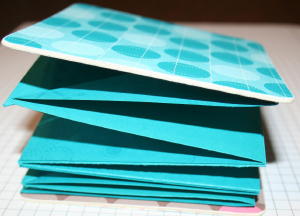
Fold squash book. Add Sticky Strip™ to the outside page.
-
Step 14
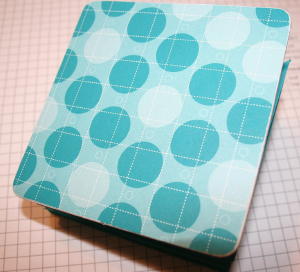
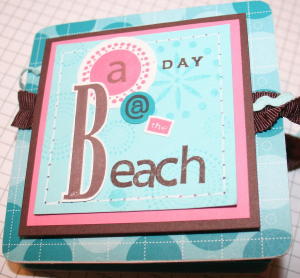
Adhere one covered coaster to the outside page.
-
Step 15
Repeat on the other side.
-
Step 16
Add coordinating cardstock to the square and triangle "pages".
Cut 3 1/2" squares and for the triangles, cut 3 1/4" squares in half diagonally.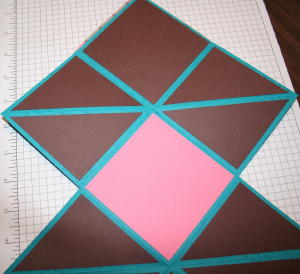
-
Step 17
Add photos, journaling and patterned papers to finish the project.
Here, photos are 3 1/4" square, and triangles were cut from 2 3/4" squares.
-
Step 18
Decorate the front. Run ribbon underneath the front image to tie the book on the side.
Variations
Use different sizes:
12" x 12" paper scored at 6"
8 1/2" x 8 1/2" paper scored at 4 1/4"
Make a cover
Cut matboard 1/4" bigger than your inside pages for covers.
Your Turn
You've seen the tutorial, now you try it! We've got a section of the gallery set aside for Squash Book. Try this technique, then upload your artwork to the gallery. Show us your creations!
***Please note - Internet Explorer/Edge is not a supported browser, and will not allow you to see the videos. Please use Chrome, Firefox or Safari to view our tutorial videos.
Questions and Comments
We'd love to get your feedback or questions. Leave your comment below.
Michele
Page 1 of 1 pages