Sour Cream Container
by Beate Johns
Create a unique container perfect for giving away candy or other small treats.
Supplies
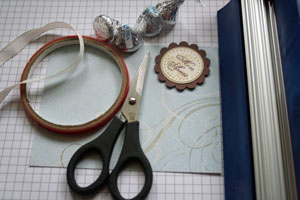
- 4 1/4" x 5 1/2" piece of lightweight cardstock or patterned paper
- Sticky Strip™
- Paper Crimper
- Embellishments
- Candy
Step-by-Step
-
Step 1
Apply Sticky Strip™ to one of the short sides of the reverse side of the 4 1/4" x 5 1/2" piece of patterned paper.
Apply another strip from the end of the long side until half way in.
Apply the last piece in the middle of the other short side of the paper.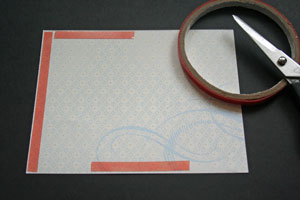
-
Step 2
Remove the plastic liner from the Sticky Strip™, but make sure to leave the backing on the Sticky Strip™ that is in the middle of one of the long sides.
Adhere the short ends of the paper together to form a cylinder.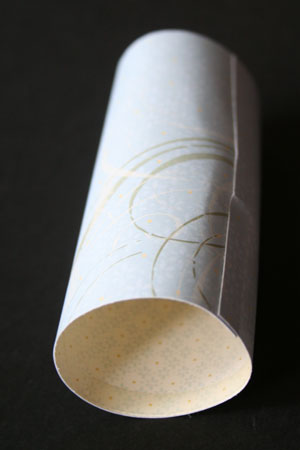
-
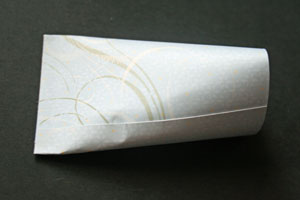
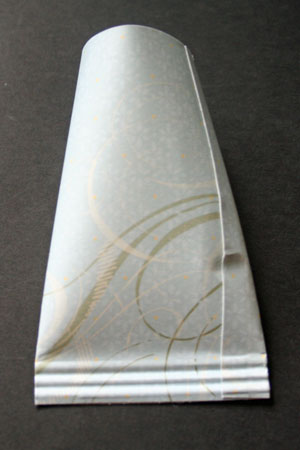
Step 3
Press the two sides with the Sticky Strip™ exposed together.
-
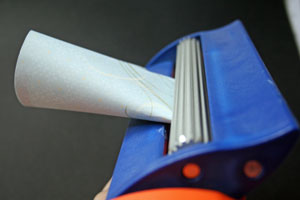
Step 4
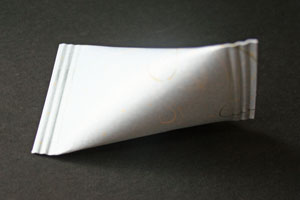
To reinforce the adhesive, slide the taped end into your paper crimper and slowly add two or three crimped lines.
-
-
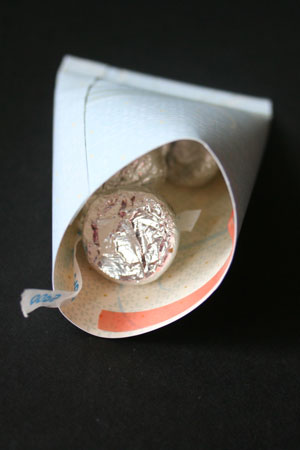
Step 5
Fill container with candy or other small treat.
-
Step 6
Remove the liner from the remaining Sticky Strip™, then push the sides together in the opposite direction from the other end.
When looking at the container from the top, the two ends will form a +.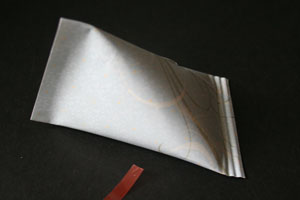
-
Step 7
Crimp this edge of the container.
-
Step 8
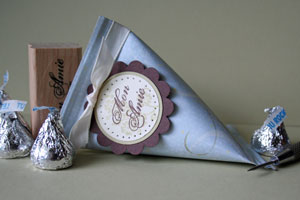
Decorate the container.
Video!
Variations
-
Crystal Clear
Use Vellum or acetate to make a see through container. When using acetate, reinforce the short ends with brads or eyelets.
(After 1 1/2 weeks my Sticky Strip™ taped box that is shown here opened up).
Resize it
-Try making the container in a different size. If you need a bigger version, try out a 5 1/2" x 8 1/2" sheet of paper.
-Is it not quite small enough? Use a 4 1/4" x 2 3/4" piece of paper to make a tiny treat holder.
-Make it longer! Try taping the long side together first to make your container long and skinny.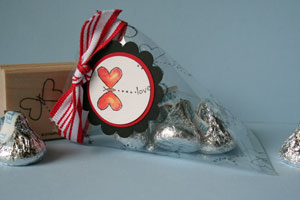
Your Turn
You've seen the tutorial, now you try it! We've got a section of the gallery set aside for Sour Cream Container. Try this technique, then upload your artwork to the gallery. Show us your creations!
***Please note - Internet Explorer/Edge is not a supported browser, and will not allow you to see the videos. Please use Chrome, Firefox or Safari to view our tutorial videos.
Questions and Comments
We'd love to get your feedback or questions. Leave your comment below.
I keep the printed projects in sheet protectors and filed in 3 ring binders -- "My Work," "Stampin' Up," "Iris Folding," "Templates," etc.
Hope this helps,
Carol
Tinkfan
awsome project very easy and simple! I am going to tryit and post it thankssss guys!!!
I am inlove with the site
excellent job
Hugs
Karla
Were do you find snail adhesive? Thanks, Mary
Page 2 of 4 pages < 1 2 3 4 >