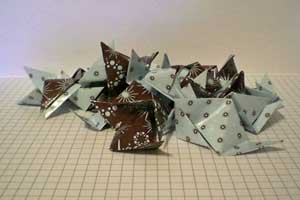
Sonobe Origami Ornament
by Emily Weems
Create a beautiful ornament out of paper squares.
Supplies
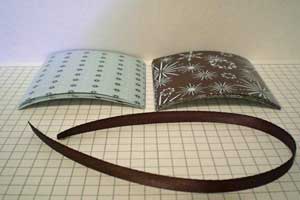
- 30 3" x 3" squares of lightweight paper (Wrapping paper is ideal)
- 12" Ribbon
Step-by-Step
-
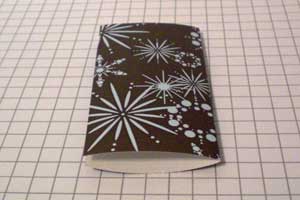
Step 1
Start by folding a sheet of paper in half.
-
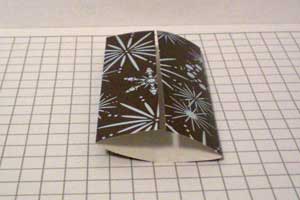
Step 2
Unfold, and then fold the left and right side in to meet the crease.
-
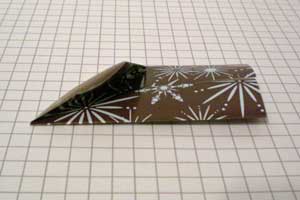
Step 3
Fold the top right corner down so that the top edge meets the left edge.
-
Step 4
Rotate and do the same thing with the other side.
-
Step 5
Unfold both of those corners. You should have one small triangle sticking up on each side.
-
Step 6
Fold those under.
-
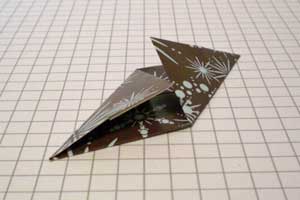
Step 7
Now take the corners you folded down in step 3 and 4 and tuck those under the flap.
-
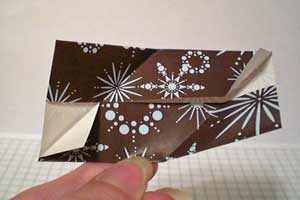
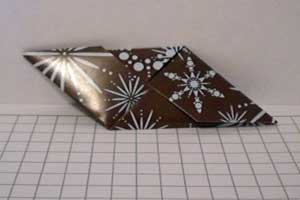
Step 8
It should look like this.
-
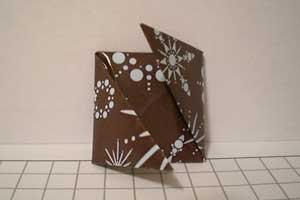
Step 9
Flip the whole thing over and fold the points in to make a square, giving you a diagonal line down the center.
-
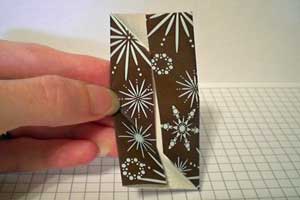
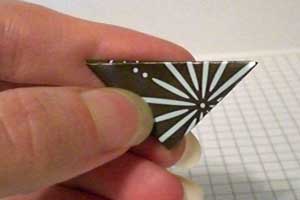
Step 10
Fold in half on that line.
-
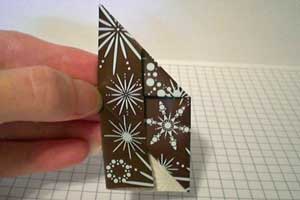
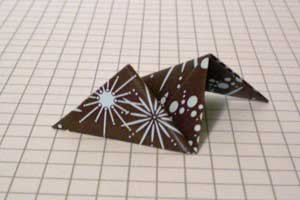
Step 11
It should look like this. This is called a Sonobe.
-
Step 12
Continue to fold the remaining 29 pieces.
-
Step 13
Now we will begin putting the pieces together.
This does not require adhesive. Everything is done by tucking the flaps in the pockets of the folds.
Start by putting the flap of one piece into the pocket on another.
-
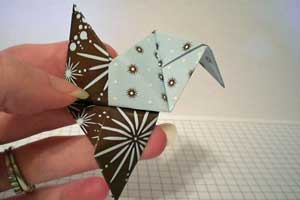
Step 14
Take a third piece and insert the flap into the pocket of the second.
Put in the fourth flap the same way.
-
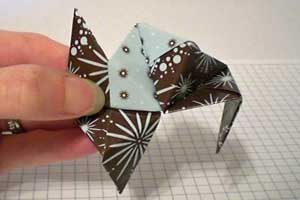
Step 15
Insert the fifth flap.
Notice when you put this one in, it meets with the other side of the first flap. Insert the flap from the first piece into the fifth's pocket.
-
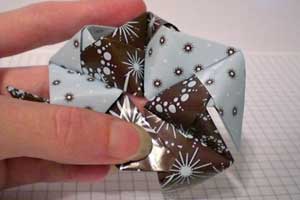
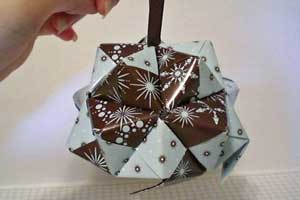
Step 16
You have made the top of your ornament.
Take your ribbon and tie a big knot on the end. I recommend using several knots to make it less likely to come out.
Put your ribbon into the hole in the center. If the hole isn't large enough, just gently pull on the pieces to make a big enough hole. You can easily push the pieces back together.
-
Step 17
The next two steps will show you how to put three sonobe pieces together.
I find that it goes together a lot easier in groups of three, but you can also put them in one at a time if you find that way easier.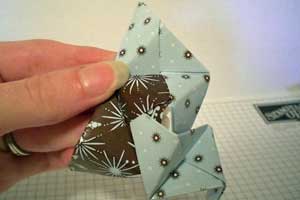
-
Step 18
Start by inserting the flap of one sonobe into the pocket of another like we did in step 13.
Insert a third sonobe into the first.
Tuck the flap from the second sonobe into the pocket of the third. You should have a point. Make 7 of these.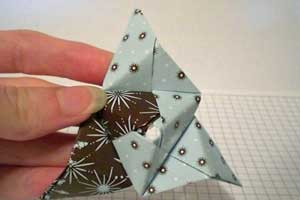
-
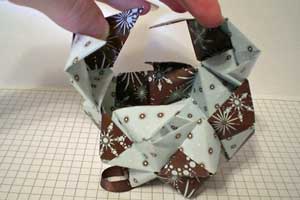
Step 19
Working with 5 of these sonobe clusters, you will go around working them in like shown making your first row.

-
Step 20
As you continue to go around, you will see when a flap needs to be tucked in.
-
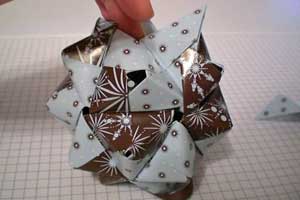
Step 21
After working in the first 5 sonobes, your ornament should look like this.
-
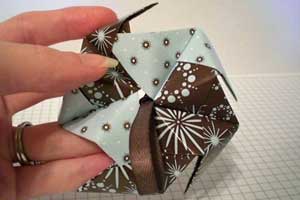
Step 22
Take the remaining 2 of the 3 piece sonobes and work in one on each side.
-
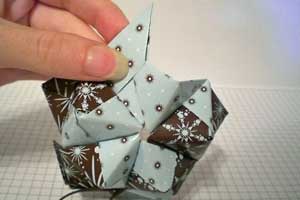
Step 23
Work in the remaining 4 pieces by tucking the flaps into the pockets.
-
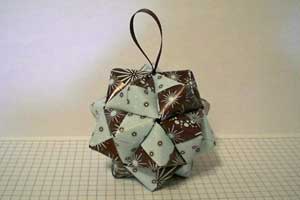
Step 24
Finish your ornament.
Your Turn
You've seen the tutorial, now you try it! We've got a section of the gallery set aside for Sonobe Origami Ornament. Try this technique, then upload your artwork to the gallery. Show us your creations!
***Please note - Internet Explorer/Edge is not a supported browser, and will not allow you to see the videos. Please use Chrome, Firefox or Safari to view our tutorial videos.

Questions and Comments
We'd love to get your feedback or questions. Leave your comment below.
I am disappointed.
I give up.
Page 2 of 2 pages < 1 2