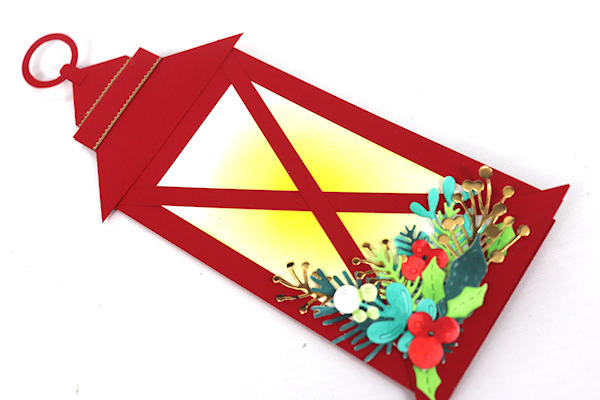
Slimline Lantern Card
by Dina Kowal
Use simple shapes to create a classic lantern shaped card.
Supplies
- Cardstock (red Neenah cardstock and white Accent cover used here)
- Trimmer or craft knife/rotary cutter and ruler
- Circle dies
- Rectangle or oval die (optional)
- Scoring tool
- Liquid glue
- Grid mat (optional but helpful)
- Detail scissors
- Die cuts or other embellishments (Impression Obsession DIE907 Winter Foliage and gold edge stickers used here)
- Other supplies as needed to complete the project (used here: watercolor paper, Copic markers, gold foil paper)
Step-by-Step
-
Step 1
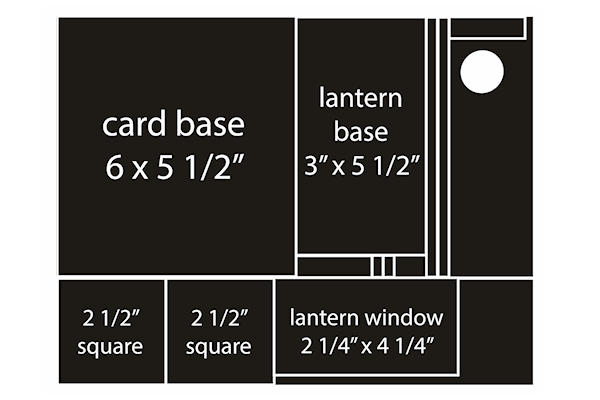
Prepare the following cut pieces of cardstock:
Card base: 6” x 5 1/2”
Lantern pieces:
3” x 5 1/2”
Two – 1/4" x 6”
Two - 2 1/2" x 2 1/2"
Two – 1 3/4" x 1/2"
Two – 1/4" x 1/2" (may need to be larger depending on your circle dies – see step 6)
1” circle die cut
Lantern window:
2 1/4" x 4 1/4" (this can be a separate piece or can be cut out of the lantern frame in step 8 with a rectangle or oval die)
TIP:
If you cut a letter-size piece of cardstock at 6” from the short side, the remaining piece is 2 1/2" wide, perfect for cutting the squares and window piece. -
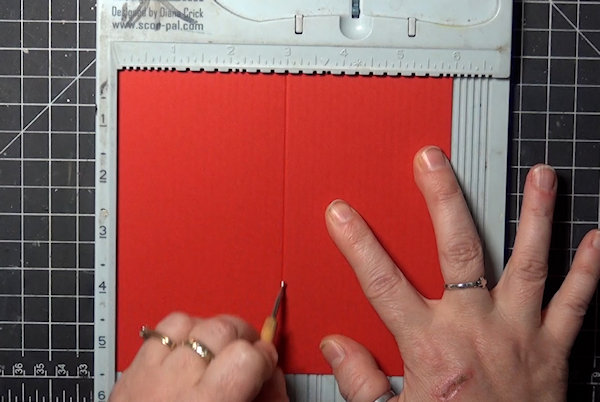
Step 2
Score the card base on the long side at 3”. Set aside.
-
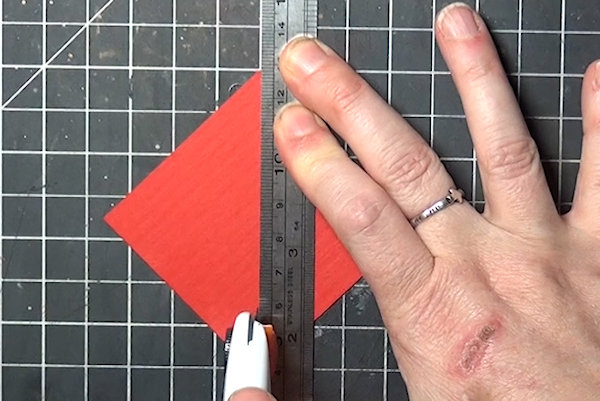
Step 3
Use a temporary adhesive to stick the two 2 1/2" squares together for cutting.
Cut the square piece diagonally from corner to corner.
You will have 4 triangle cuts. One is not needed. Set one aside for the top of the lantern. -
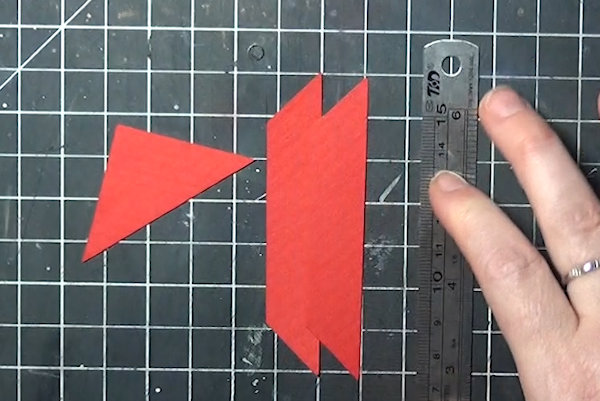
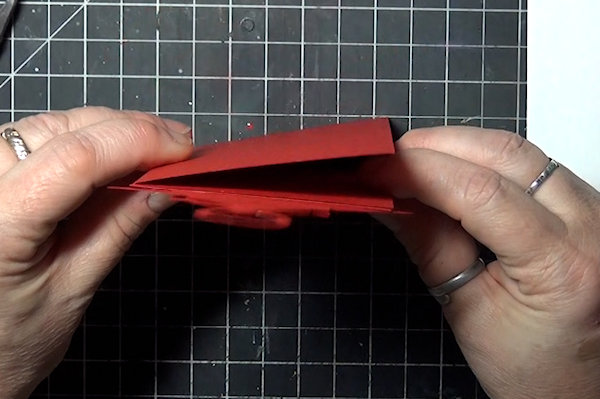
Step 4
Keep the other two halves together. Cut as shown, a parallel cut 5/8” from the long side. Save one of the long pieces – the other is not needed.
-
Trim 1/2" away from the corners at right angles from the remaining small triangle piece.
-
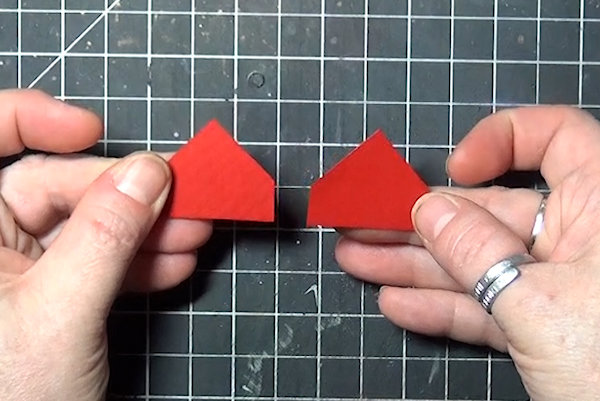
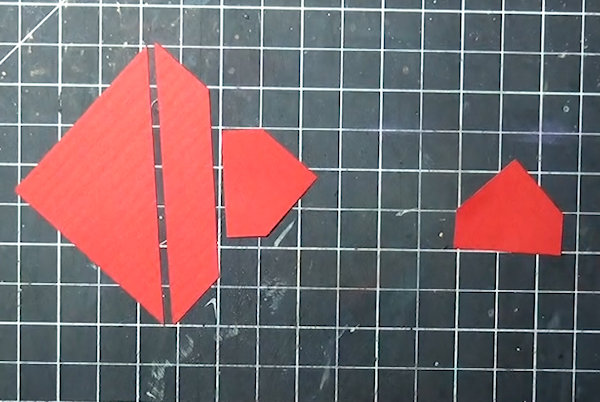
Step 5
For clarity, these are the pieces neede from the cuts in Step 4.
-
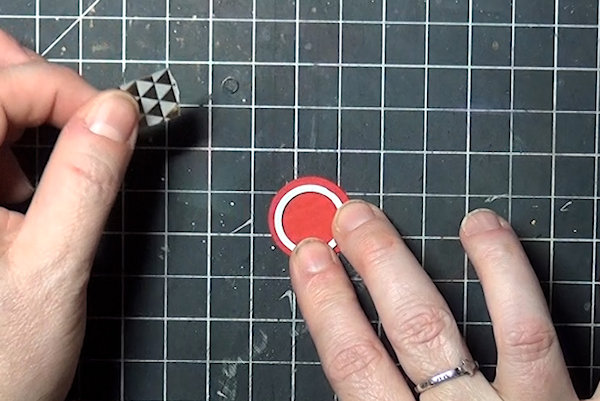
Step 6
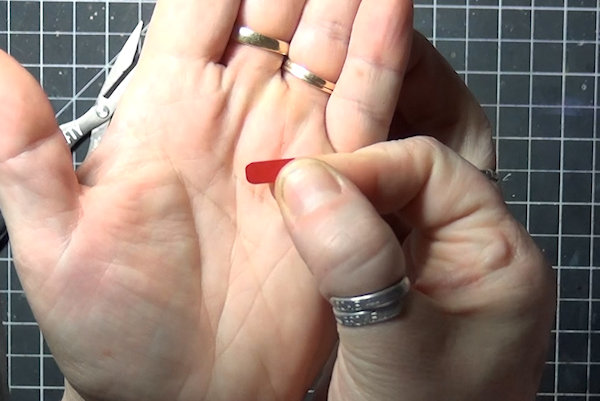
From the 1” circle, use a smaller circle die to cut out the center. This will be the ring at the top of the lantern.
-
Use scissors to round the corners of the short ends of the smallest cut pieces. These strips will create a connection point between the ring and top of the lantern.
NOTE:
If the center opening of your circle is smaller than shown, you might need longer/wider strips here to accommodate the width. Adjust as needed. -
Step 7
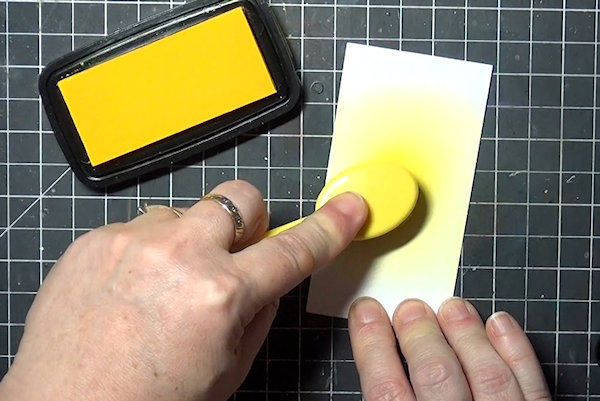
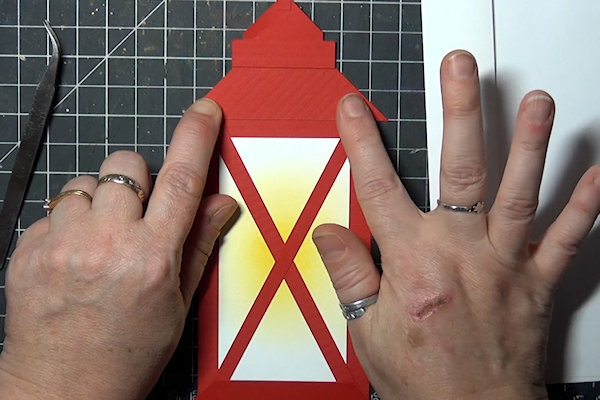
For the window in the lantern, decide if you want to cut a piece to layer on top, or if you want to die cut a window out of the lantern body. For the sample, a separate piece was cut from white cardstock. Please see the project gallery for more ideas and variations.
Embellish the panel or opening as desired. You can brush yellow ink for a simple lighted effect, or use stamps or die cuts to add a candle or other scene inside. -
Step 8
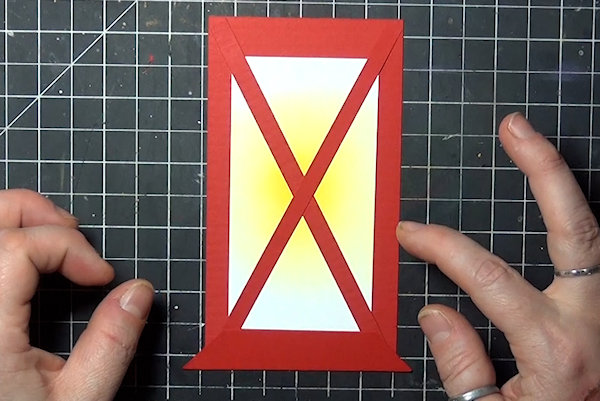
Assemble the card. Begin with the rectangular base. Center the inked panel and adhere.
-
Adhere the long strips from corner to corner, crossing in the center. Trim ends if needed. Glue the angled piece at the bottom, aligning the long edge with the bottom of the rectangular panel.
-
Step 9
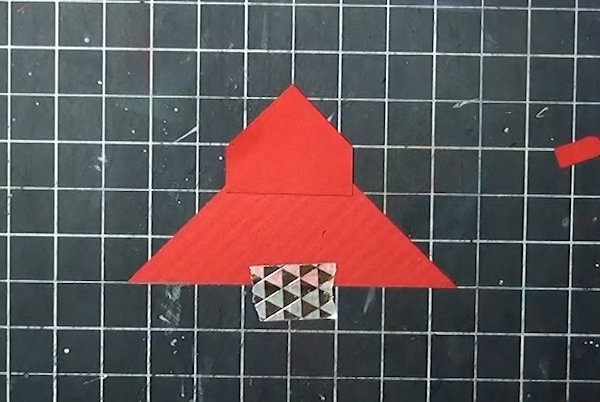
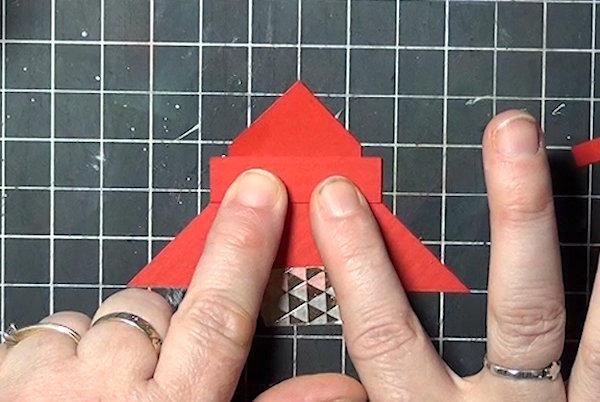
To assemble the top, begin with the large triangle. Use a grid mat to help with alignment, taping in place if needed. Adhere a 5-sided piece about 1” up from the bottom.
-
Cover the seam with one of the 1 3/4" strips, where the width of the strip matches the width of the triangle.
-
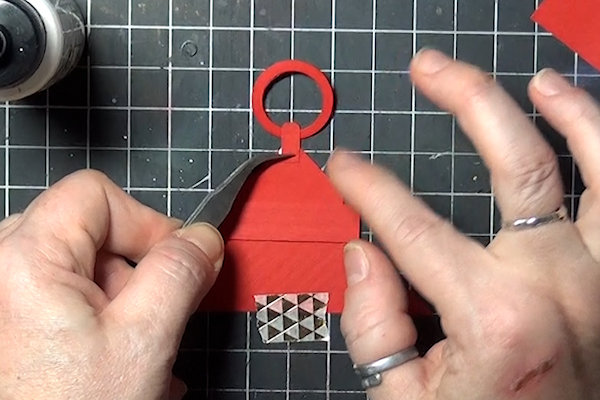
Step 10
Center the ring at the top point. Use the small 1/4" x 1/2" rectangle (rounded side up) to join the two pieces.
-
Step 11
On the back side, layer a 5-sided piece and the two rectangles as before, matching edges. This creates a clean look when the card is open, and adds stability to the upper portion of the card.
-
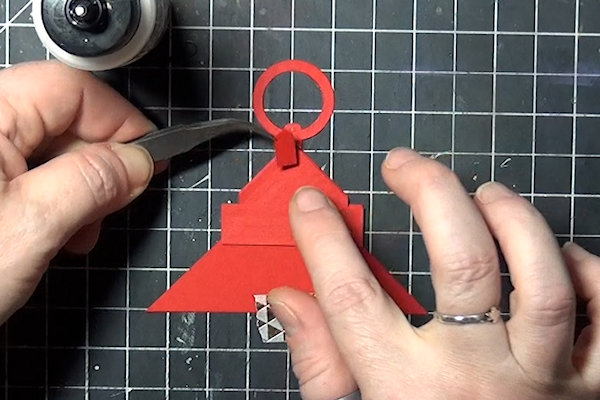
Step 12
Glue the topper to the lantern base, covering the top corners of the base rectangle.
TIP:
Use a business envelope as a template to ensure that the card will fit. -
Step 13
Glue the lantern to the card base, aligning at the bottom.
-
Step 14
Embellish as desired to complete the project.

Video!
Your Turn
You've seen the tutorial, now you try it! We've got a section of the gallery set aside for Slimline Lantern Card. Try this technique, then upload your artwork to the gallery. Show us your creations!
***Please note - Internet Explorer/Edge is not a supported browser, and will not allow you to see the videos. Please use Chrome, Firefox or Safari to view our tutorial videos.

Questions and Comments
We'd love to get your feedback or questions. Leave your comment below.
Page 1 of 1 pages