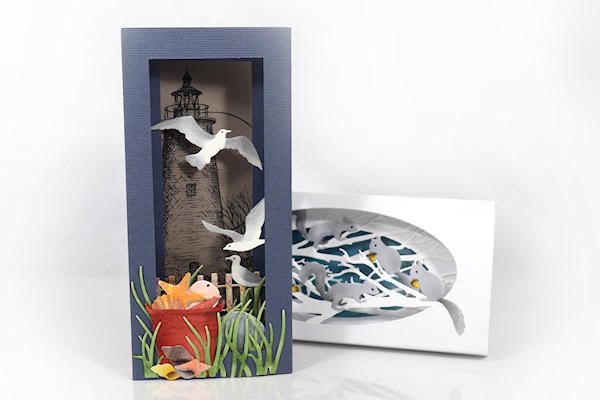
Slimline Diorama Card
by Dina Kowal
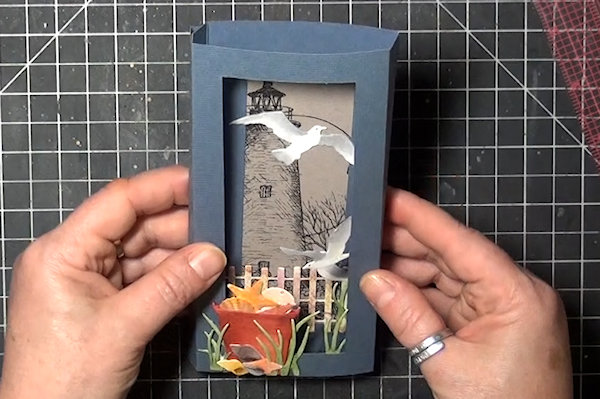
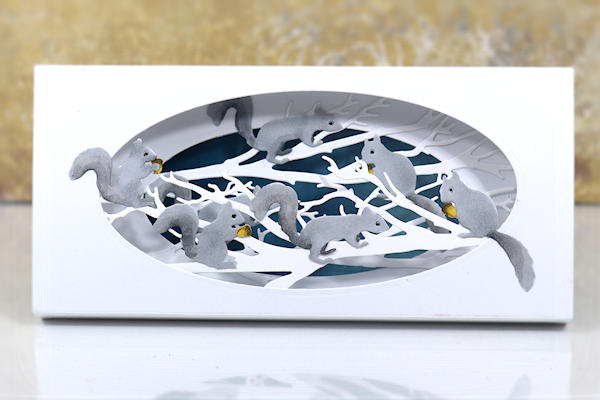
Create a tri-fold diorama card with slimline dimensions.
Supplies
- Cardstock
- Scoring tool (Scor-Pal and ball stylus used here)
- Nesting slimline dies or craft knife and ruler (Spellbinders Mega Ovals (retired) as well as Xacto knife and MISTI Cut-Align used here)
- Die cuts and/or embellishments (multiple Impression Obsession dies used here - see gallery entries for details)
- Glue or strong double-sided tape (Bearly Art glue used here)
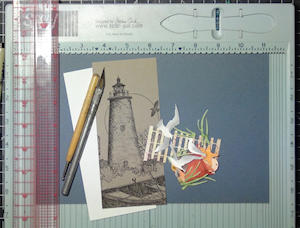
- Other supplies as needed to complete the project (used here: Copic markers, Impression Obsession F1814-DG Ocracoke Lighthouse digital stamp)
Step-by-Step
-
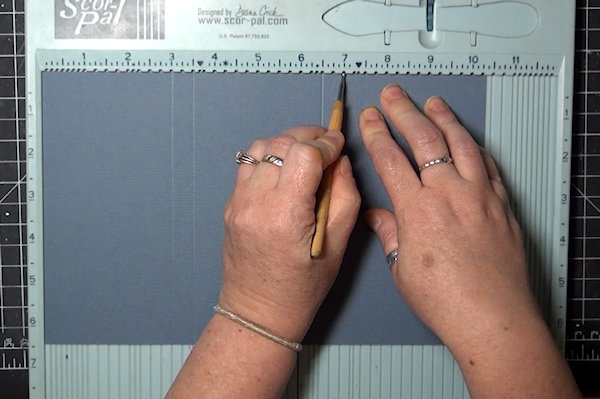
Step 1
Prepare a cardstock base 10-3/8” wide and your desired height (6” – 6-1/2” for mini slimline, 8” - 9” for slimline size).
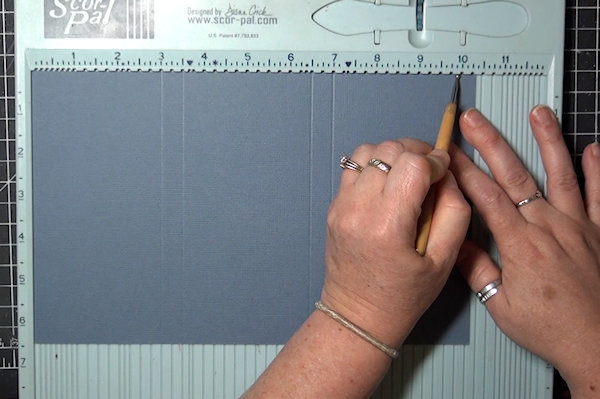
Score along the long side at 3", 3-1/2", 6-1/2", 7", and 9-15/16". -
TIP:
If your score board does not have 1/16” marks, place your scoring tool where you want the line, then slide the cardstock over until the tool meets a groove. -
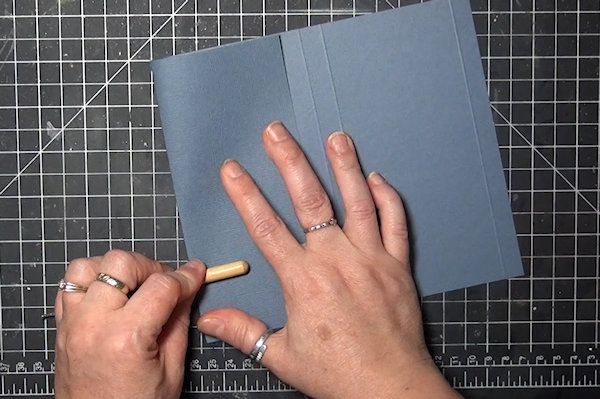
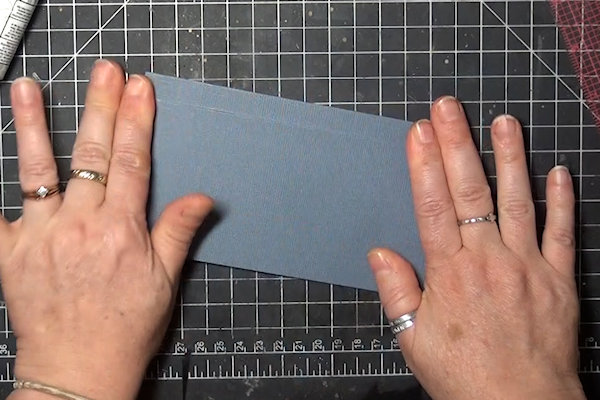
Step 2
Burnish on all score lines.
-
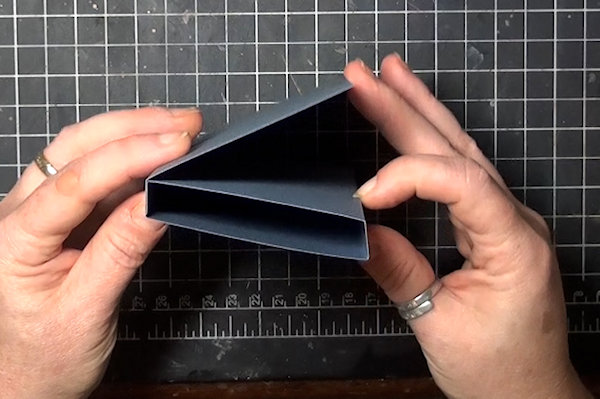
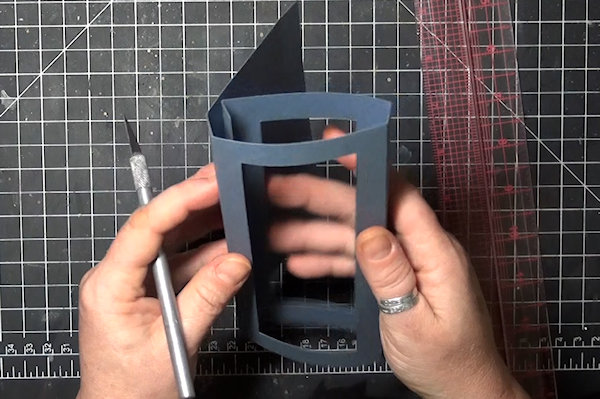
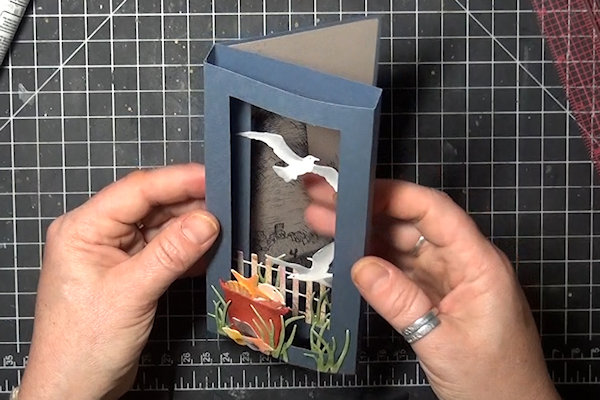
Step 3
This is the basic card shape when folded.
-
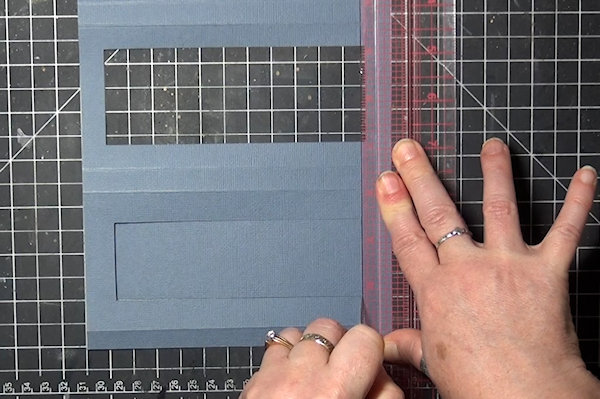
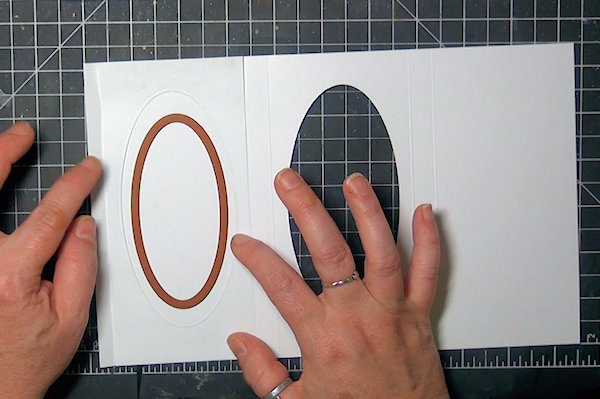
Step 4
The middle 3” panel will be the card front. Cut 1/2” inside each edge to create an aperture. (See next step for alternate method using nesting dies.)
-
Do the same on the 3” panel with the end tab, but make the opening slightly smaller (for the sample, cuts were made 5/8” from the edges).
-
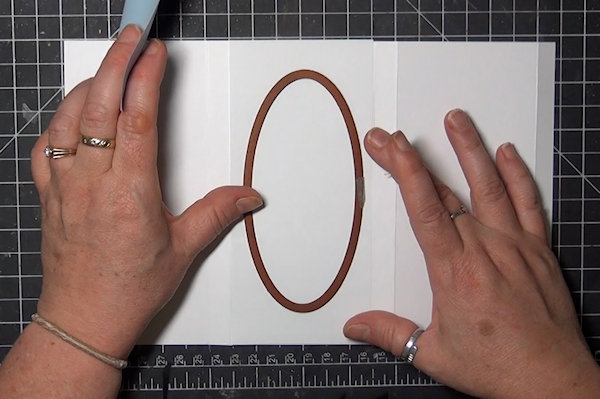
Step 5
Alternate method:
Use nesting dies to create the openings in the panels. Cut a piece of typing paper to the panel size (3” x 6 1/2” here) and lay it over the center section. Center the die and cut through both layers. -
Use the typing paper template to help center the smaller die on the end panel.
TIP:
Cut the smaller die from the opposite side of the card base, so the smooth/embossed edge will be seen when the card is assembled. -
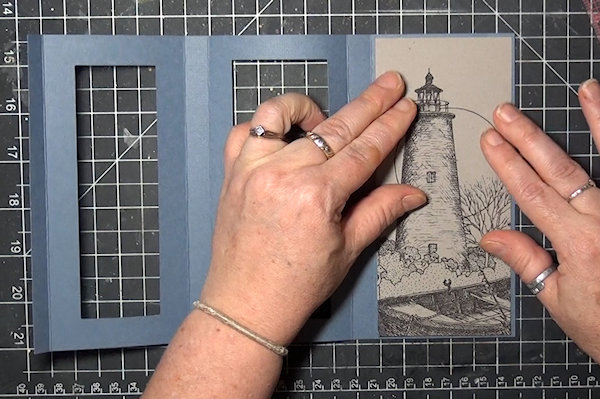
Step 6
Note how the card folds together to make sure you are decorating the correct side of each panel.
-
Decorate the inside panel of the card. This piece was cut to 2 7/8” x 6 3/8”.
-
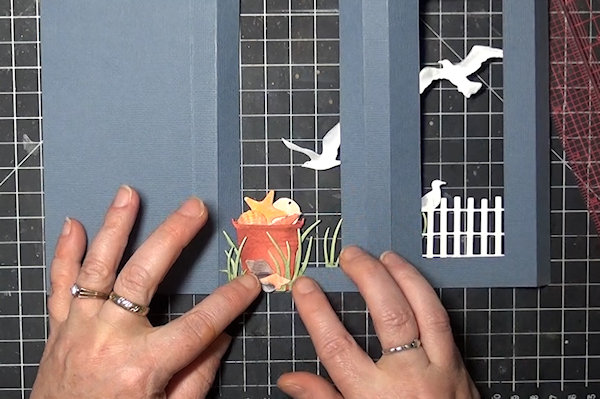
Step 7
The far left panel as shown will be inside the diorama when the card is folded closed. Decorations will be facing the same way as the panel in Step 6b.
NOTE:
Because of the window opening, some design elements may be visible when the card is opened. You may choose to color or layer them on the back side. -
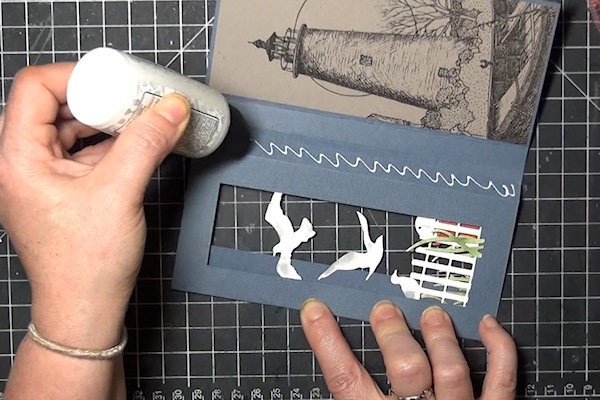
Step 8
Turn the panel over to decorate the card front. Elements may be glued to the front and back of this panel for added dimension.
-
Fold the box back occasionally to make sure front elements are not obscuring the ones inside.
-
Step 9
When you are satisfied with your design, fold the front panels of the card together and lay them flat so that the end tab lines up next to the 1/2" space next to the card back. Add double sided tape or glue along the tab.
-
Press the tab and spine together, ensuring that the card remains flat. Burnish well and allow the adhesive to dry.
-
Step 10
Reshape the box to view the diorama. You may glue the back panel closed if desired. (Leaving it unglued gives a little more stability and dimension when the card is standing.)
-
Step 11
Complete the project.
The card should lay flat for mailing. -
Use the same instructions for a horizontal card.


Video!
Your Turn
You've seen the tutorial, now you try it! We've got a section of the gallery set aside for Slimline Diorama Card. Try this technique, then upload your artwork to the gallery. Show us your creations!
***Please note - Internet Explorer/Edge is not a supported browser, and will not allow you to see the videos. Please use Chrome, Firefox or Safari to view our tutorial videos.

Questions and Comments
We'd love to get your feedback or questions. Leave your comment below.
Now, it would be interesting to make tutorial to the matching envelopes, considering the thickness of this card.
Page 1 of 1 pages