Sliderbox
by Beate Johns
Create a slider box with a hidden message.
Supplies
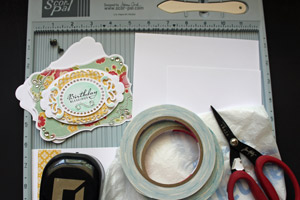
- One 5" x 8 1/2" piece of cardstock for the box frame
- One 6 3/4" x 8 1/2" piece of cardstock for the box
- One 2 7/8" x 5" piece of cardstock for the slider frame
- One 2 3/4" x 4" piece of cardstock for the message tag
- Scor-Pal™, or other scoring tool
- Scor-Tape™, or other strong adhesive
- Scissors
- Square punch
- Plastic grocery bag
- Embellishment, Tim Holtz Hinge Fastener used here
- Additional cardstock and/or patterned paper to decorate your box
- Stamps, optional (Verve's Blessings used here)
Step-by-Step
-
Step 1
Punch a square into the center of the short ends of the 2 7/8" x 5" piece of cardstock. This will be your slider frame.
(FYI: Since I didn't have a square punch, I used a photo corner punch I owned.)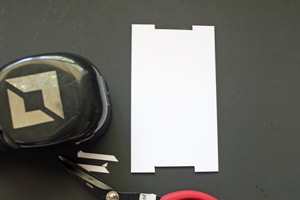
-
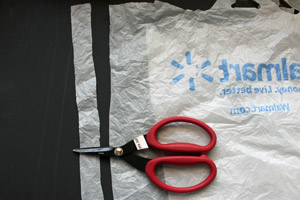
Step 2
Cut a strip of a plastic bag. Make sure the strip is thinner then the groove you created on your slider frame.
-
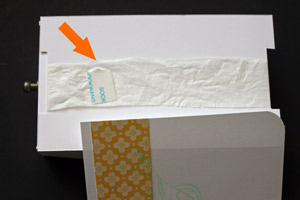
Step 3
Wrap your plastic bag strip around your slider frame. Add Scor-Tape™ to one end of the plastic strip.

-
Adhere the other end of the strip over the adhesive and cut off the rest of the plastic strip.

-
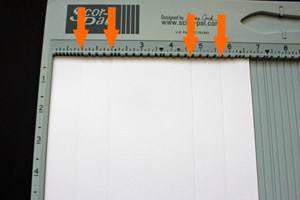
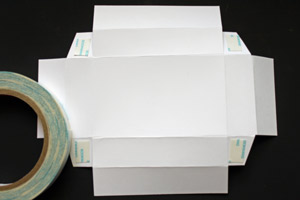
Step 4
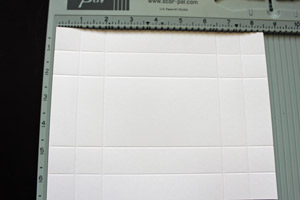
Place the 6 3/4" x 8 1/2" piece of cardstock into the Scor-Pal™. Score at 1" and 2" on the 6 3/4" side, flip the paper and score at 1" and 2" on the opposite side.
-
Turn your cardstock 90 degrees and score at 1", 2", 6 1/2" and 7 1/2" on the 8 1/2" side.
-
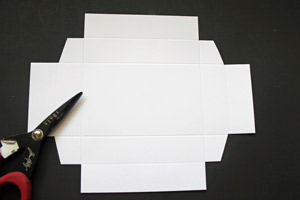
Step 5
Cut the outer three corner squares of the scored cardstock off and cut glue tabs out of the remaining square.
-
Pre-fold all the score lines.
-
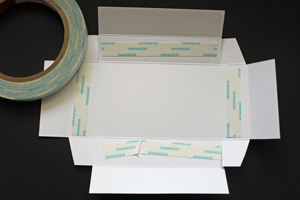
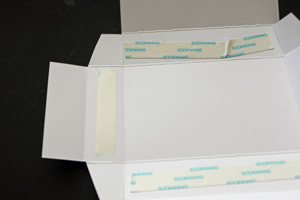
Step 6
Add Scor-Tape to the lower panels on each side.
-
Flip the cardstock around and add Scor-Tape to each of the tabs.
-
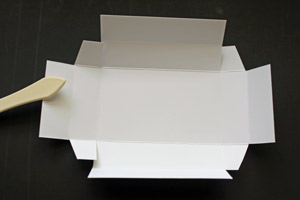
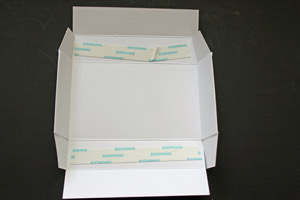
Step 7
Peel off the adhesive liner off the sides with the glue tabs.
-
Fold the outer panel over the one with the adhesive to create the first two box sides.
-
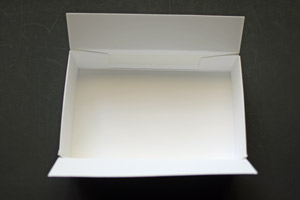
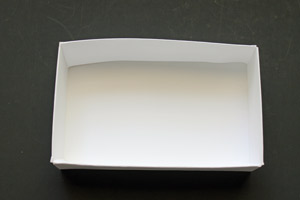
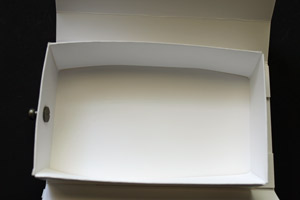
Step 8
Peel off the remaining adhesive liners. Adhere the glue tabs to the box sides.
-
Fold the outer remaining outer panels over to complete the box.
-
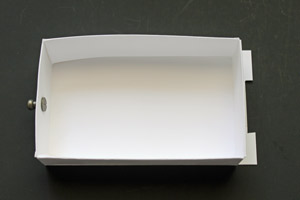
Step 9
Add an embellishment to one of your box sides. This will make it easier to open the box.
(I used a Tim Holtz Hitch Fastener for my sample.)
-
Step 10
Decorate your 2 3/4" x 4" piece of cardstock. This will be your sliding tag.
Mine was left mostly white so a message can be added later.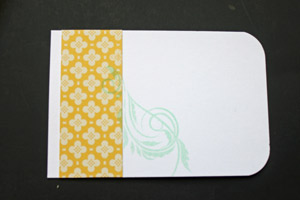
-
Step 11
On your slider frame, slide the plastic strip so that the overlapping piece is all the way to the right. Line up your box with the left end. Add adhesive to the plastic strip where the box will end.
This is important as the tape will stop the box. You want it as far back on the plastic strip as you can.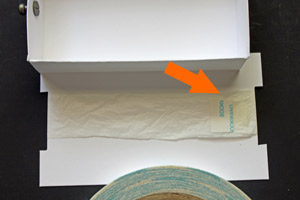
-
Adhere box over the slider part, lining up the box front with the left side of the slider frame.
-
Step 12
Turn the slider frame over. Line up the tag with the right of the frame and add adhesive to the plastic strip where the tag will end.
-
Adhere the tag face down over the frame, lining up the front of the tag with the right side of the frame.
Add more adhesive to the part of the slider frame that is not covered by the tag.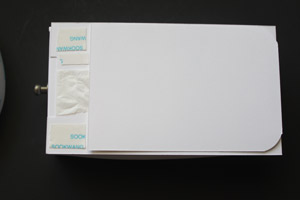
-
Step 13
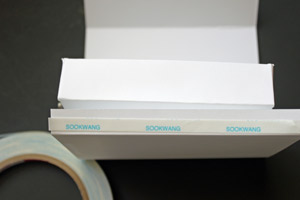
Score your 5" x 8 1/2" piece of cardstock at 1", 4", 5" and 8". Pre-fold your score lines.
This will be the box wrapper.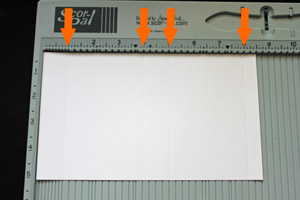
-
Step 14
Peel off the adhesive liner on the bottom of the slider frame and adhere it inside the box frame.
-
Step 15
Add adhesive to the glue tab of your box frame.
-
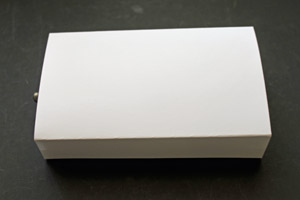
Adhere the box frame over the slider frame to finish the slider box.
-
Step 16
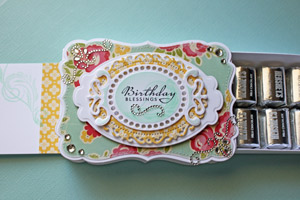
Decorate the box top.

-
Fill your box with goodies.
Video!
Your Turn
You've seen the tutorial, now you try it! We've got a section of the gallery set aside for Sliderbox. Try this technique, then upload your artwork to the gallery. Show us your creations!
***Please note - Internet Explorer/Edge is not a supported browser, and will not allow you to see the videos. Please use Chrome, Firefox or Safari to view our tutorial videos.
 *
*
Questions and Comments
We'd love to get your feedback or questions. Leave your comment below.
Such a fun project I had to give it a try...love how it works!
Karen x
Hugs
Joan
As mentioned in the supply list that little handle is from Tim Holtz and is called a Hinge Fastener. You can find it either by typing that into the search engine of your computer. Most online stores carry a lot of Tim Holtz product, or you can check your Local LSS.
Hugs and smiles
could you tell me the final measurements of the box you maid, so I'll know if it fits a small present I'm making?
thank you so much for the tutorial!
The undecorated box measures 3" x 5".
the box height is 1".
I am not sure what you mean. You say your card slides out and then back in when you push the box in. It sounds like it works like mine. It's hard to tell you what's wrong without seeing it, ykwim?
The secret to get this to work correctly is how you tape the box/card to the plastic strip. Make sure you line them up correctly as shown in the tutorial.
It has to be something with how the card is adhered to the strip. Maybe it come loose from the strip?
Page 2 of 3 pages < 1 2 3 >