Shaving Cream Sparkle
by Kim Jolley
Use shaving cream for a unique, controlled background technique.
Supplies
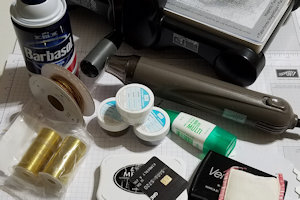
- Acrylic block
- Shaving foam
- Dye ink (Tuxedo Black Memento Ink used here)
- Watercolor paper
- Scraping tool (such as old credit card, etc)
- Versamark ink pad
- Heat tool
- Embossing powder (Gold, Silver, and Clear Stampin’ Emboss Powder used here)
- Other supplies as needed to complete the card (Stampin’ Up! supplies used here: Season To Sparkle Bundle, Awesomely Artistic stamp set, Lots of Labels Framelits, Embossing Buddy, Gold Mini Sequin Trim, Whisper White and Basic Black Cardstock, Multipurpose Liquid Glue, Tear & Tape Adhesive, Rhinestone Basic Jewels, Gold Metallic Thread, Stampin’ Dimensionals, Big Shot)
Step-by-Step
-
Step 1
Apply dye ink directly to an acrylic block.
-
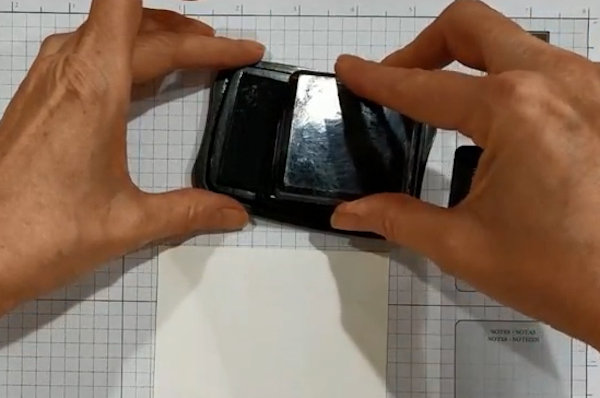
Step 2
Using an old credit card (or something similar) apply a thin coating of shaving foam right on top of the black ink on the block. Move the shaving cream around a bit so it mixes with the black ink.
-
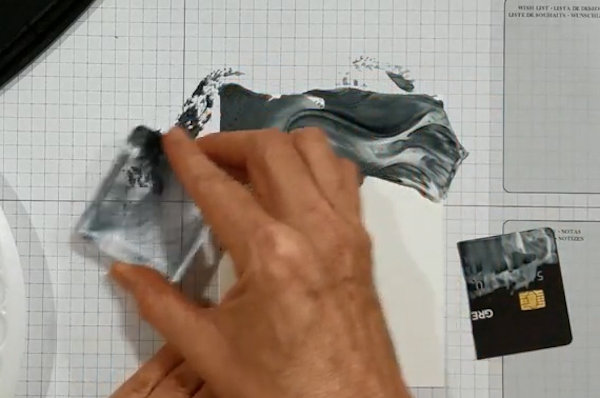
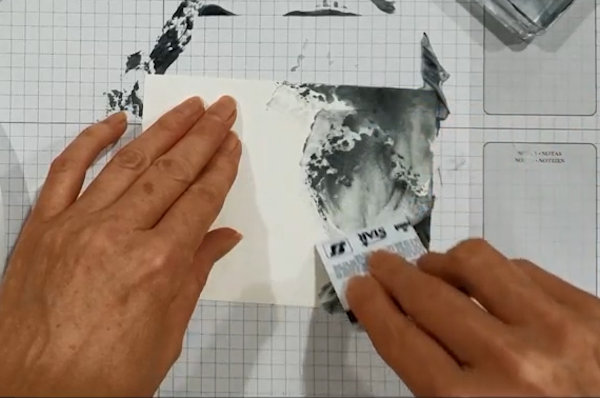
Step 3
Apply the shaving cream/ink mixture to your watercolor paper by “gliding” it across the paper.
-
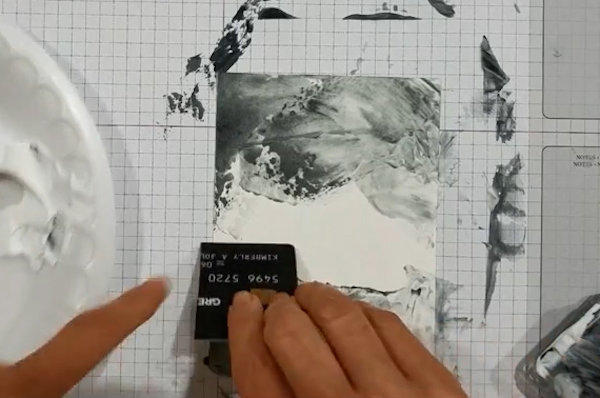
Remove any excess shaving cream mixture with the credit card (or any other scraping tool you might have).
-
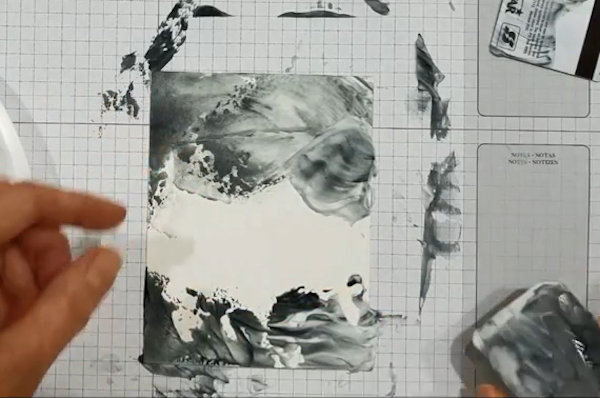
Step 4
Repeat the process. After cleaning the block, ink it up, put more shaving cream on it and add color where you want it on the watercolor paper.
-
Scrape excess shaving cream mixture off of paper.
-
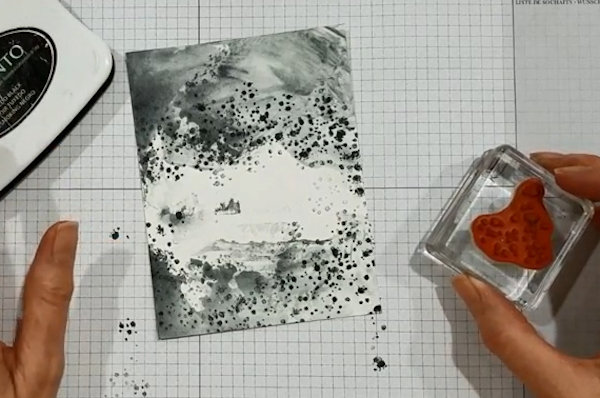
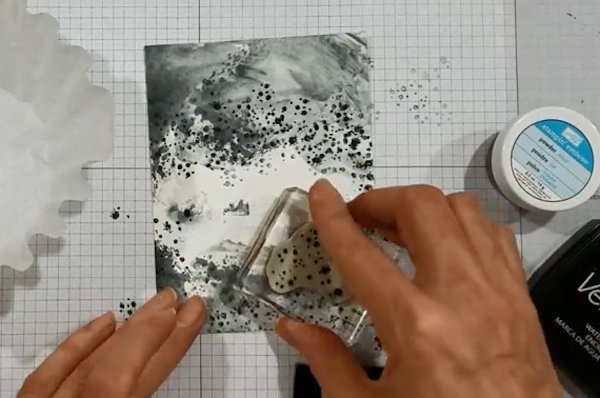
Step 5
Using a speckle or other texture stamp, stamp the image repeatedly as shown using the same dye ink as above. Stamp first, second, and third generation impressions to give depth and interest to the background (speckle stamp from Stampin’ Up’s Awesomely Artistic set used here).
-
Step 6
Using the same speckle stamp and Versamark ink, stamp repeatedly over the same area as the black speckles.
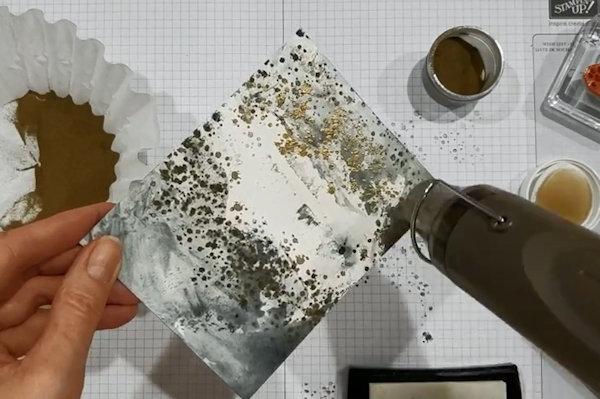
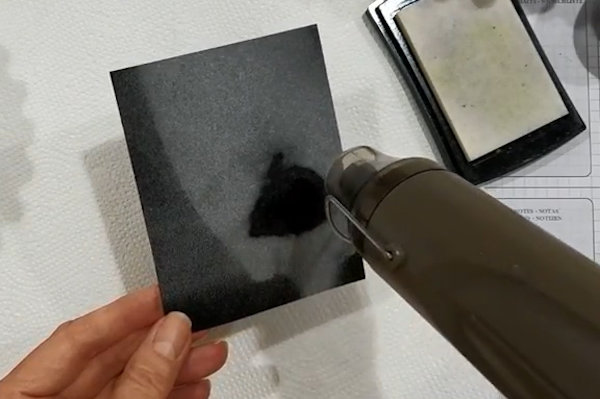
-
Using a heat tool, emboss the Versamark stamped images with gold embossing powder.
-
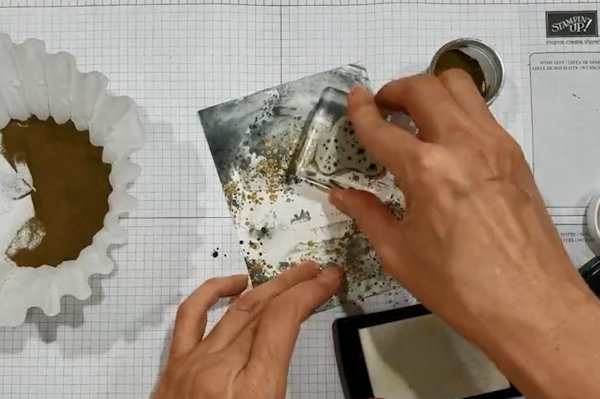
Step 7
Repeat step 6 to get a heavier gold speckle coverage.
-
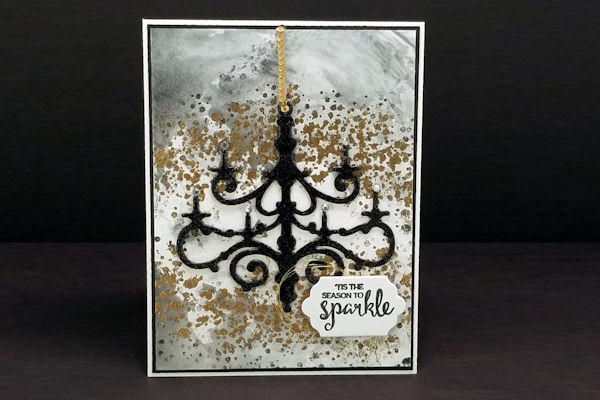
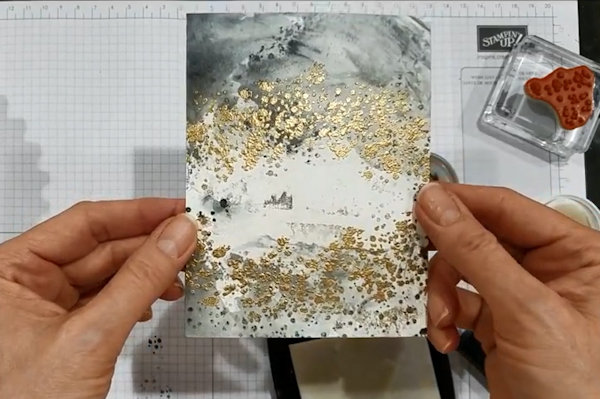
Step 8
This is what you should end up with.
-
Step 9
Embellish the card as desired.
For the sample, take a black cardstock panel and apply Versamark directly to the paper, over the entire panel. -
Heat emboss with a mixture of clear embossing powder and silver embossing powder (approx 1 part silver to 4 parts clear).
-
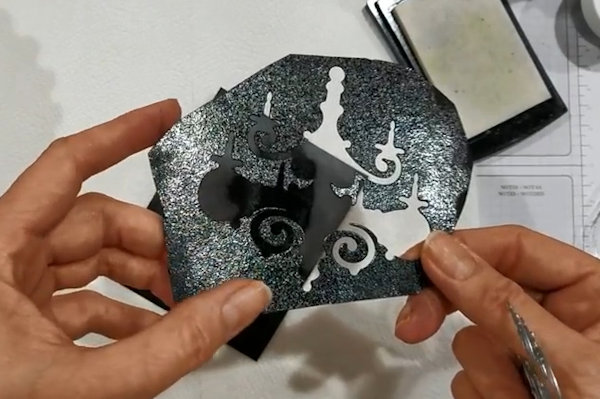
Step 10
Die cut an embellishment from the embossed piece of black cardstock (chandelier die from the Season to Sparkle bundle used here).
-
Cut 2 additional images from plain black cardstock. Using a micro brush or whatever works best for you, apply glue in strategic areas in order to glue the 3 dies in a stack, ending with the sparkly one on top.
-
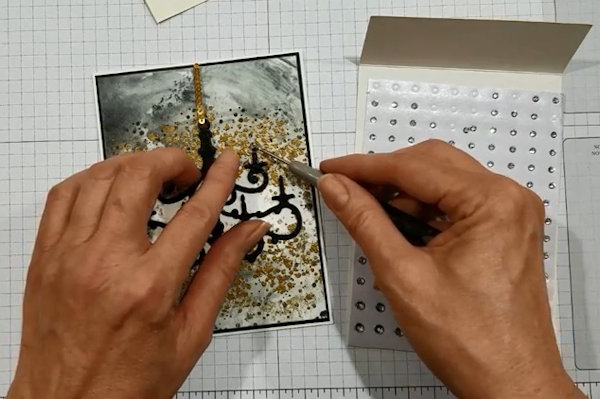
Step 11
Add finishing touches as desired.
-
Step 12
Complete the project.


Video!
Your Turn
You've seen the tutorial, now you try it! We've got a section of the gallery set aside for Shaving Cream Sparkle. Try this technique, then upload your artwork to the gallery. Show us your creations!
***Please note - Internet Explorer/Edge is not a supported browser, and will not allow you to see the videos. Please use Chrome, Firefox or Safari to view our tutorial videos.

Questions and Comments
We'd love to get your feedback or questions. Leave your comment below.
Page 1 of 1 pages