Scalloped Circle Tree
by Beate Johns
Create a Christmas tree out of scalloped circles.
Supplies

- Patterned paper
- Scalloped circle dies (Spellbinders Big Scalloped Circles Nestabilities Large used here)
- Star dies or punches (Spellbinders Stars Five Nestabilities used here)
- Die cutting machine
- Craft glue
- Coasters
- Scissors
- Pencils and ruler
- Hole punch
- Bamboo skewers, or thin wooden dowel
- Blending tool
- Ink (Walnut Stain Distress Ink used here)
- Adhesive (Xyron 250 Sticker Maker used here)
Step-by-Step
-
Step 1
Cut patterned paper with scalloped circle dies.

-
Hint:
Cut several paper circles for each die. For this sample, three of each side were cut.
-
Step 2
Sponge edges with ink for a vintage look.

-
Optional:
Sponge edges of stars for a vintage look.
-
Step 3
Cut two stars out of patterned paper, or like here, out of glitter paper.

-
Optional:
Sponge edges of stars for an aged look.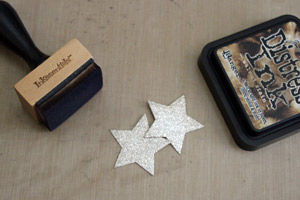
-
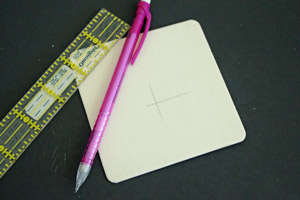
Step 4
Mark the center of a chipboard coaster.
-
Punch hole.
Hint:
Make sure the hole is just a tiny bit smaller then your Shish Kabob Skewer. Otherwise the tree will wobble. If your hole punch isn't small enough, punch the coaster with a paper piercer or another small sharp object.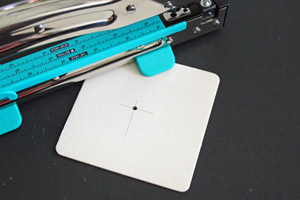
-
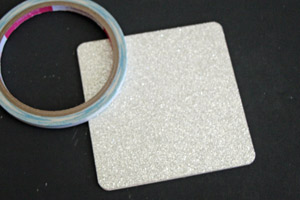
Step 5
Cover coaster with patterned paper or glitter paper.
-
Punch hole through paper.
Hint:
If you are using a Crop-a-Dile as shown, you can adhere the paper to the coaster before punching the hole, saving one step.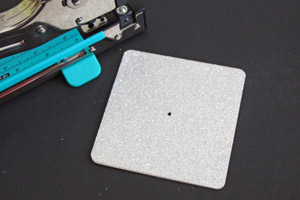
-
Step 6
Glue Shish-Kabob Skewer into the hole.
Optional:
Adhere a coaster under the first one to give the skewer more stability.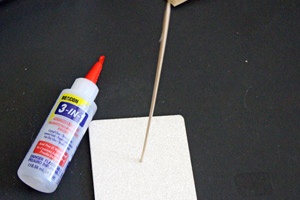
-
Step 7
Add glue to the tree base, pierce one of the largest paper circles in the center and slide all the way down to the base. Adhere.

-
Step 8
Continue to pierce center in the paper circles. Add glue to the skewer slightly above the last circle and adhere circle.
Hint:
Leave 1/8" to 1/4" gaps between each circle.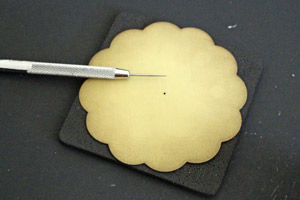
-

-
Step 9
Finish adding your circles to your tree, lining them up by size.

-
If your skewer is too long, trim with strong scissors down, leaving about 3/4" to 1" above the last circle.

-
Step 10
Add adhesive on the back of both of the cut out stars.

-
Adhere stars to both sides of the end of the skewer to hide it.

Video!
Variations
-
- Add sparkle to tree by adding glitter to the edges of your circles (silver Stickles used here).
- Try other die shapes like scalloped squares or regular circles for a different looks.
Your Turn
You've seen the tutorial, now you try it! We've got a section of the gallery set aside for Scalloped Circle Tree. Try this technique, then upload your artwork to the gallery. Show us your creations!
***Please note - Internet Explorer/Edge is not a supported browser, and will not allow you to see the videos. Please use Chrome, Firefox or Safari to view our tutorial videos.
Questions and Comments
We'd love to get your feedback or questions. Leave your comment below.
I'm so glad I saw this wonderful project. If you have a scalloped die for your Big Shot with various sizes as Beate shows to us, you'll be able to cut 7 layers at one time, so you can cut 2 trees at once. Just a thought.
This is still one of the funnest projects I've seen in a while and really like it.
thanks
What a wonderful little tree! Love it! Wishing you all good things!
Hugs,
Barbara Diane
You are right. That's definitely what I meant, but not what I wrote. I will correct it in the tutorial.
Page 1 of 1 pages