Ruffled Ribbon
by Joanne Basile
Gather ribbon for a fun, ruffly embellishment.
Supplies
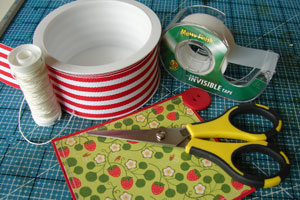
- Ribbon
- Sewing machine
- Scissors
- Tape
Step-by-Step
-
Step 1
Set your stitch length to the longest setting (a baste stitch) on your sewing machine. Stitch the full length of your ribbon.
Hint:
For this sample, the ribbon was stitched down the center for a center gather. You can also stitch just along one edge.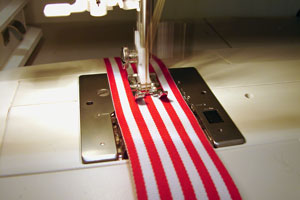
-
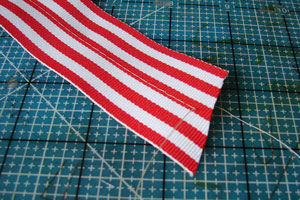
On your stitching there will be one thread on the front, and a second that comes off the back.
-
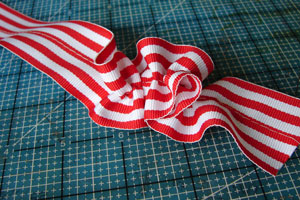
Step 2
Pull on just one of the thread ends to gather the ribbon. Then push that bunch into the center. Continue to pull the thread, and then push that little bunch towards the center.
Hint:
If you pull on both of them simultaneously, you won’t be able to gather the ribbon.
-
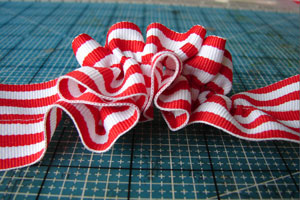
Step 3
Turn your ribbon and continue to turn and bunch from the other direction. Continue pushing the bunches towards the center of the ribbon.
-
Now you’ll have a messy, tightly bunched, little bundle of ribbon.
-
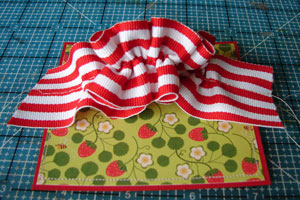
Step 4
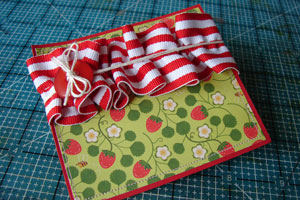
Spread the ribbon across the width of the cardstock.
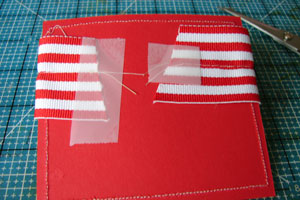
-
Tape the ends to the back.
-
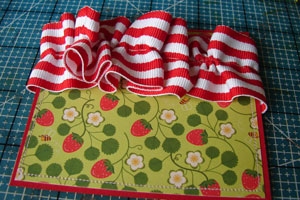
Step 5
Spread out the gathers in the ribbon to make for an even (and less tightly bunched) ruffle.
-
Step 6 (Optional)
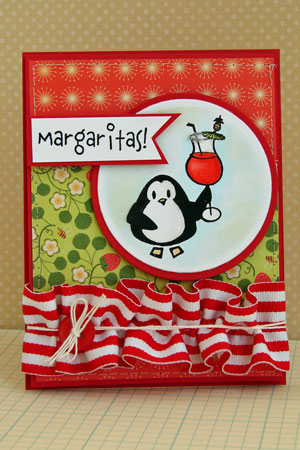
For an added touch, wrap a length of button twine around the piece, and secure through a button.
-
Step 7
Finish your project.
Video!
Variations
-
One sided Ruffle
Stitch down one side of the ribbon instead of the center. This will give a gathering all along one side leaving only one ruffly edge.

Questions and Comments
We'd love to get your feedback or questions. Leave your comment below.
Perfect timing! And, you have such a wonderful clear voice, too. Thanks for everything!
He IS Able,
Traci S.
http://He-IS-Able.blogspot.com
Cheers!!
Page 2 of 2 pages < 1 2