Pumpkin Patch Peeps
by Anna-Marie Still
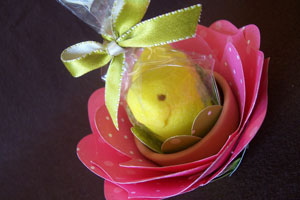
Create an adorable treat holder or place setting for any occasion using Peeps.
Supplies
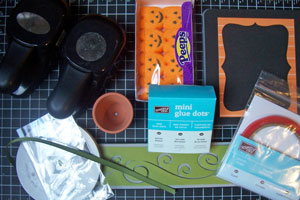
- Big Shot™, or other die cut machine
- Top Note Die
- Swirls Die
- Small Terra Cotta Pot
- 1 3/8" Circle Punch
- Large Oval Punch
- Peeps
- Cardstock
- Patterned Paper
- Glue Dots
- Sticky Strip™, or other strong adhesive
- Small Cellophane Bag
Step-by-Step
-
Step 1
Using a Big Shot™, cut four Top Note Die shapes and one Swirl shape out of out of patterned paper.
Punch twelve ovals out of pattterned paper with a large oval punch.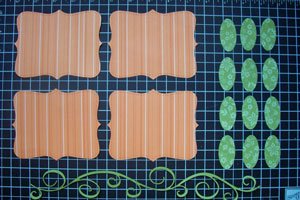
-
Step 2
Score each Top Note in half as shown.
-
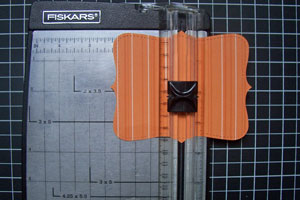
Step 3
Use 1 3/8" circle punch to punch a circle from the middle of each Top Note diecut as shown.
-
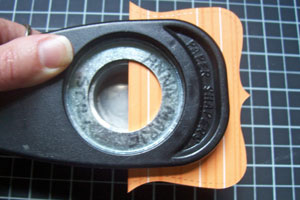
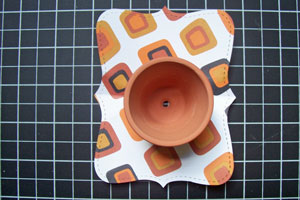
Step 4
Place a small bit of Sticky Strip™ on either side of the pot.

-
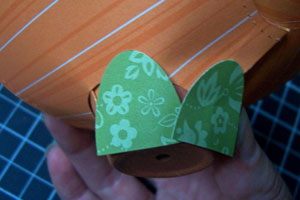
Step 5
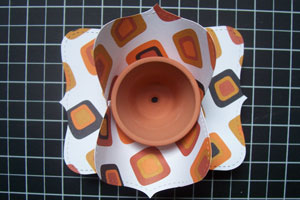
Place the pot in the hole.
-
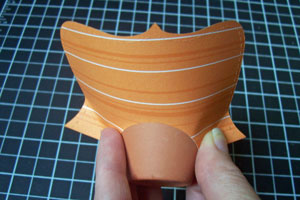
Step 6
Slide it up to the rim of the pot and pinch sides together simultaneously to keep it even.
-
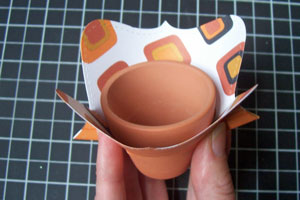
Top View
-
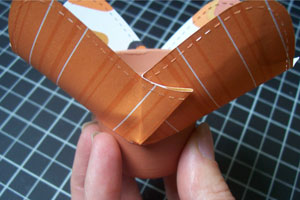
Step 7
Use Mini Glue Dots to pin back the flaps. The Sticky Strip™ on the pot "lives" under these seams.
-
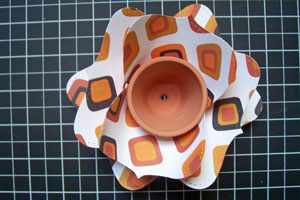
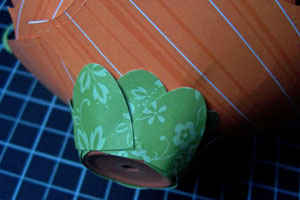
Step 8
Repeat with the remaining the Top Note diecuts, alternating the patterns and placement of each diecut to create a petal-like layered effect.
-
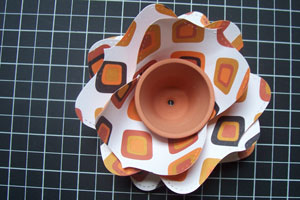
Step 9
Be sure to pull each layer up as high as it will go...
-
Step 10
…and make it as tight as possible.
-
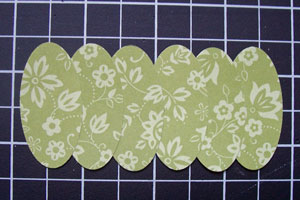
Step 11
Using a little adhesive to attach six of the ovals together as shown.
-
Step 12
Place in the pot as shown.
Hint:
If there is a gap, just add a seventh oval.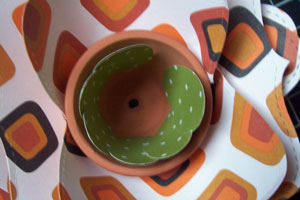
-
Step 13
Cut remaining ovals in half and use mini glue dots to attach to the base of the pot.
-
Step 14
Continue adhering half ovals around the base, going around twice to cover.
-
Step 15
Put a peep in a small cello bag and tie with ribbon. Use a pop-up glue dot to secure the bag to the bottom of the pot, and embellish with the diecut swirl.
Hint:
It is a bit tricky to get the Peep in the bag because when you separate the Peeps, their sides are marshmallow-y sticky! You have to hold the bag open enough so it doesn't stick to the edges, leaving the top of the bag sticky with white goo or tap the sticky sides in white granulated or confectioner's sugar first.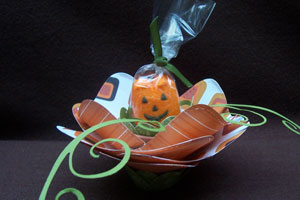
Video!
Variations
-
Change the patterned paper to create a whole different look for a different occasion.
Your Turn
You've seen the tutorial, now you try it! We've got a section of the gallery set aside for Pumpkin Patch Peeps. Try this technique, then upload your artwork to the gallery. Show us your creations!
***Please note - Internet Explorer/Edge is not a supported browser, and will not allow you to see the videos. Please use Chrome, Firefox or Safari to view our tutorial videos.

Questions and Comments
We'd love to get your feedback or questions. Leave your comment below.
Page 2 of 2 pages < 1 2