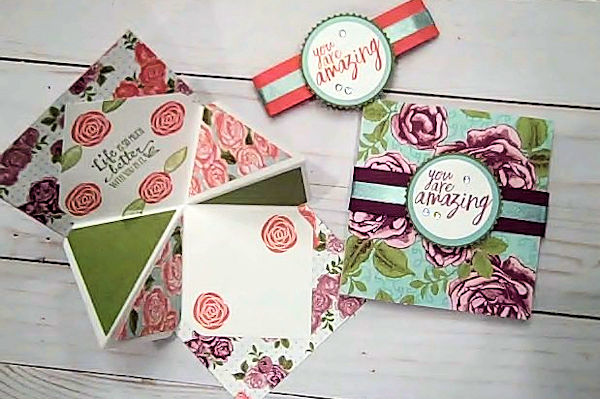
Pop Out Explosion Card
by Dee Slater
Create an interactive card within a card.
Supplies
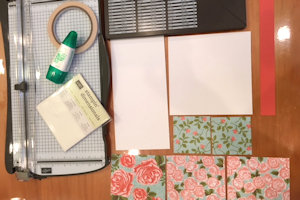
- Cardstock cut to 4 1/4“ x 9” for card base (Stampin’ Up!® Thick Whisper White used here)
- Lighter weight cardstock cut to 6” x 6” for pop out (SU Whisper White used here)
- Coordinating designer paper – 3 pieces cut to 4 1/4 “x 4 1/2” (Petal Garden Designer Paper Stack used here); 2 pieces cut to 2 3/4” x 2 3/4”; 1” x 9 1/2“ for belly band (Rich Razzleberry Cardstock used here)
- 10” of ribbon (optional, Pool Party 3/8” Shimmer Ribbon used here)
- Paper trimmer
- Adhesive
- Envelope Punch Board
- Other supplies as needed to complete the project (Rhinestones, 1 3/4" and 2” circle punch, Starburst punch, Cake Soiree, Petal Palette, and All Things Thanks stamp sets)
Step-by-Step
-
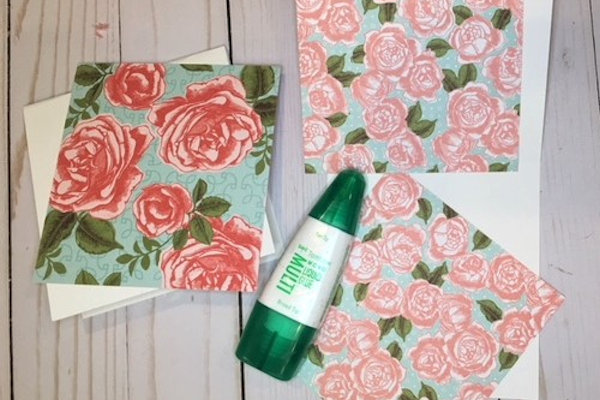
Step 1
Fold cardstock to create a 4 1/4” x 4 1/2” card base. Adhere designer paper to the front and inside of card.
-
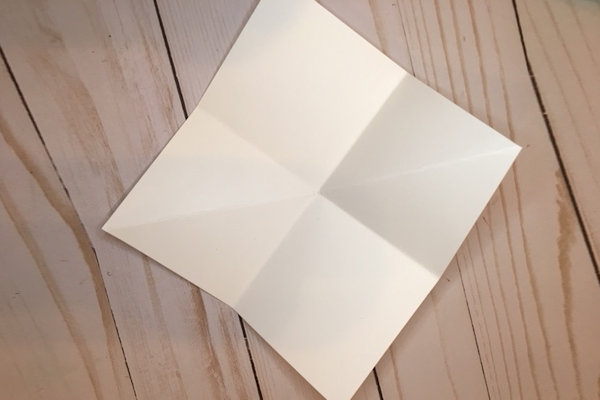
Step 2
To create the pop-out, fold the 6” square cardstock in half. Open it and fold in half in the other direction. Thirdly, fold on the diagonal.
-
Step 3
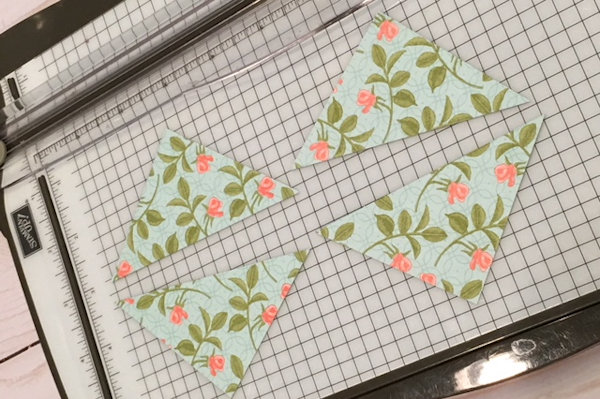
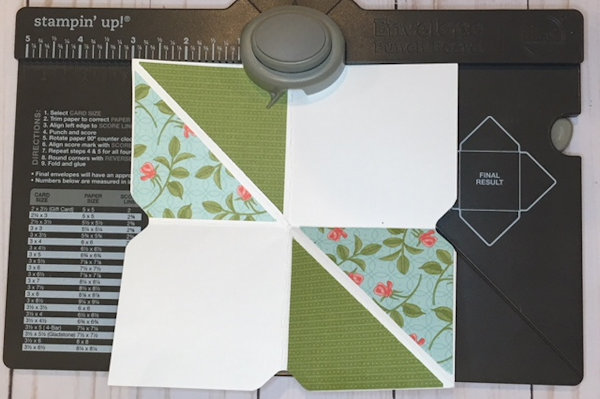
Cut the 2-3/4” paper squares on the diagonal to create triangles. Adhere these pieces to the pop-out on the diagonal scored areas. Stamp on the undecorated panels of the pop-out if desired.
-
Step 4
Make notches on all 4 sides of the pop-out using the Envelope Punch Board. Line up each side to the 3” mark on the envelope punch board and punch.
-
Step 5
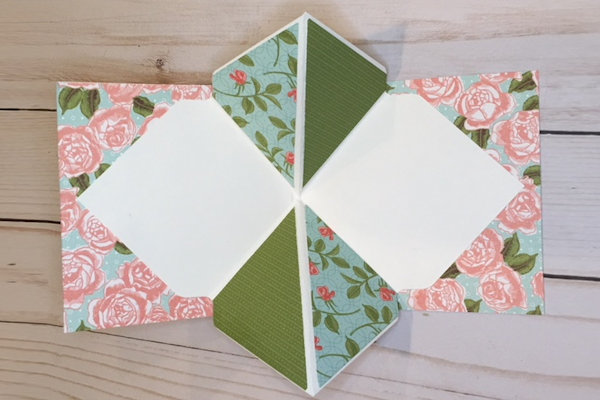
Glue the bottom section of the pop-out to the inside of the card. The center point of the pop-out should go up to the center score lines of the card base.
Add glue to the top of the pop-out and close the card front to attach. -
Step 6
Wrap a belly band around the card. (For optional ribbon instructions see the video below.) Adhere the ends.
NOTE:
Leave a little space in the band so it can slip on and off easily. -
-
Step 7
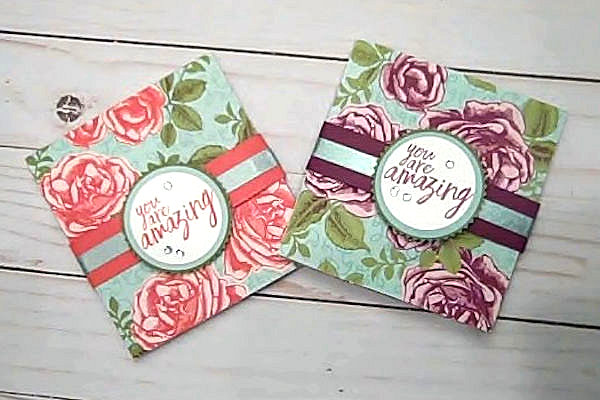
Complete the project. The card will fit in a standard a2 envelope.

Video!
Your Turn
You've seen the tutorial, now you try it! We've got a section of the gallery set aside for Pop Out Explosion Card. Try this technique, then upload your artwork to the gallery. Show us your creations!
***Please note - Internet Explorer/Edge is not a supported browser, and will not allow you to see the videos. Please use Chrome, Firefox or Safari to view our tutorial videos.

Questions and Comments
We'd love to get your feedback or questions. Leave your comment below.
Big HUGS & THANKS
What a great tutorial, so easy to follow.
Thanks
Page 1 of 2 pages 1 2 >