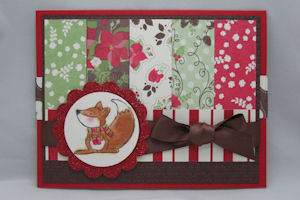
Pop-Up Gift Card Holder
by Kim Score
Create a card that has a gift card pop-up when you open the card.
Supplies
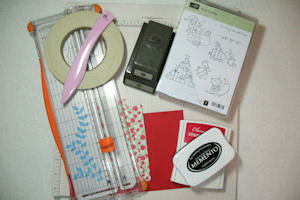
- One 5 1/2" x 8 1/2" piece of cardstock or patterned paper for card base
- Two 4" x 5 1/2" pieces of cardstock or patterned paper
- One 1" x 11 1/4" piece of patterned paper for belly band
- Scoring tool
- Gift card with envelope
- Strong adhesive
- 3/4" Circle punch
- 1 3/8" Circle punch
- Bone folder
- Stamps
Step-by-Step
-
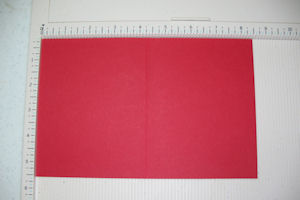
Step 1
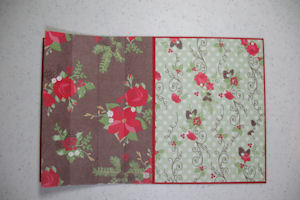
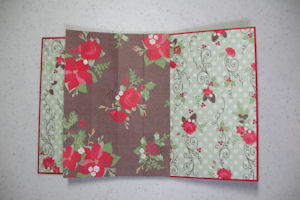
Score the 5 1/2" x 8 1/2" piece of cardstock at 4 1/4" on the long side.
-
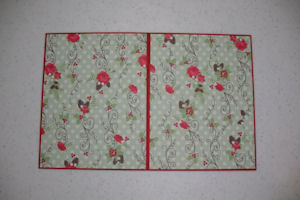
Step 2
Decorate inside of card with stamps or patterned paper.
-
Step 3
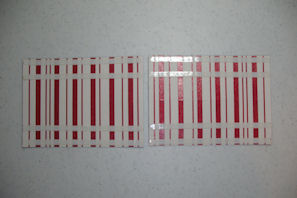
Score each of the 4" x 5 1/2" pieces of cardstock or patterned paper at 1", 2" and 3" on short side.
Hint:
Using patterned paper will make it less bulky.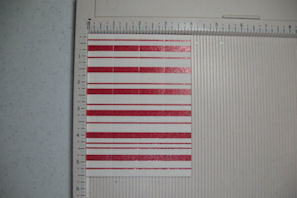
-
Step 4
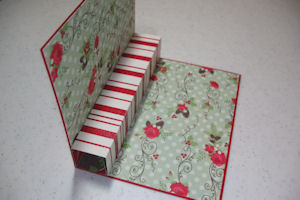
Apply strong adhesive on the 1" sections of the top and bottom of each piece.
-
Step 5
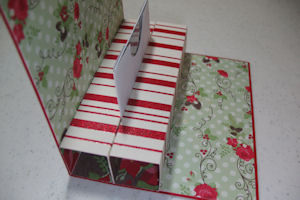
Attach one scored piece to inside of card, aligning at center score line.
-
Step 6
Align other end of scored piece at center of card base and adhere to other half of card.
-
Step 7
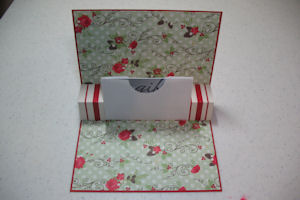
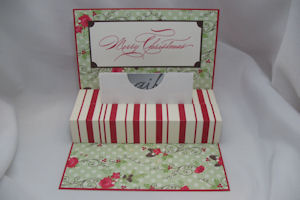
Cut flap off gift card envelope. Punch a 1 3/8" semi-circle at top.

-
Step 8
Attach envelope to front of pop-up piece.
-
Step 9
Attach other scored section to front of first attached section, aligning at base
-
Step 10
Align end of scored piece at base of attached section and adhere to card.
-
Step 11
Decorate inside of card.
-
Step 12
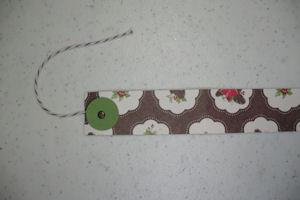
Punch two 3/4' Circle and attach to each end of your 1" x 11 1/4" piece of patterned paper with mini brad. Tie a 5" length of baker's twine onto one end.
-
Step 13
Wrap band around card and secure in back by wrapping twine around both posts.

-
Step 14
Attach decorated front to card.
Video!
Variations
For portrait style A2 card, cut the two pop up pieces for inside at 4 1/4" by 4" and score at 1", 2" and 3" on short side.
Use a belly band that wraps around and is glued end to end in back. Attach card decorations to belly band only and slide band off to open card.
Decorate front of card and use ribbon wrapped around entire card to keep closed.
Your Turn
You've seen the tutorial, now you try it! We've got a section of the gallery set aside for Pop-Up Gift Card Holder. Try this technique, then upload your artwork to the gallery. Show us your creations!
***Please note - Internet Explorer/Edge is not a supported browser, and will not allow you to see the videos. Please use Chrome, Firefox or Safari to view our tutorial videos.

Questions and Comments
We'd love to get your feedback or questions. Leave your comment below.
much for sharing
Page 2 of 2 pages < 1 2