Pleated Skirt Fold
by Becky Roberts
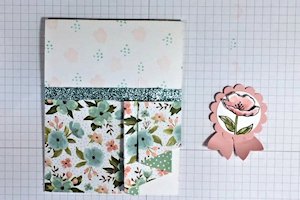
Add a girly pleated fold feature to a card front.
Supplies
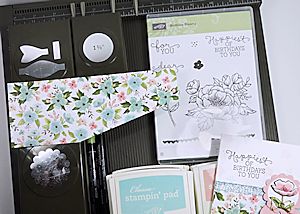
- Double sided paper (Stampin’ Up!® Birthday Bouquet Designer Series Paper used here)
- Scoring tool
- Adhesive (Snail adhesive used here)
- Scissors
- Pencil
- Paper trimmer
- Other supplies as needed to complete the project (Stampin’ Up! products used: Birthday Blooms stamp set; Archival Basic Black, Pool Party, Blushing Bride, Watermelon Wonder, Old Olive and Early Espresso inks; Whisper White and Blushing Bride cardstock, punches (1-3/8” Circle, 1-3/4” Scallop Circle, Bow Builder) Aqua Painter, Pear Pizzazz Stampin’ Write Marker, Stampin’ Dimensionals, Pool Party Glitter Ribbon)
Step-by-Step
-
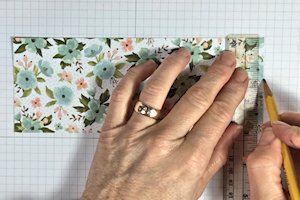
Step 1
Cut patterned paper to 7 3/4" x 3". On the right side of the paper make a tick mark 1 1/4" down from the top corner with a pencil. Along the bottom of the DSP make a tick mark 3" from the left corner.
-
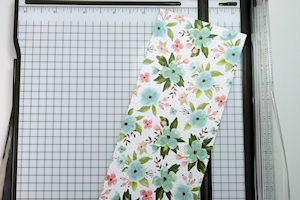
For an additional guide, connect those two tick marks with a pencil line. Cut from point to point with a trimmer to create the angle.
-
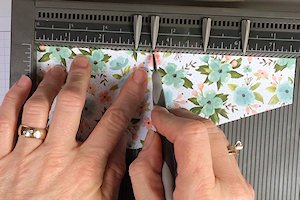
Step 2
Score at 3", 3 1/2", 5" and 6 1/8" along the long (uncut) side.
-
Step 3
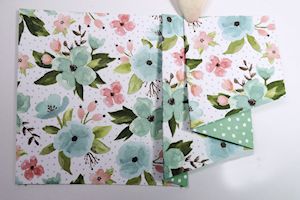
Fold accordion style on the score lines, back and forth.
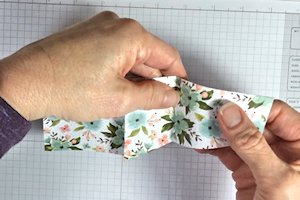
-
The finished folded piece should look like this.
-
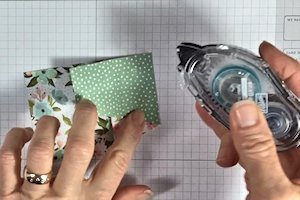
Step 4
Add some adhesive to the back of each pleat to hold the folds in place.
-
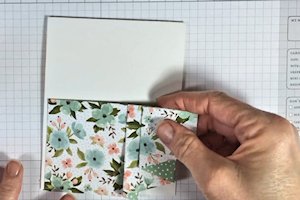
Step 5
Add some adhesive to the back of each pleat to hold the folds in place.
-
Step 6
Decorate the card as desired.
-
Step 7
Complete the project.

Video!
Your Turn
You've seen the tutorial, now you try it! We've got a section of the gallery set aside for Pleated Skirt Fold. Try this technique, then upload your artwork to the gallery. Show us your creations!
***Please note - Internet Explorer/Edge is not a supported browser, and will not allow you to see the videos. Please use Chrome, Firefox or Safari to view our tutorial videos.

Questions and Comments
We'd love to get your feedback or questions. Leave your comment below.
I could relate to what you said. TSM
Page 1 of 2 pages 1 2 >