Photo Corners
by Amy Rysavy
Use scrap cardstock to make quick page or card accents.
Supplies

- Paper cutter
- Cardstock
- SNAIL™ or re-positionable adhesive
- Scissors
Step-by-Step
-
Step 1
Trim cardstock to a perfect square or use a square punch.
Place a bit of SNAIL or re-positionable adhesive in the center of the cardstock. A very small amount is needed to hold the cardstock in place.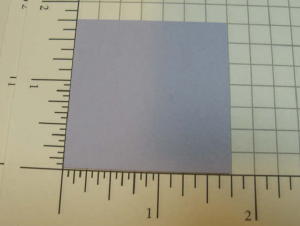
-
Step 1
Trim cardstock to a perfect square or use a square punch.
Place a bit of SNAIL or re-positionable adhesive in the center of the cardstock. A very small amount is needed to hold the cardstock in place.
-
Step 2
Line up two of the corners of the cardstock on the paper cutter, placing the corners exactly in the middle of the cutting channel.
Press cardstock to adhere cardstock to cutter.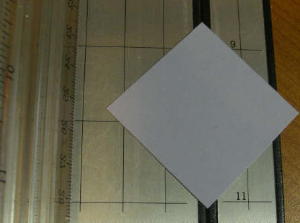
-
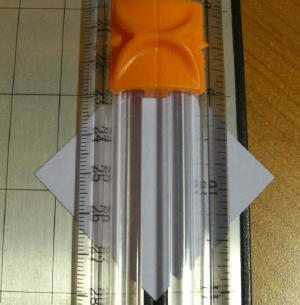
Step 3
Use firm and even pressure to slowly cut the cardstock in half. Cutting too quickly may dent the corners.
-
Step 4
Place one of the cardstock triangles on the cutter. Line it up using the gridlines, and make sure the wide corner is exactly in the center of the cutting line.
Press down on the adhesive to hold in place and cut again slowly and firmly.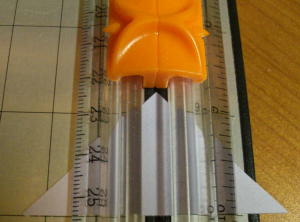
-
Step 5
Stack both triangles and make sure all edges are even.
Remove the right angle by trimming with scissors. The placement of the cut depends on how wide the pieces of the photo corner should be for your project.
Stamp or embellish as desired.
-
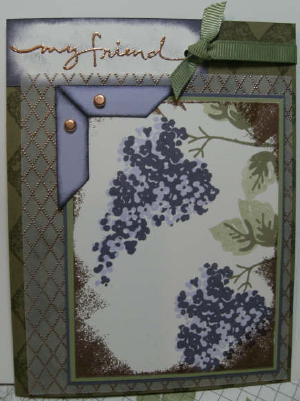
Step 6
Finished card.

Questions and Comments
We'd love to get your feedback or questions. Leave your comment below.
You don't fold the strips after cutting the corner of the triangle. You line up the edges of two strips against each other to get the photo corner look.
I love these, so creative!
Thanks:)
Page 1 of 1 pages