Paper Pleating
by Amy Rohl
Learn the basics of paper pleating.
Supplies

- One 1 1/2" by 11" piece of cardstock for pleated layer
- Scor-Pal™, or other scoring tool
- Adhesive
Step-by-Step
-
Step 1
Score the cardstock strip first at the 1" mark, then at the 1 1/2" mark, then at 2 1/2", then at 3", etc. (alternating between adding 1/2" and 1" until you get to the end of the strip).

-
Step 2
Add adhesive in the middle of the strip for the pleat to fan at both top and bottom.
Variation:
Add a line of adhesive along one edge of your scored strip if you prefer the pleat to fan out at the bottom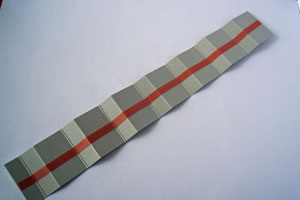
-
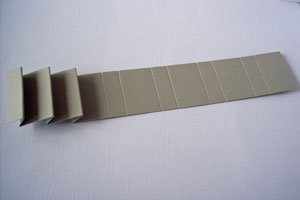
Step 3
Accordion fold the strip. Starting with the left side, first make a mountain fold, then a valley fold, and so on, tucking each 1/2" section behind the 1" sections to form the pleats.
-
Step 4
Attach pleated layer to cardstock.
Optional:
Secure further with baker’s twine or ribbon.
-
Step 5
Finish your card.
Video!
Variations
Change it up
You can change the width of the strip to make your paper pleated strip wider or more narrow.
If you need a longer pleated piece , repeat the pleating directions with a second strip, taping the two sections together by adhering two half-inch sections together.
Your Turn
You've seen the tutorial, now you try it! We've got a section of the gallery set aside for Paper Pleating. Try this technique, then upload your artwork to the gallery. Show us your creations!
***Please note - Internet Explorer/Edge is not a supported browser, and will not allow you to see the videos. Please use Chrome, Firefox or Safari to view our tutorial videos.

 *
*
Questions and Comments
We'd love to get your feedback or questions. Leave your comment below.
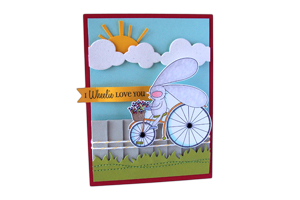
That is a new release from the Cat's Pajamas: http://www.thecatspajamasrs.com/WheelLove.htm
Page 2 of 2 pages < 1 2