Origami Bookmark
by Carolina Buchting
Keep your place in a book with a pretty folded bookmark.
Supplies
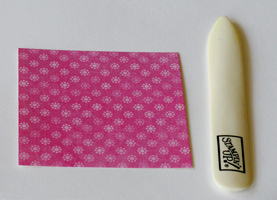
- 2" x 2" Square Double-sided Patterned Paper
- Bone Folder
Step-by-Step
-
Step 1
Take 2" x 2" patterned paper and create a triangle by bringing opposite points together.
Use a bone folder to ensure all folds are sharp.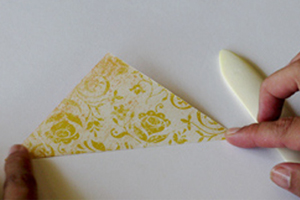
-
Step 2
Rotate triangle so that the fold is closest to you.
Take the right corner of your triangle and bring it over to the top point so the points meet. Use your bone folder to ensure a nice fold again.
-
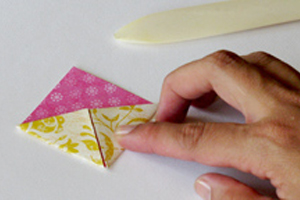
Step 3
Repeat Step 2 on the left side so that both sides meet in the middle.
You’ll end up with a smaller square.
-
Step 4
Unfold everything so that you’re back to a triangle.
Take the top flap and bring the point down so it meets the bottom of the triangle. This makes a pocket. Again, use your bone folder on the fold.
-
Step 5
Take the right corner and fold up to the top point again, then down into the little pocket you created.
Use your bone folder to make sure the fold stays.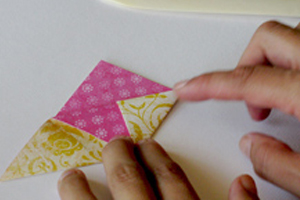
-
Step 6
Repeat Step 5 with the left corner.

-
Step 7
You’re done – it’s ready to mark your page!
-
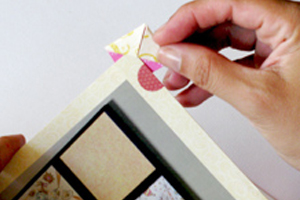
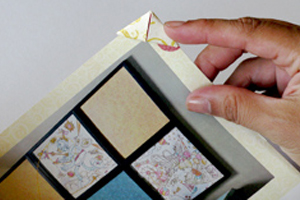
Step 8
Here are a few pictures showing how to use the bookmark.
-
Your Turn
You've seen the tutorial, now you try it! We've got a section of the gallery set aside for Origami Bookmark. Try this technique, then upload your artwork to the gallery. Show us your creations!
***Please note - Internet Explorer/Edge is not a supported browser, and will not allow you to see the videos. Please use Chrome, Firefox or Safari to view our tutorial videos.

Questions and Comments
We'd love to get your feedback or questions. Leave your comment below.
Thank you, Carolina!!
Page 1 of 1 pages