Note Holder
by Beate Johns
Create a small box to hold single note sheets.
Supplies
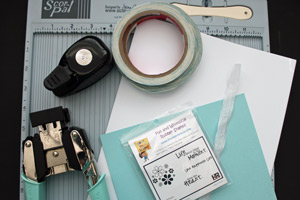
- Scor-Pal™, or other scoring tool
- Paper Cutter
- 7 5/8" square of cardstock
- Copy Paper
- Scor-Tape™, or other strong adhesive
- Corner Rounder
- Stamps , Your Next Stamp Happiness used here
- Ribbon
- Embellishments
Step-by-Step
-
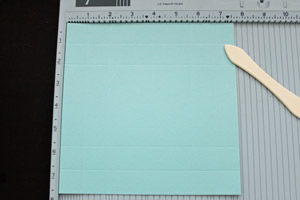
Step 1
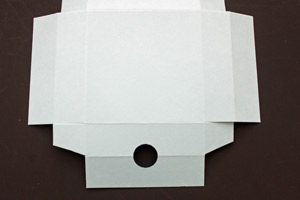
Score the 7 5/8" square of cardstock at 1" and 2" on each side of the square.
-
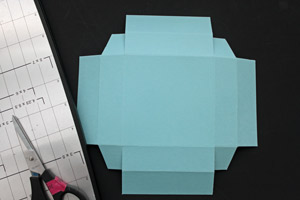
Step 2
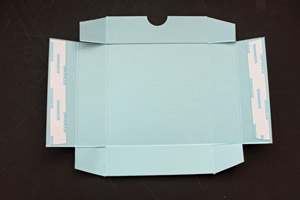
Cut off the scored outer squares, leaving only one on each side as a glue tab. Pre-fold all your score lines.
-
Step 3
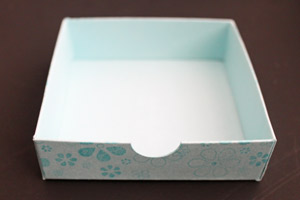
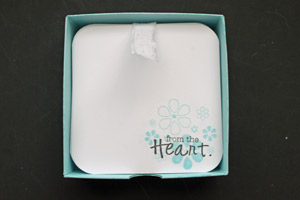
Punch a hole with your 3/4" circle punch in the center on one side.
This will create an indent that will make it easier to take the note sheets out of the box.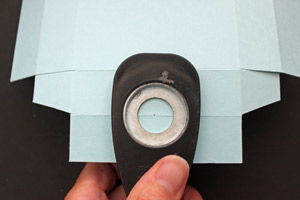
-
-
Step 4
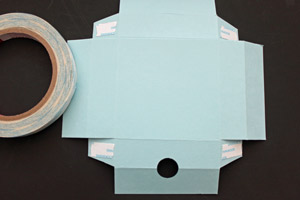
Add Scor-Tape™ to each of the glue tabs.
-
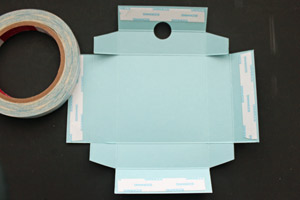
Turn box base over and add Scor-Tape on each of the outer flaps.
-
Step 5 (Optional)
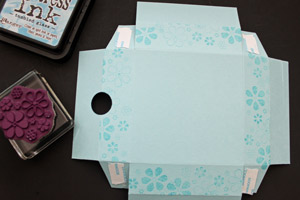
Stamp the lower of the 1" side strips to decorate your notepad holder walls.
-
Step 6 (Optional)
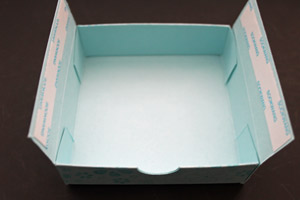
Take the adhesive liner off the sides of the box that has the glue tabs attached and fold down.
-
Step 7 (Optional)
Take the liner off the glue tabs and adhere them to the neighboring sides to create the box shape.
-
Fold the remaining sides down to finish the box.
-
Step 8
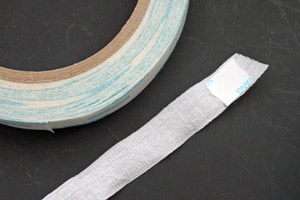
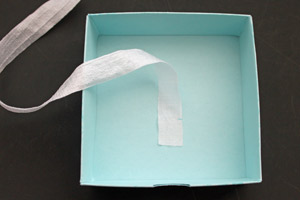
Add adhesive to the end of the ribbon.
-
Adhere the ribbon to the center of the box.
-
Step 9
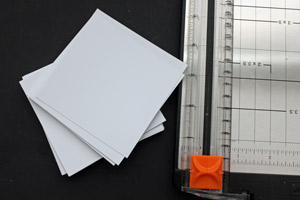
Cut copy paper into 3 1/2" squares.
-
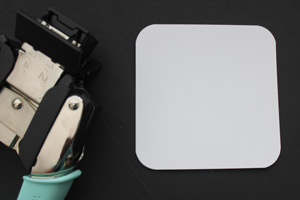
Step 10 (Optional)
Round the corners of your note paper.
-
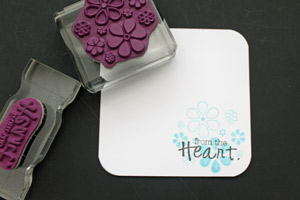
Step 11
Stamp your paper squares.
-
Step 12
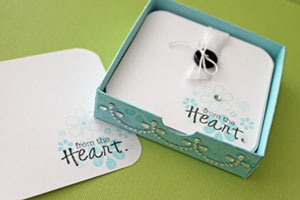
Place your paper squares into your box and cut your ribbon to size.
-
Attach a small embellishment to the ribbon to keep it laying flat on your paper.
The ribbon will help you pull up the paper pieces easier.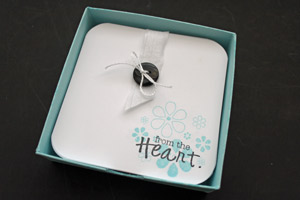
-
Step 13
Your note holder is finished.
Video!
Variations
-
Close it up
If you are planning on giving the note holder as a gift, create a box top out of acetate to keep the note sheets inside the box. Take a 5 3/4" square of acetate and score 1" on each side to create the lid.
Hint: If you are planning to add a lid, don't add embellishments to the side of the boxes.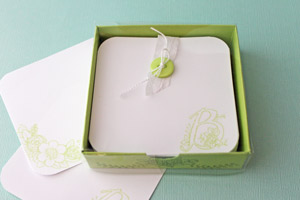
Your Turn
You've seen the tutorial, now you try it! We've got a section of the gallery set aside for Note Holder. Try this technique, then upload your artwork to the gallery. Show us your creations!
***Please note - Internet Explorer/Edge is not a supported browser, and will not allow you to see the videos. Please use Chrome, Firefox or Safari to view our tutorial videos.
 *
*
Questions and Comments
We'd love to get your feedback or questions. Leave your comment below.
for me to have a go at
http://yournextstamp.com/index.php?main_page=product_info&cPath=66_192&products_id=2377
Your video's are so eazy to follow, thanks so much for all the great ideas you come up with!
If you click on the highlighted stamp set name in the supply list, it will take you directly to the Your Next Stamp site where you can purchase the stamp set.
Hugs and smiles
Wonderful...as always!!
bise raymonde
Page 1 of 3 pages 1 2 3 >