Nail Polish Marbling
by Kyra Sanders
Use nail polish to create a marbled effect.

Supplies
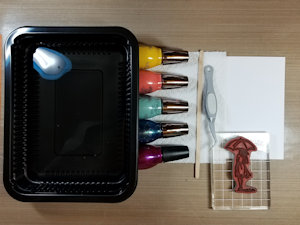
- Disposable container, large enough for cardstock
- Water, about 1/2 inch of depth
- Nail polish (several colors, any brand, any quality)
- Stir stick (coffee stirrer used here)
- Cardstock cut to size
- Tweezers
- Drying space
- Paper towels
- Disposable gloves (optional)
- Other supplies as needed to complete the project (Stampin’ Up!® Beautiful You stamp set used here)
Step-by-Step
-
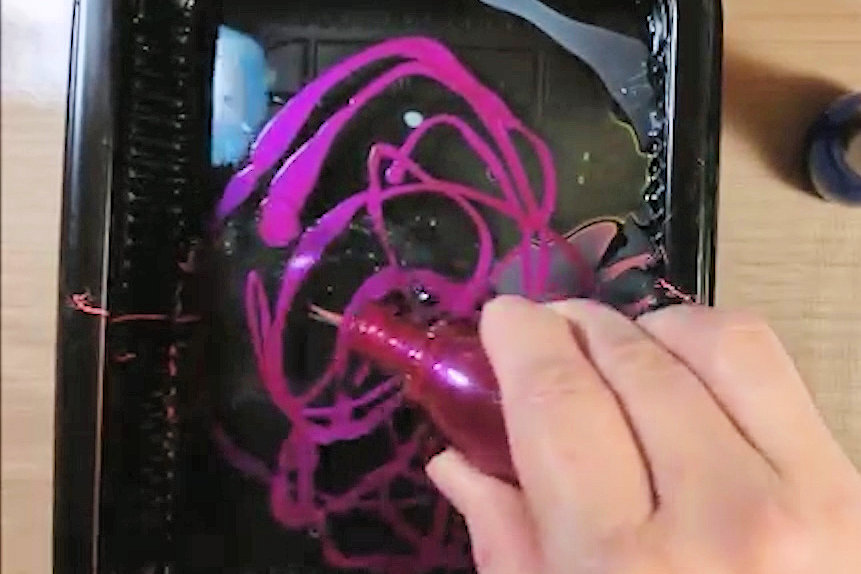
Step 1
Prepare a container for the technique, filling with about a 1/2 inch of water. Cut cardstock to size.
Slowly pour nail polish over the surface of the water in the disposable container. -
Step 2
Repeat Step 1 with additional colors.
-
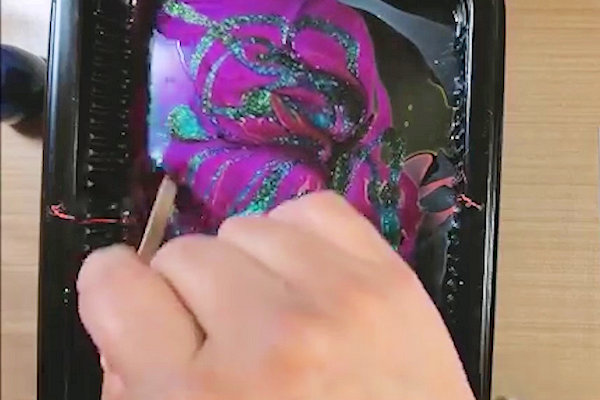
Step 3
Use a craft stick or other stirrer to gently stir the polish for a swirly blend.
-
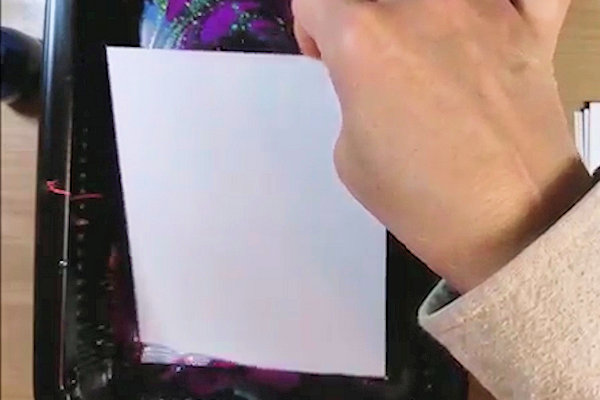
Step 4
Gently lay the cardstock over the surface of the water and tap lightly to ensure good contact with the polish.
-
Step 5
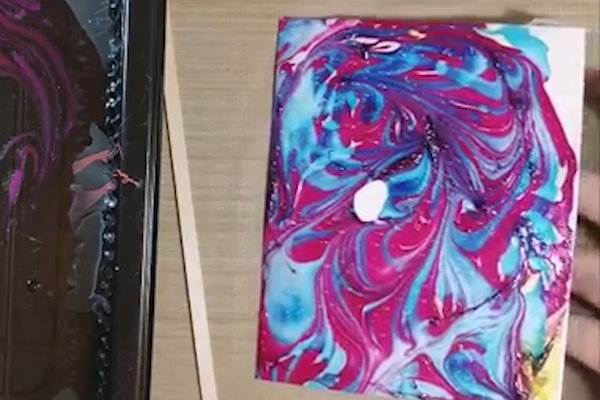
Lift out the cardstock.
-
Lay it aside to dry.
-
Step 6
Use the beautifully marbled piece to complete a project.
Some ideas include die cutting the marbled paper, using the paper to piece any image, or cutting it up in shapes and strips for your project.


Video!
Your Turn
You've seen the tutorial, now you try it! We've got a section of the gallery set aside for Nail Polish Marbling. Try this technique, then upload your artwork to the gallery. Show us your creations!
***Please note - Internet Explorer/Edge is not a supported browser, and will not allow you to see the videos. Please use Chrome, Firefox or Safari to view our tutorial videos.

Questions and Comments
We'd love to get your feedback or questions. Leave your comment below.
Page 2 of 2 pages < 1 2